
Our next task is to set up custom business email accounts. This is not done in the Hestia Admin Panel but in each Hestia User Domain Name Panel. In other words, you can set up custom email addresses associated with each domain name. For example,
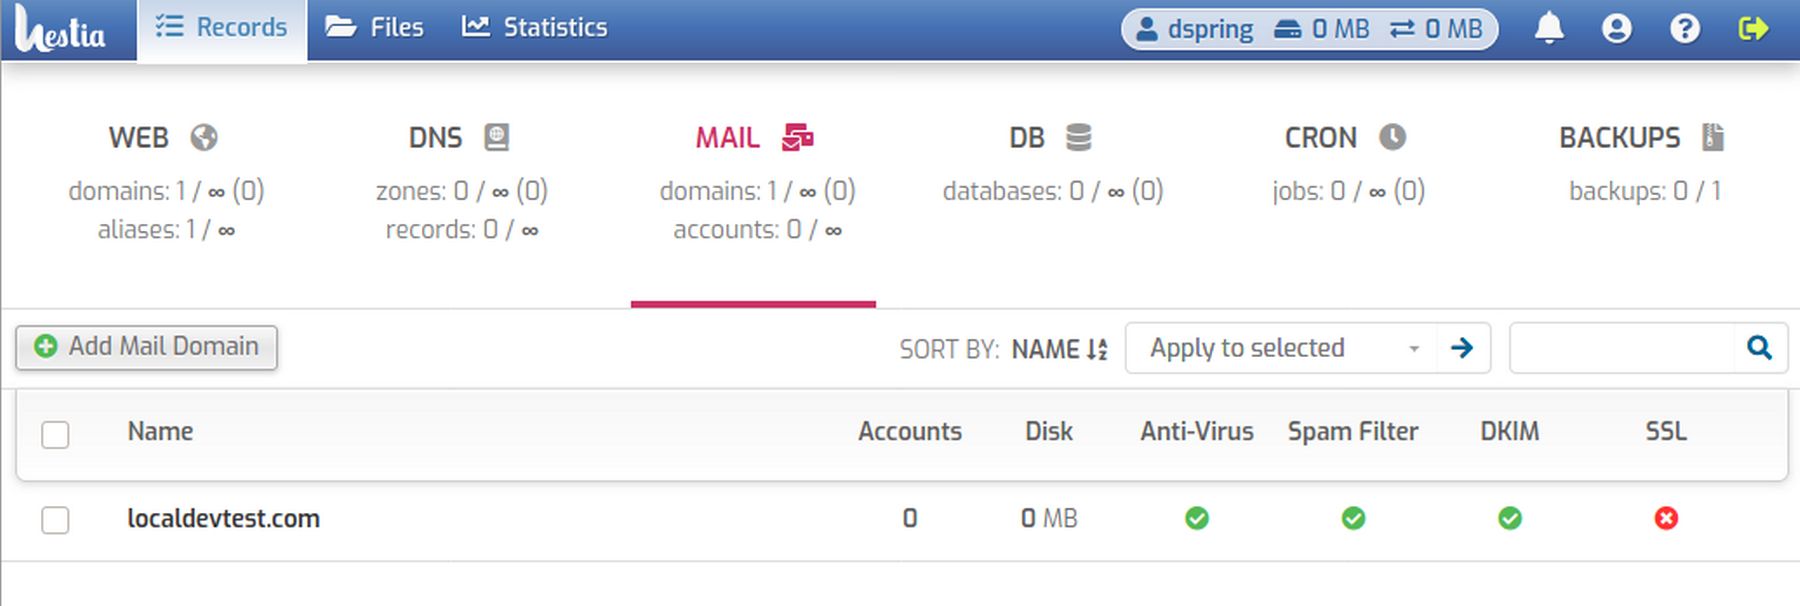
Select your mail domain name. To the right of the mail domain name are are six options: Add Mail Account. Open Web Mail. Edit Mail Domain. DNS Records. Suspend and Delete. Click the third option which is Edit Mail Account:

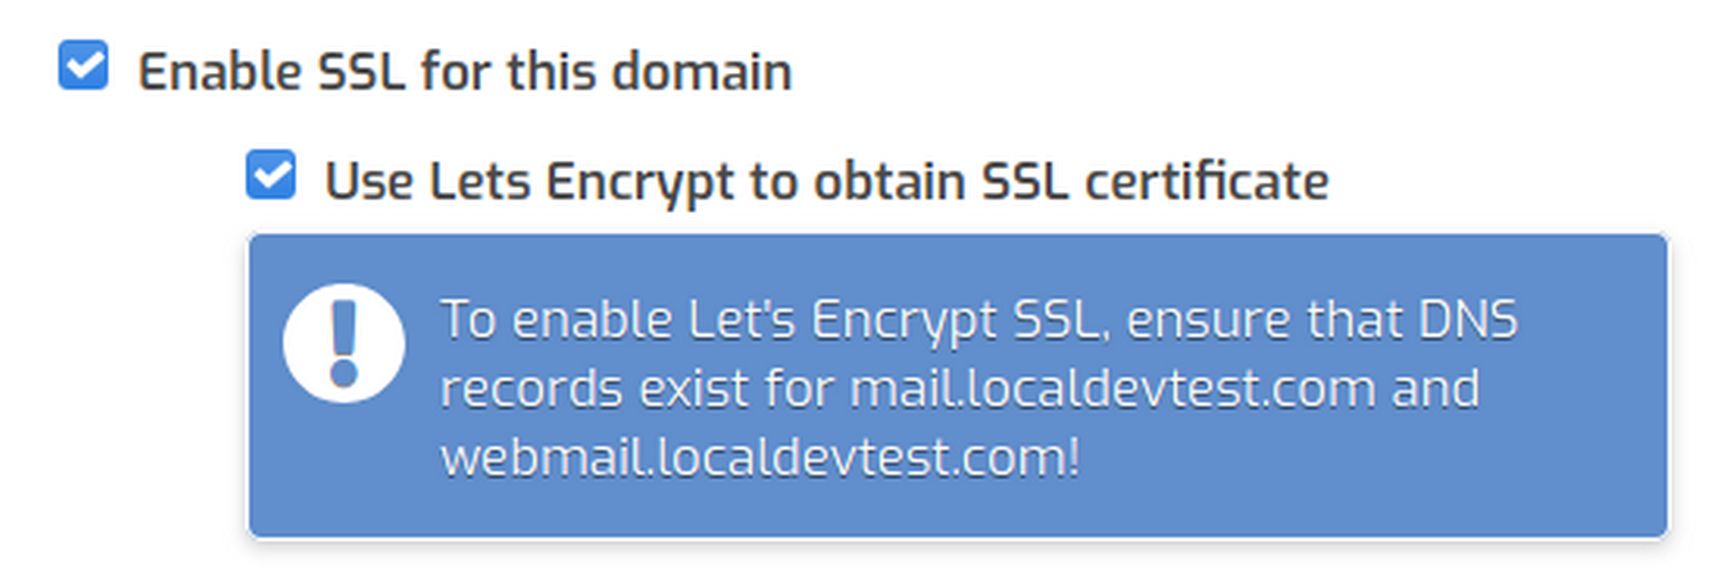
Check Enable SSL for this domain. Then click Use Lets Encrypt. This warning will appear:
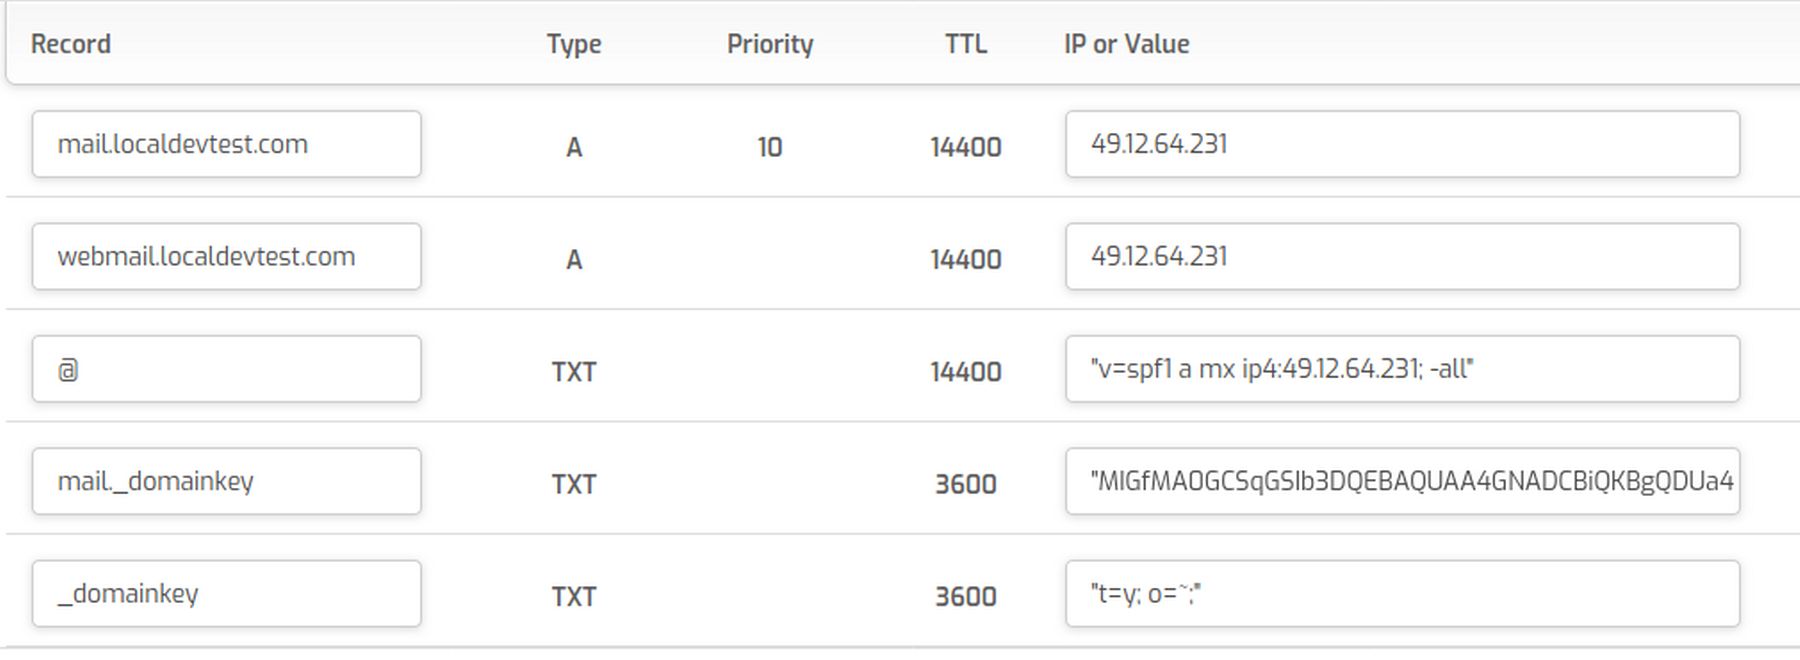
Log into your Canhost account and go to your DNS Manager which indicates that webmail does not have an A record.
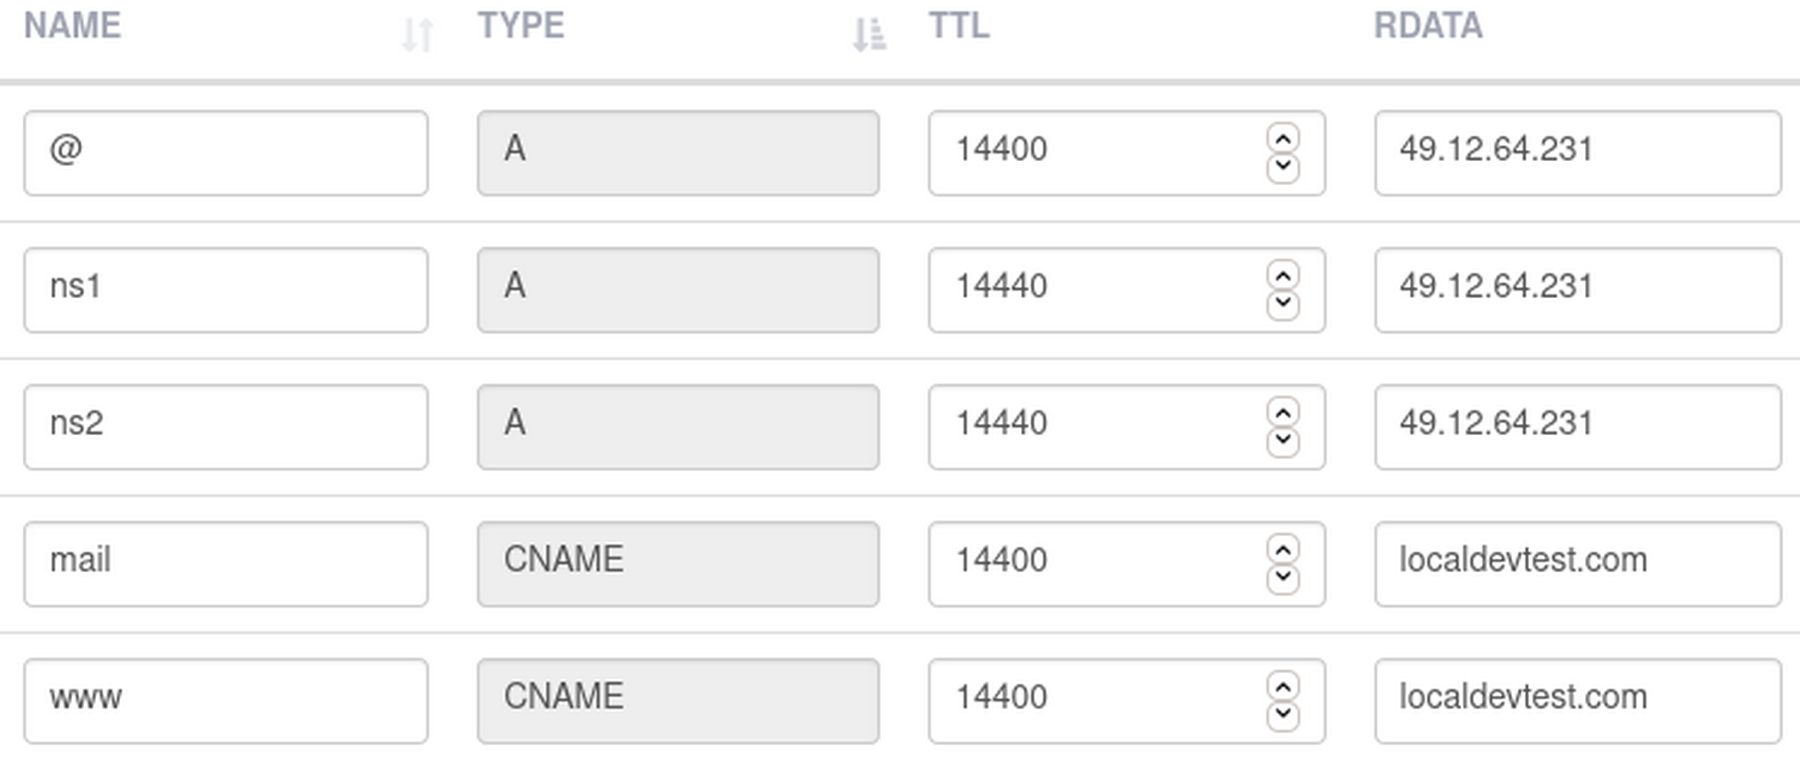
So we will add an A Record:
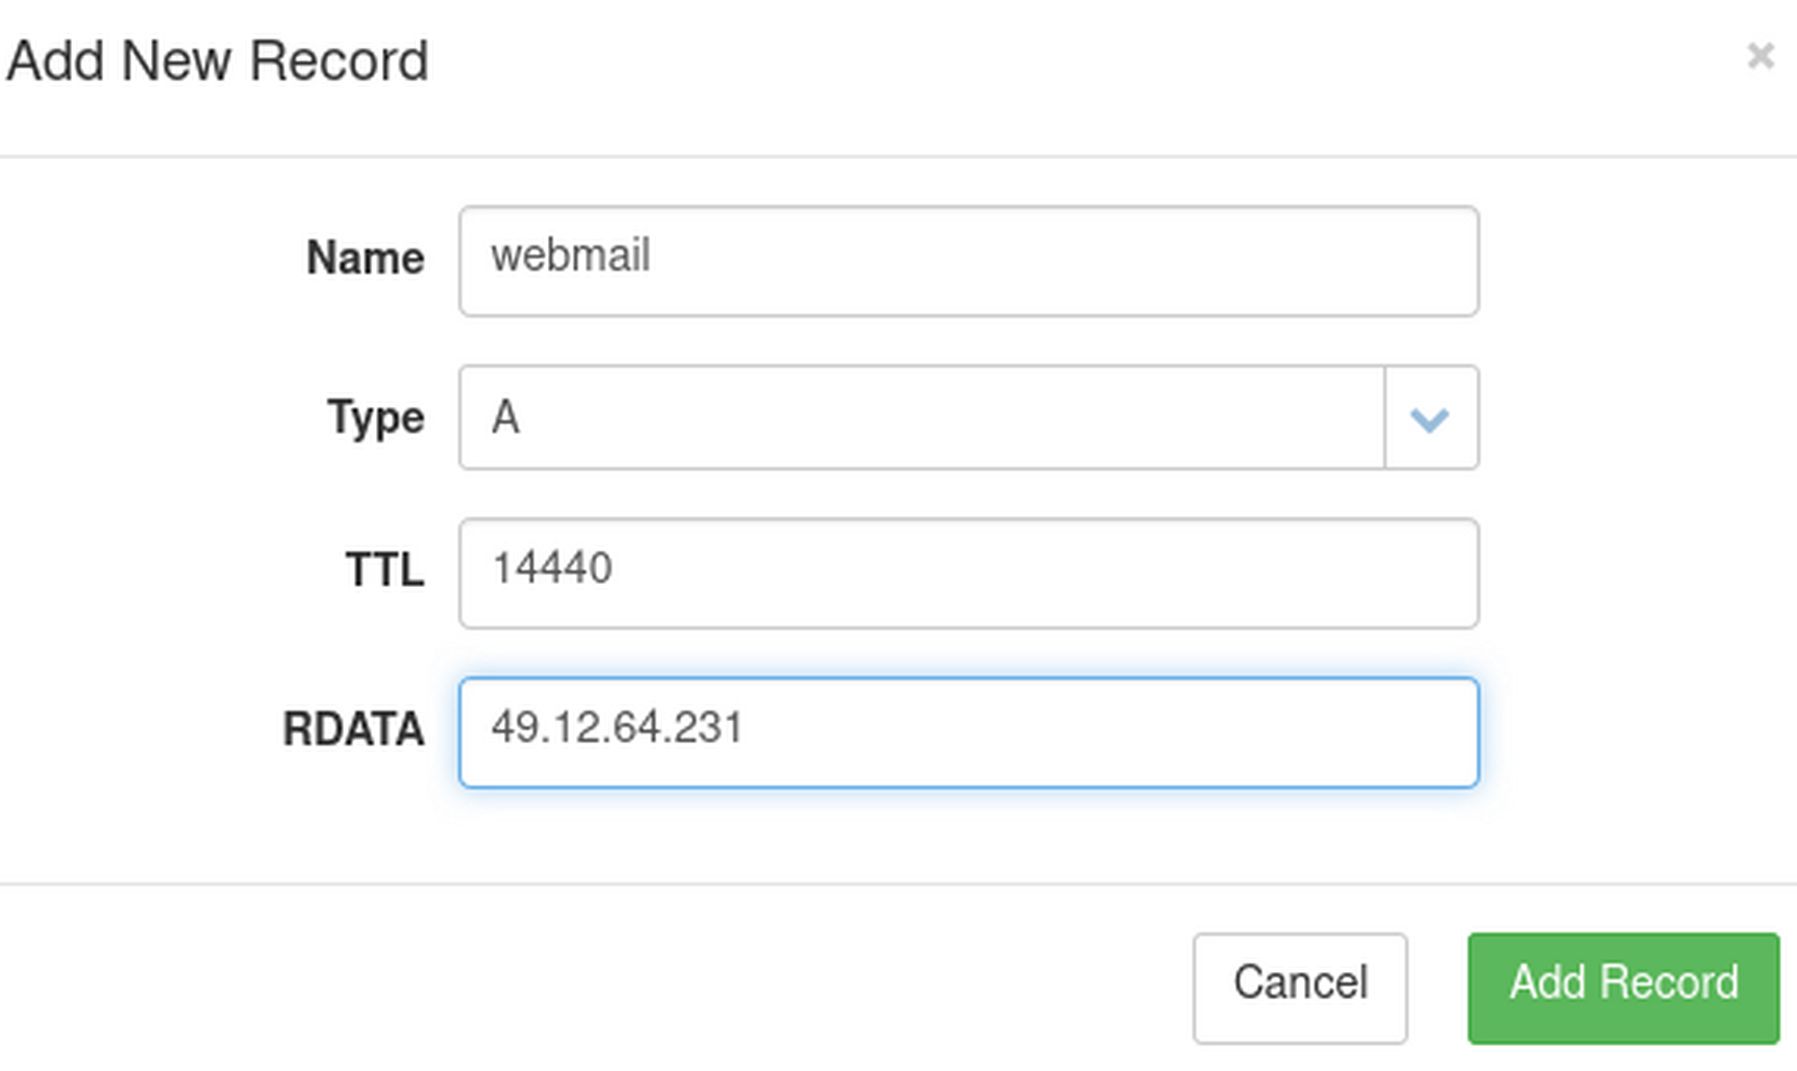
It will take a while for this domain name to be recognized on the Internet.
http://webmail.localdevtest.com/
Log out of your Canhost account and go back to the Hestia Email Domain name edit screen. Then click Save. It will take about one minute for Lets Encrypt to issue the SSL certificate for your mail account. If successful, it will end with “Changes have been saved. Then click Back. Then click DNS Records:
Note the domain name mail.localdevtest.com already points to the correct IP address. Click Back. Click the first option (Plus Sign) to add a new mail account.
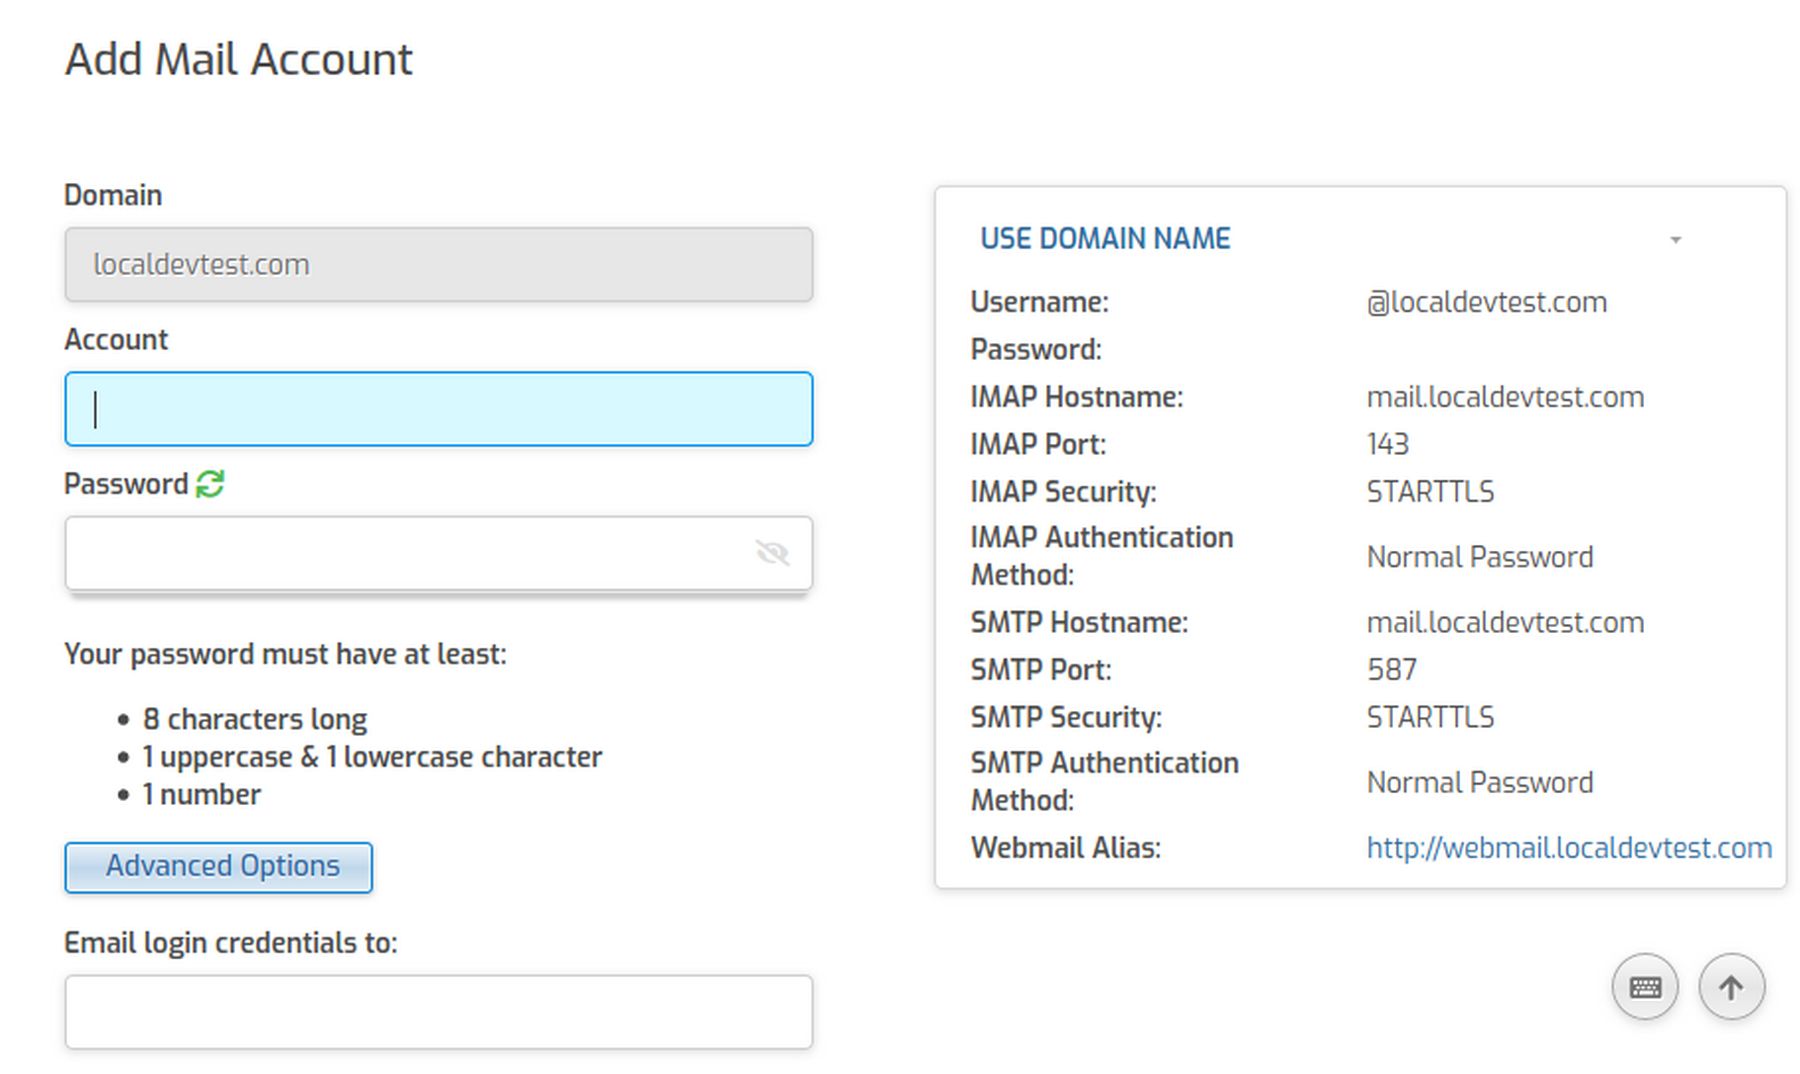
Enter a mail account name like admin and a password. Also enter a Email Log In Credentials to. Then click on Advanced Options
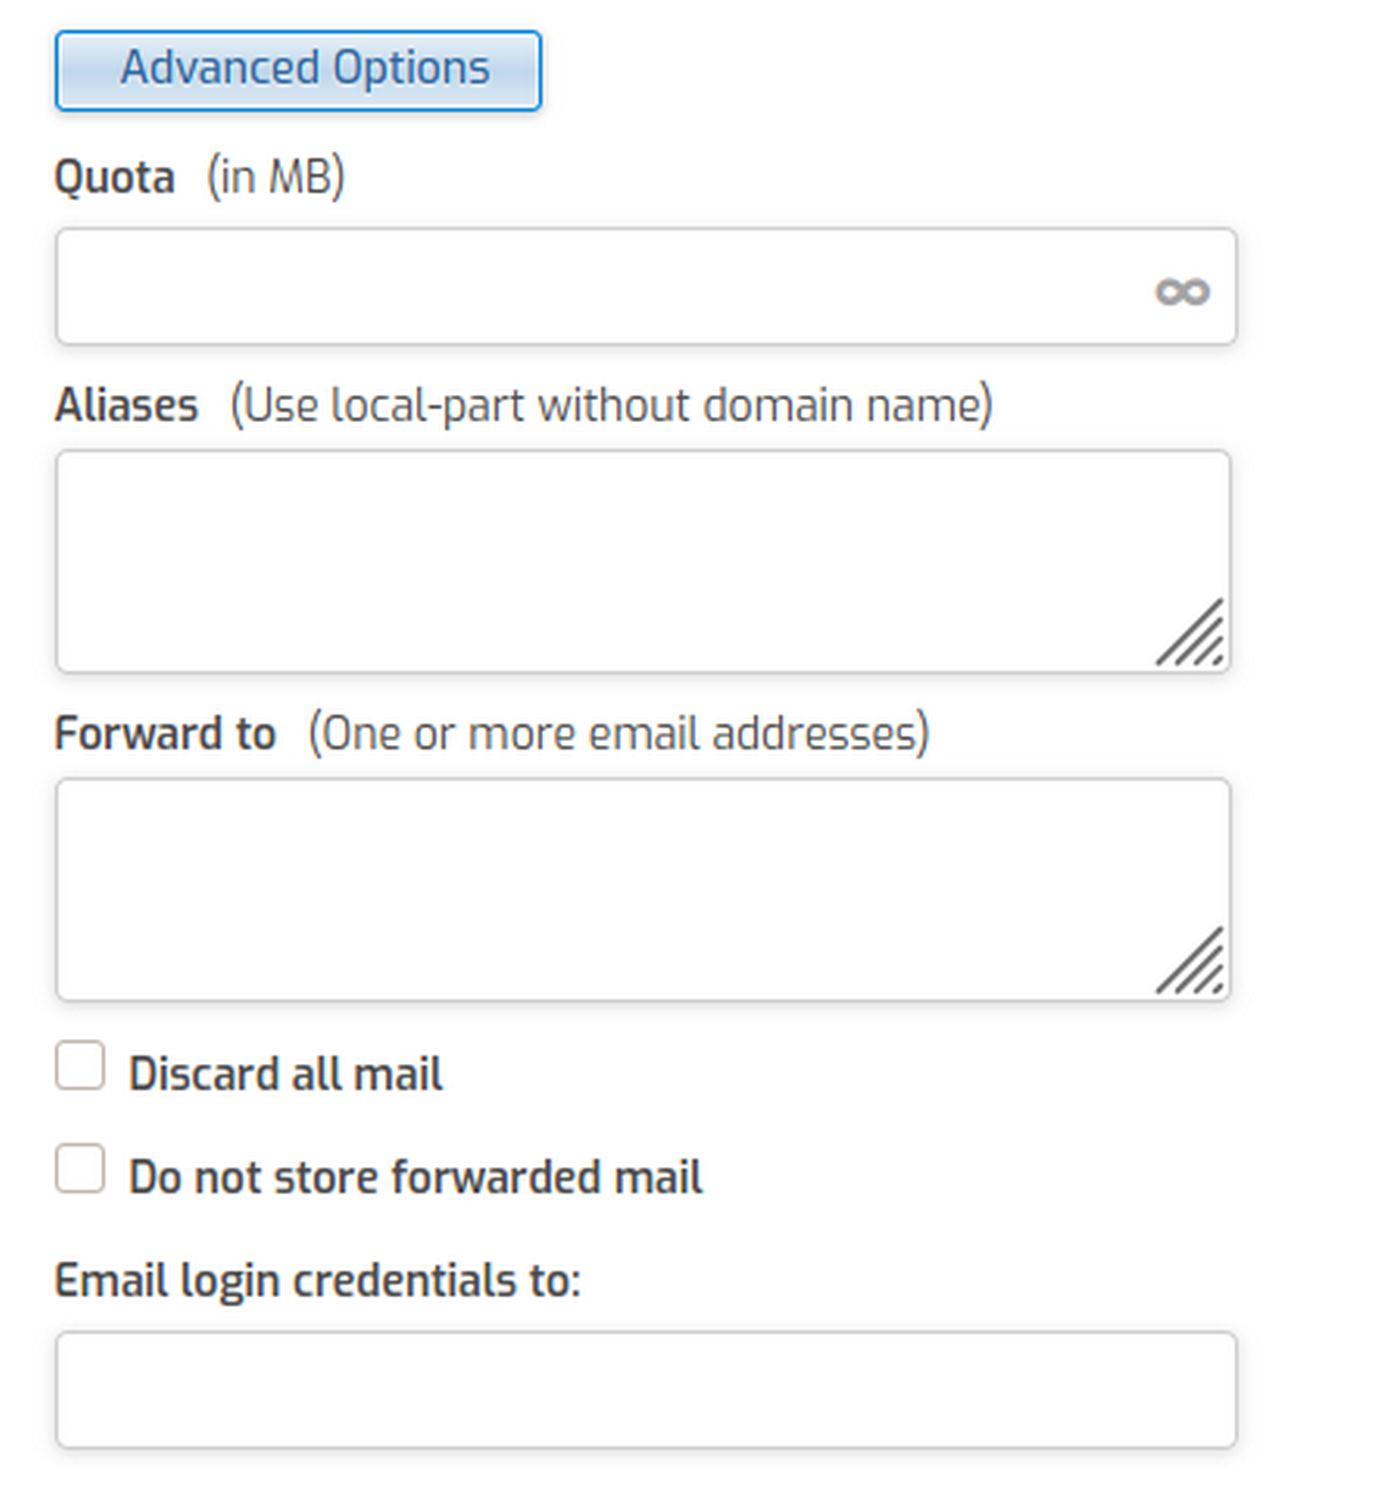
To forward email from this account to another email account, just enter the email address in the Advanced Options, Forward to box.
Note that the IMAP port is 143 and the SMTP port is 587. Then click Save and Back. The first Back will go to the Mail Accounts screen.

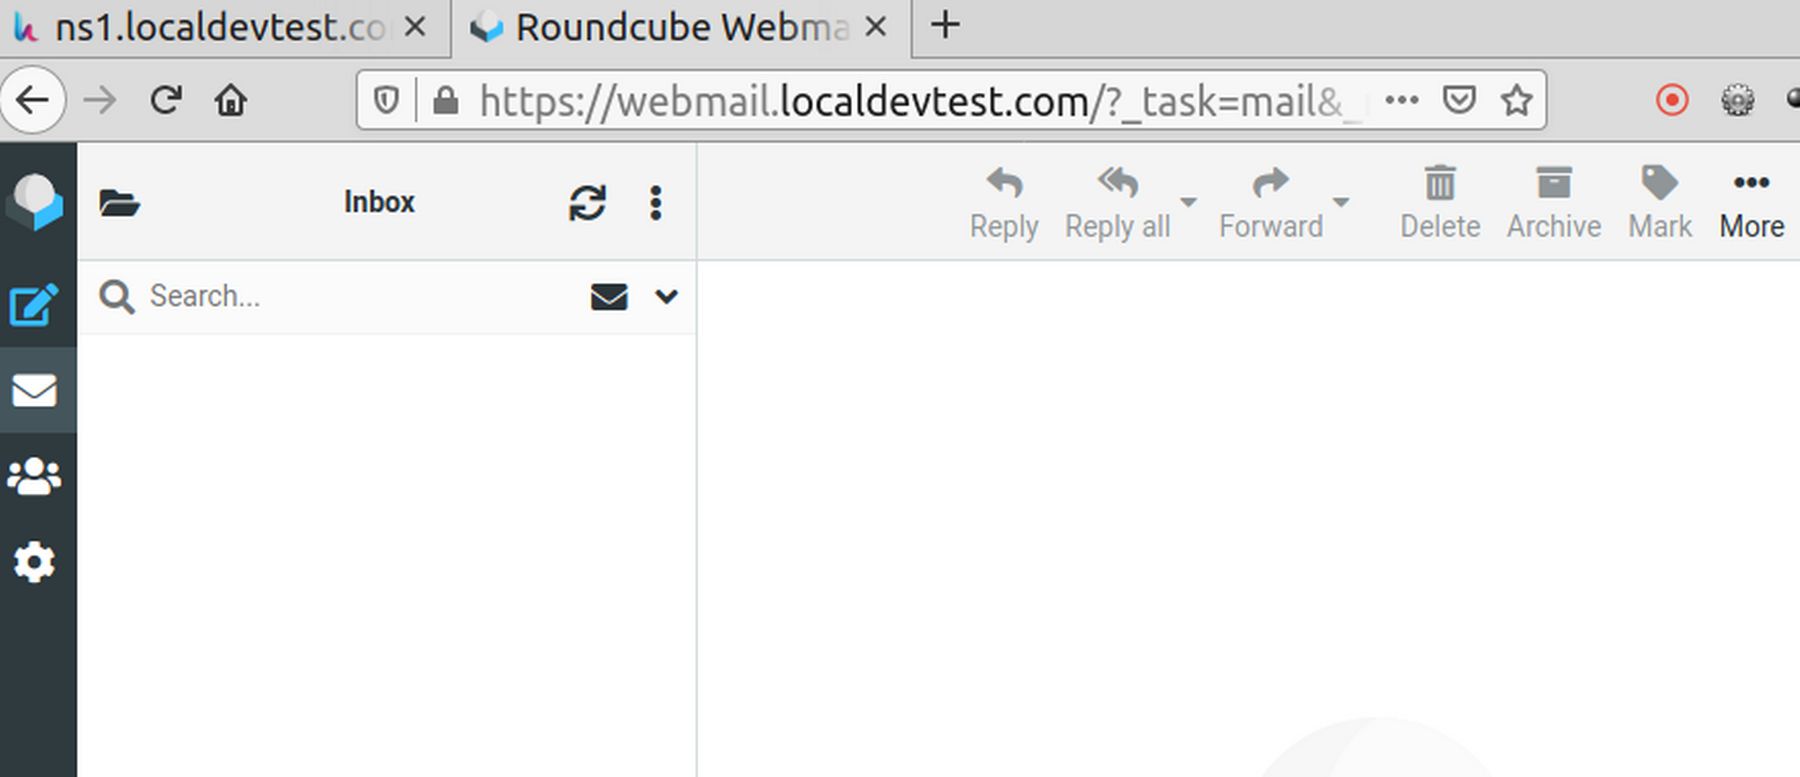
Then click Back again to go to the mail domains screen. Then select the mail domain and click the second option which is Open Web Mail.
http://webmail.localdevtest.com/
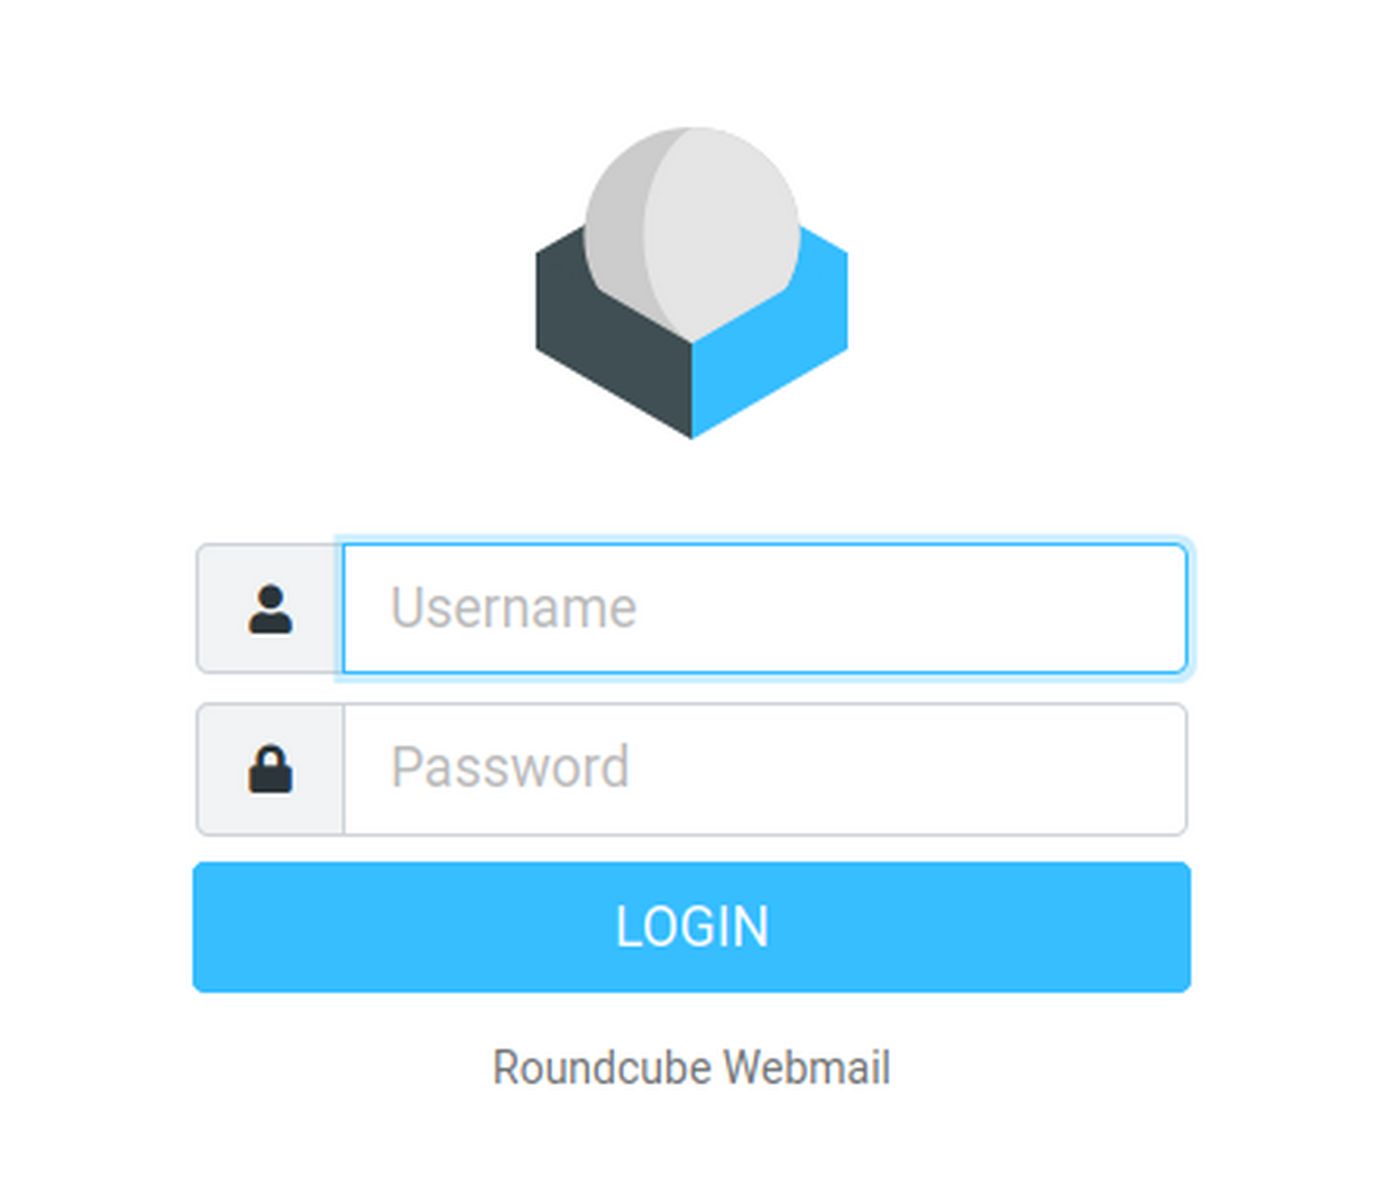
Note that the web mail page is secure. This means hackers cannot see your log in username or password when you enter it. Log in with the username
Create a Test email. Then click Send. Then go to your normal email account and reply to the email to verify that custom business emails are sent and received. Note that you may have to check the Spam folder of your normal email account.
What’s Next?
In the next article, we will set up a secure email system on our home computer to connect with our VPS server business email account.