
At the end of the previous chapter, we opened the folder public_html and used the file index.html to edit the default Hestia website. In this article, we will explain how to replace the index.html file with a complete Joomla website.
1 Log into the Hestia User Control Panel and Create a New User
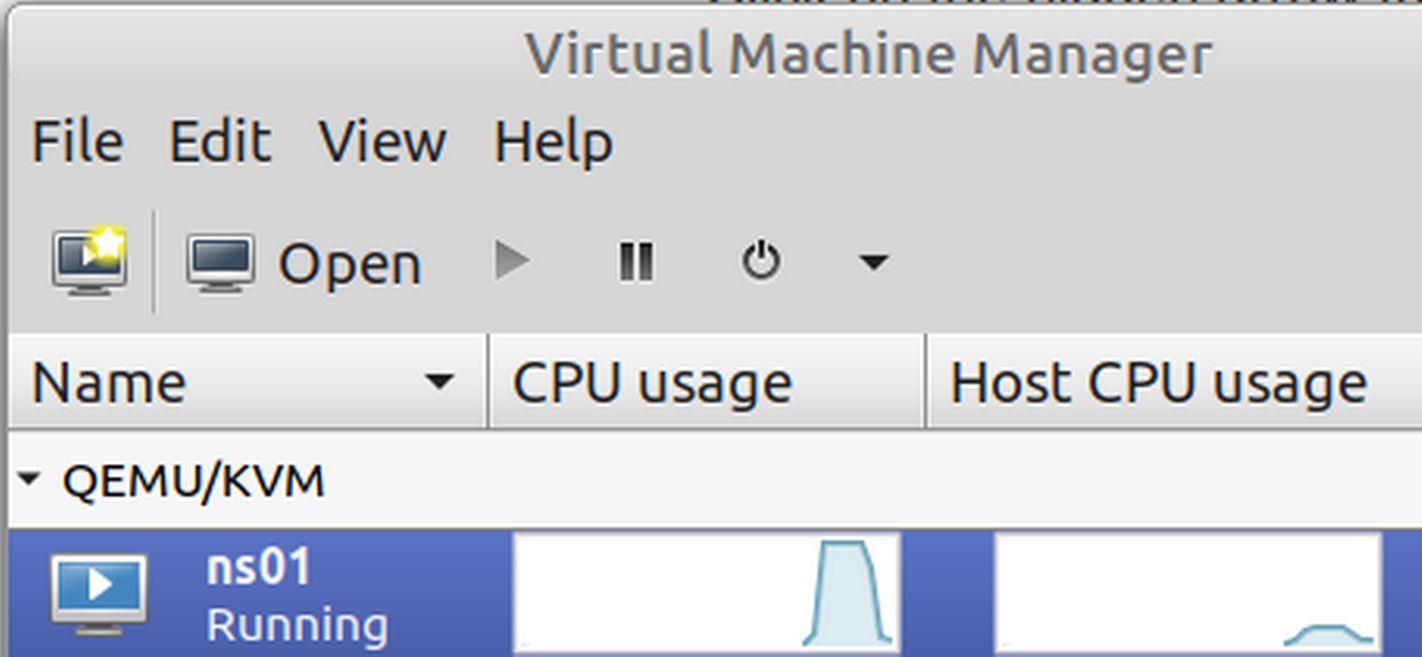
We first need to turn on our server. Open Virtual Machine Manager and start the server called ns01. It will take about one minute for Hestia to fully load and have the server start. You do not need to actually log into the server.
Then open a browser tab and type in the Hestia login page URL: 192.168.0.105:8083
We can also reach the same log in page by entering
ns01.dev.test:8083
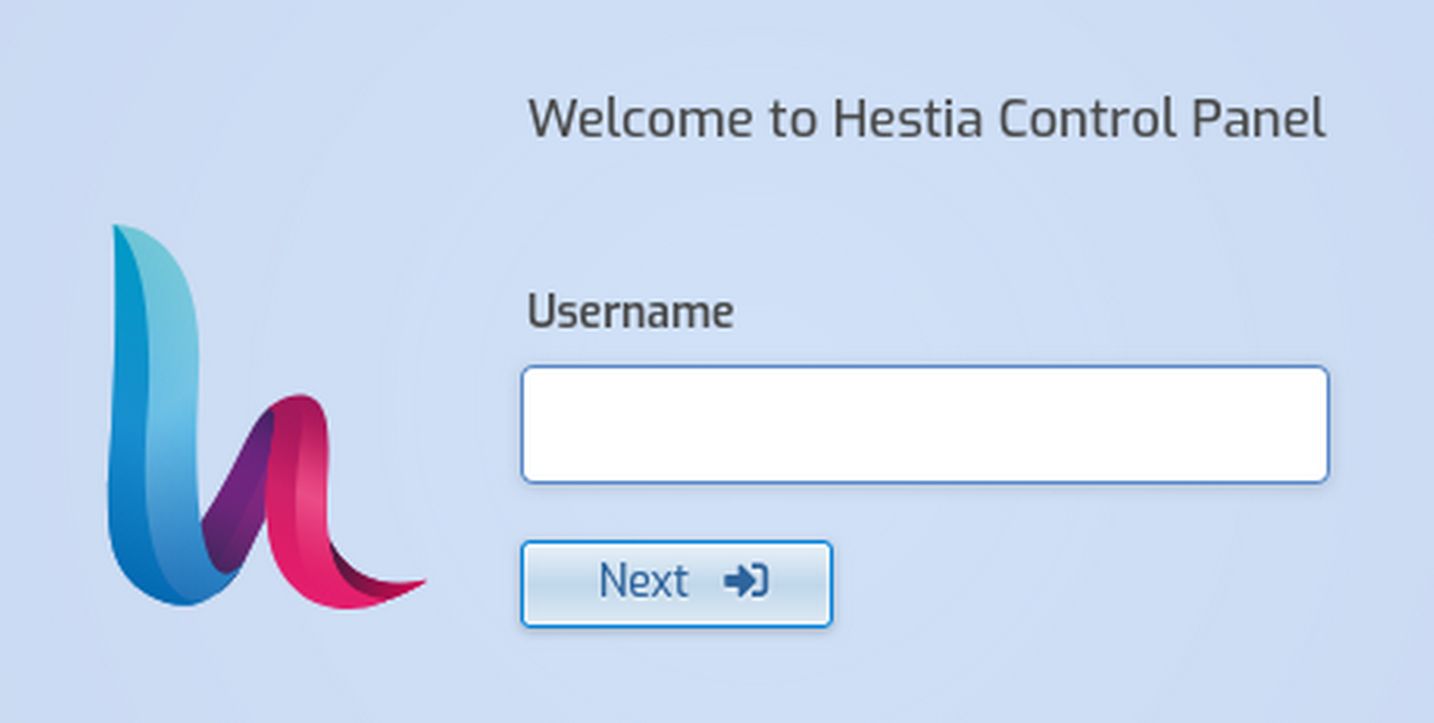
Then type admin and your admin password.
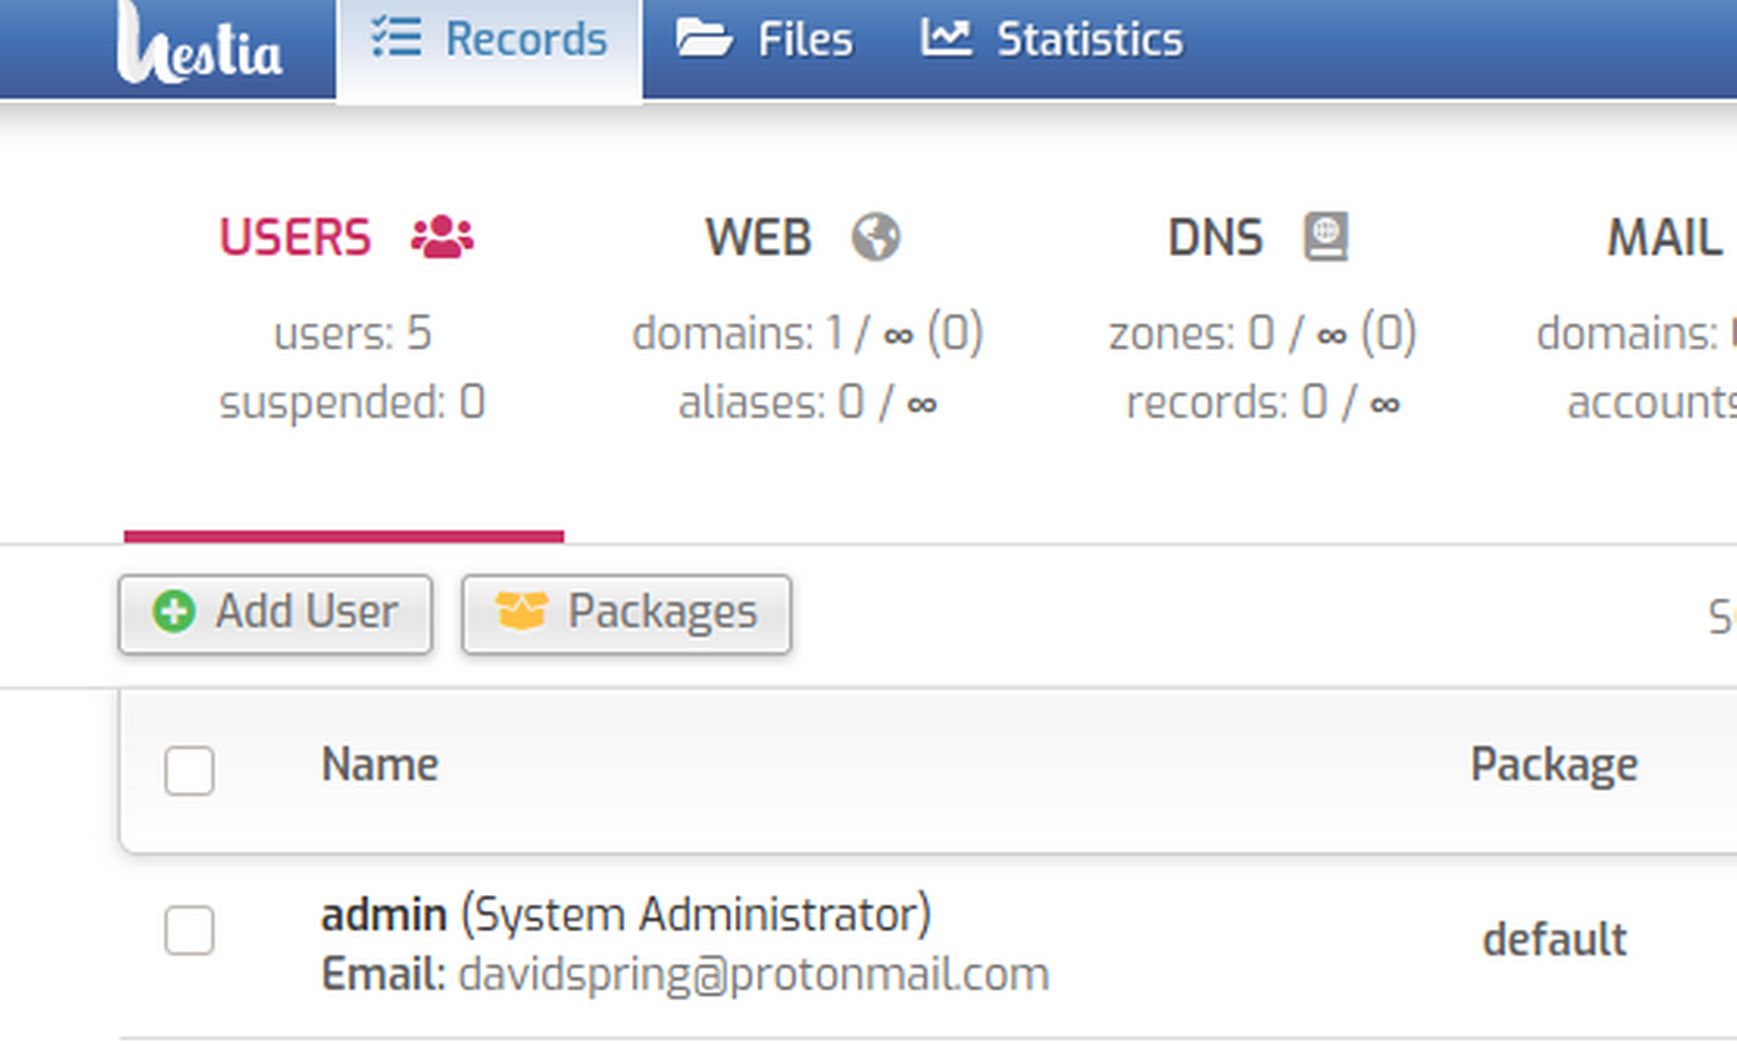
Then click USERS and Add a New User called user2:
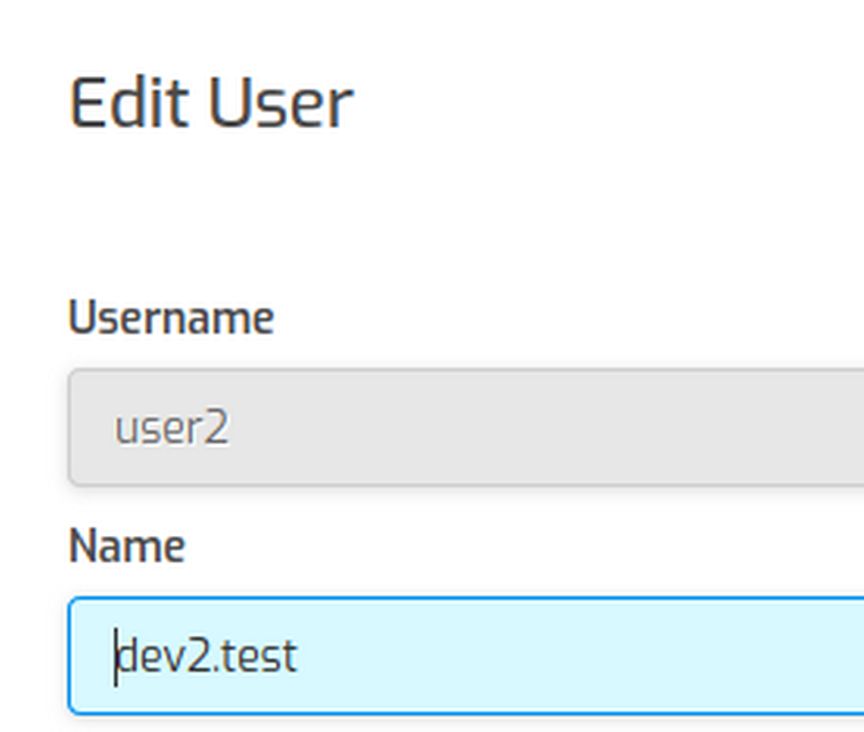
We will use the website for the Name. Add a password and click Save and Back. For security reasons, It is important that each website be created by a separate Hestia user. This way, if one website is hacked, it will not affect any other websites on the server.
2 Make sure the new domain name has been added to your host computer /etc/hosts file.
Open a terminal on your home computer and copy paste or type:
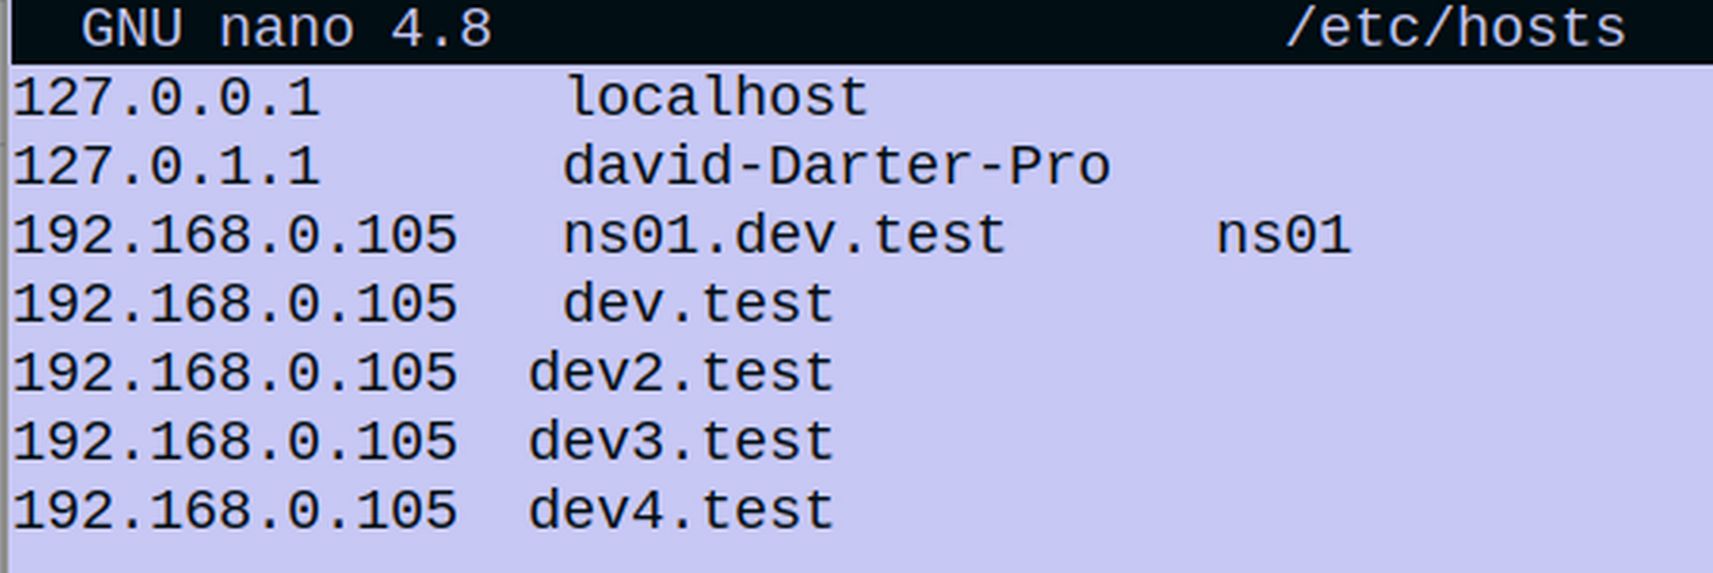
sudo nano /etc/hosts
Recall that in our last article, we added a fake domain name called dev2.test to our home computer etc/hosts file and linked it to the static IP address of our ns01 server.
If you change this file, save it with Control plus o followed by Ennter. Then close the file with Control plus X.
3 Start an SSH Session to modify two server settings
We need to make two important changes on our server settings and we will use Midnight Commander to make those change. These changes are “server-wide” changes which only need to be made once. Open the terminal again on your home computer and type or copy paste:
Then enter your root password. Then type mc, then press Enter to open Midnight Commander. Press Enter again to go to the root folder. Then click on the etc folder to open it.
Fix the Database Configuration File
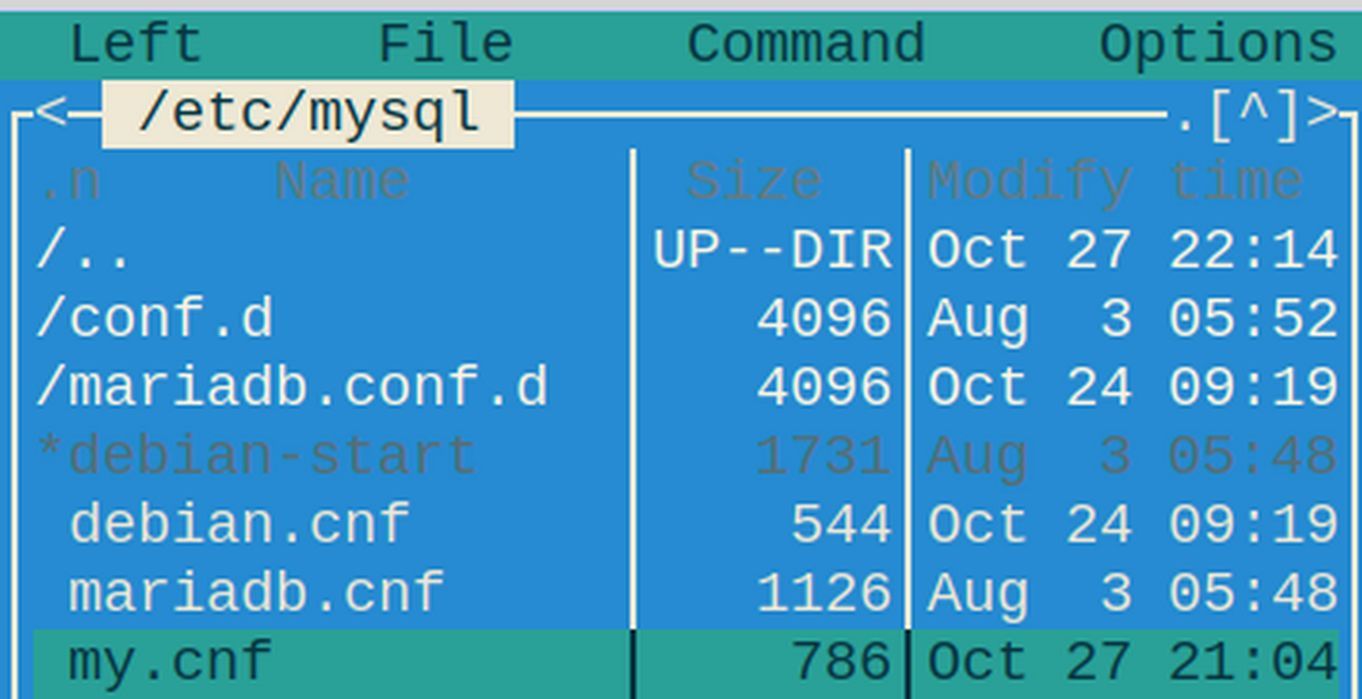
There is an incorrect setting in the Database Configuration file. If not fixed, it will prevent Joomla from displaying the Module Table and display an error stating “Out of sort memory, consider increasing server sort buffer size”. To fix this problem, open Midnight commander and navigate to the folder /etc/mysql. Then click on the file called my.cnf to select it:
Then click File Edit. Then scroll down to Sort buffer size which by default is 64K. Delete 64K and increase it to 1M. Then press Control plus o then Enter to save the change. Then press Control plus x to close the file. Then in the Hestia Control Panel admin settings screen, restart mariadb for this change to take effect. (We will restart mariadb AFTER changing the PHP INI file which comes next).
Note: This change is not needed on a real Hestia VPS as Sort buffer size is already set for 1M. This change is only needed on Practice Hestia servers created with Virtual Machine Manager. However, the next change is needed on both a practice VPS and a real VPS.
Fix the PHP INI File
We next need to edit the PHP ini file which is in the following path:
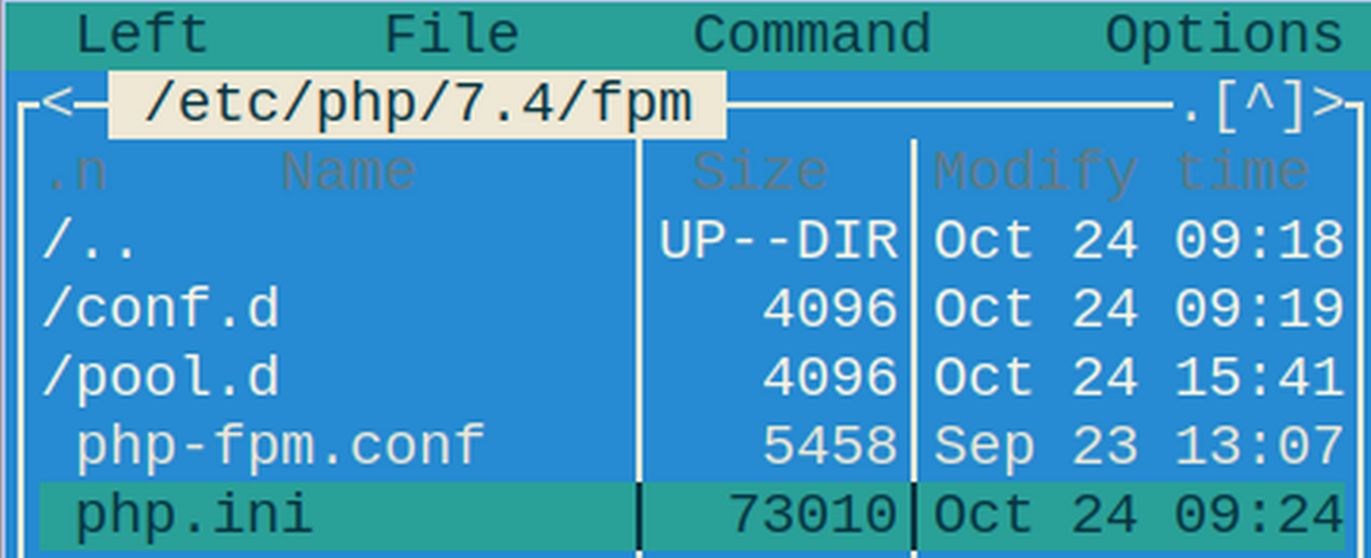
/etc/php/7.4/fpm/php.ini Assuming you already have Midnight Commander open to the etc folder, click on the php folder to open it. Then click on the 7.4 folder to open it. Then click on the fpm folder to open it.
After selecting php.ini, click File Edit to open the php.ini file. Note that there are 1947 lines in this file. To add line numbers to the Midnight Commander edit screen, press Alt plus c to show the line numbers. Scroll down to line 215 which does not have a semi-colon in front of it and is therefore active.
Change output_buffering = 4096 to output_buffering = Off.
Why we need to turn off PHP output buffering
The reason we need to turn off PHP output buffering is that Joomla and Apache server both have their own output buffering system and the PHP output buffering system will cause conflict problems. Forgetting to do this step will result in the following warning during the Joomla installation process:
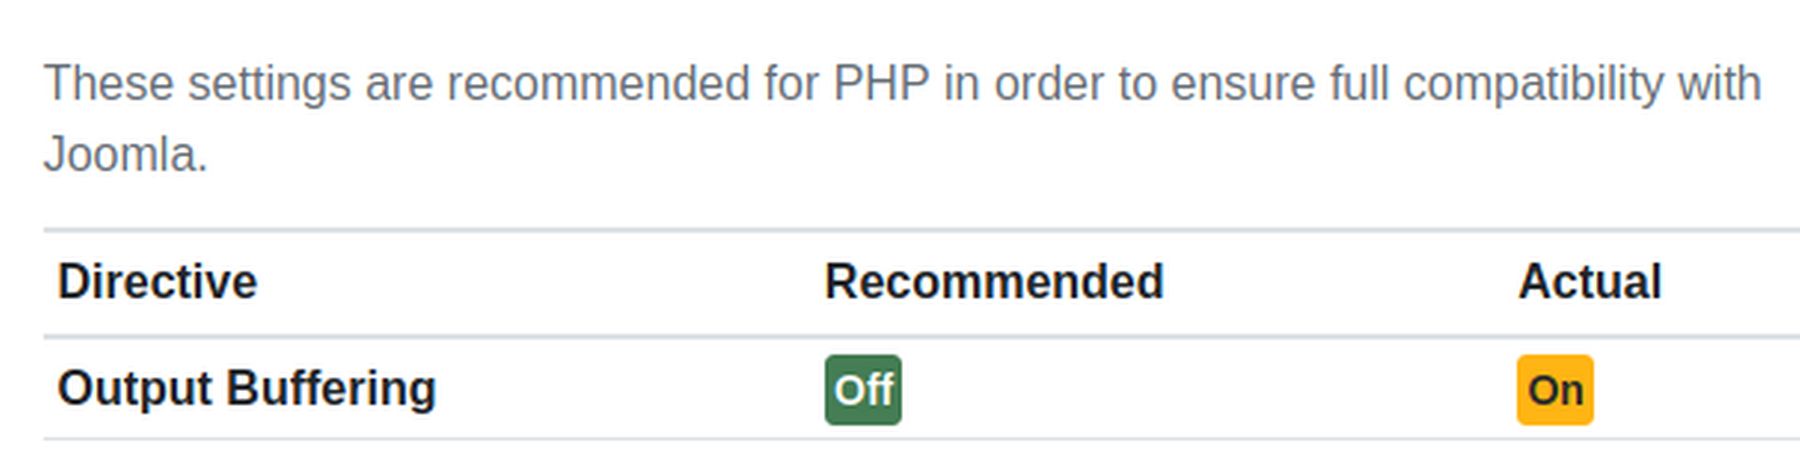
Why does Joomla recommend turning off Output Buffering?
This question has been asked many times on the Joomla forums and the developers of Joomla have never given a clear answer. Technically, Joomla will still work with Output Buffering left on. In addition, many Shared Hosting providers will not let you turn Output Buffering off. The primary reason to leave it on is that some Wordpress functions require output buffering to be on.
However, I do not recommend Wordpress as I think the Wordpress Code is bloated, poorly written and can easily be hacked. If you are using your own Virtual Private Server and you will not be installing Wordpress websites on your VPS, I think it is wise to follow the Joomla recommendation for two important reasons.
Output Buffering is the primary cause of the White Page of Death
The first reason is that Output Buffering can make analyzing coding errors more difficult. Occasionally, you may download a Joomla plugin or template that has a minor coding error. Output buffering can prevent the web page from loading and instead may display a blank white page with no information at all. This can happen even if your website is set to display coding errors. The “White Page of Death” can make it very difficult to figure out what the actual coding problem is and where the coding problem is even located. I think this is the primary reason why the developers of Joomla recommend that Output Buffering be turned off. One of their main jobs is fixing coding conflicts and Output Buffering makes their job more difficult.
Output Buffering can create problems for URL Rewriting
Another problem with output buffering is in some cases, it can create problems with URL Rewriting. URL Rewriting is the process of converting actual URL links into more human friendly URL links. Because I recommend turning on URL Rewriting, I recommend turning off Output Buffering.
There is no real benefit to Output Buffering
Some have claimed that Output Buffering can speed up page loading. This claim is not accurate. There are more than one hundred factors that affect page loading. Output Buffering is not even a minor factor. In fact, there are cases where output buffering can actually slow down page loading. After having spent days reading all of the posts on the Internet both for and against Output Buffering, my opinion is that there is no real benefit to output buffering – but there are several significant drawbacks. I understand why the developers of PHP have Output Buffering turned on by default. (It is needed by Wordpress). However, I agree with the developers of Joomla that PHP Output Buffering should be turned off. If output buffering is needed at all, it should be handled inside of Apache or Joomla by turning it on inside of a limited section of PHP code – not with it being on by default globally in PHP where it can harm all kinds of things on the server. To be clear, I am not against Output Buffering, I am against it being turned on my default in the PHP INI file.
Fixing other bad PHP INI default settings
The PHP INI file also has several other truly ridiculous default settings that should have been updated years ago. Thankfully, these only need to be fixed once – when you are first setting up your VPS. Here are three important settings to change:
#1 Scroll down to line 694 and increase post max size from 8M to 28M: post_max_size = 28M
#2 Scroll down to line 846. Increase upload max file size from 2M to 22M.
#3 Scroll down to line 849. Increase max file uploads from 20 to 30. This will allow us to upload up to 30 images at a time instead of the current 20.
Then save the PHP INI file with Control plus o followed by Enter. Then close the file with Control plus x. Then type exit to close Midnight Commander. Then type exit to close ssh session without turning off server. Then close the terminal.
Restart Several Hestia Services for changes to take effect
Back at the Hestia Admin screen, click on Server settings, Configuration and restart apache, mariah db, nginx and php7.4-fpm. You are now ready to add as many Joomla websites as you want!
4 Add a New Web Domain
Once the new Hestia user is added, click on the arrow to the right of the user to log in as user2 .
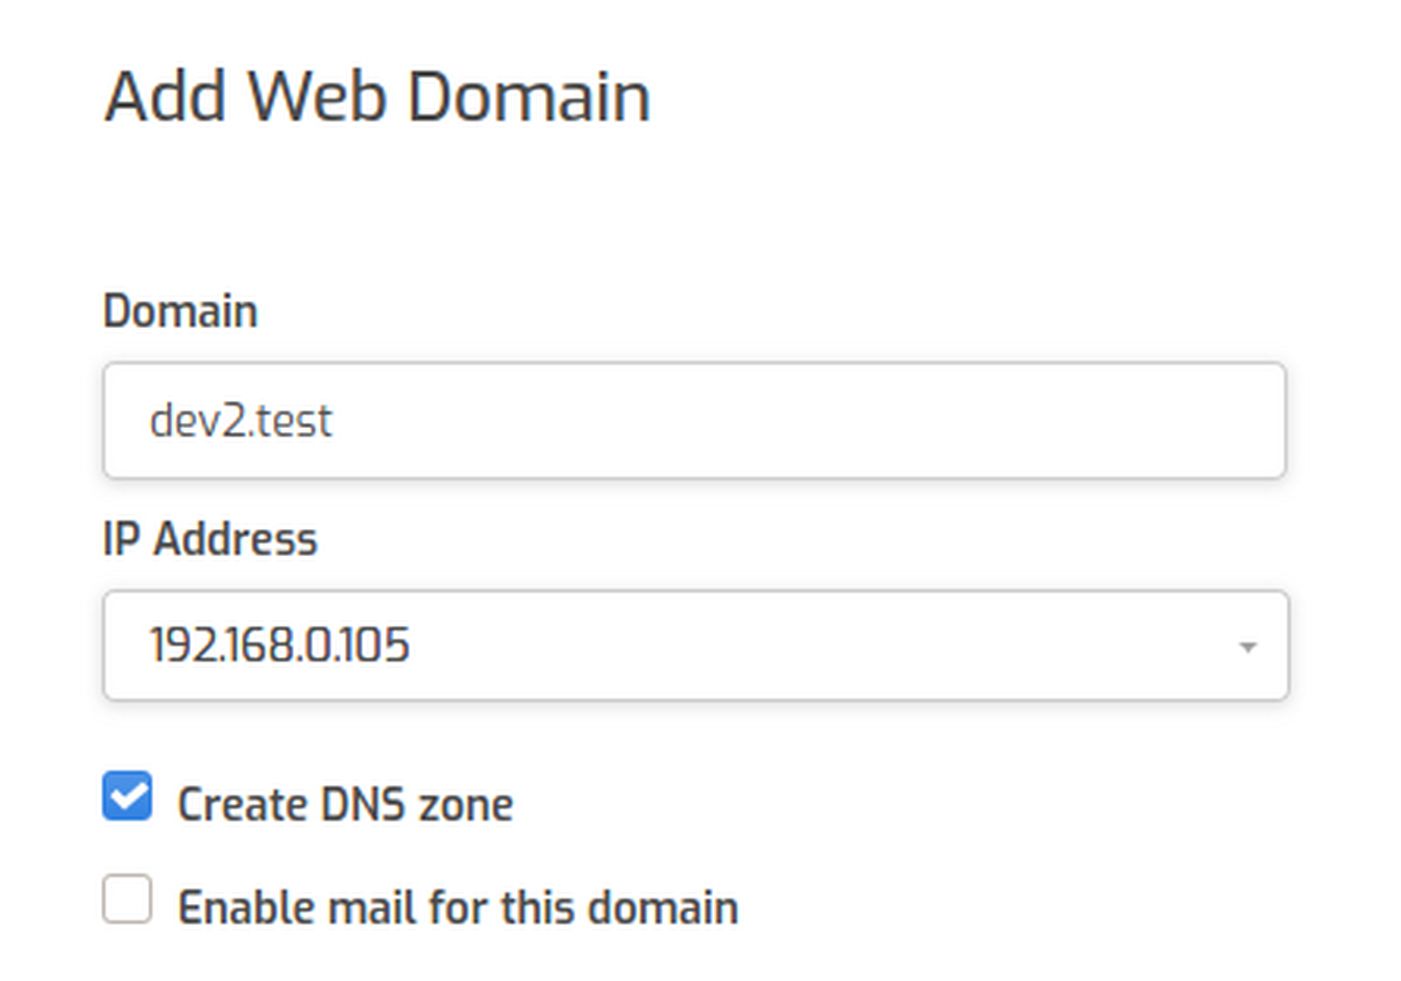
Call our new website dev2.test. The IP address is the static IP address of our server ns01. Check Create DNS zone. Then click Save and Back.

Click on the hidden arrow to the right of the domain name to go to the default Home page:
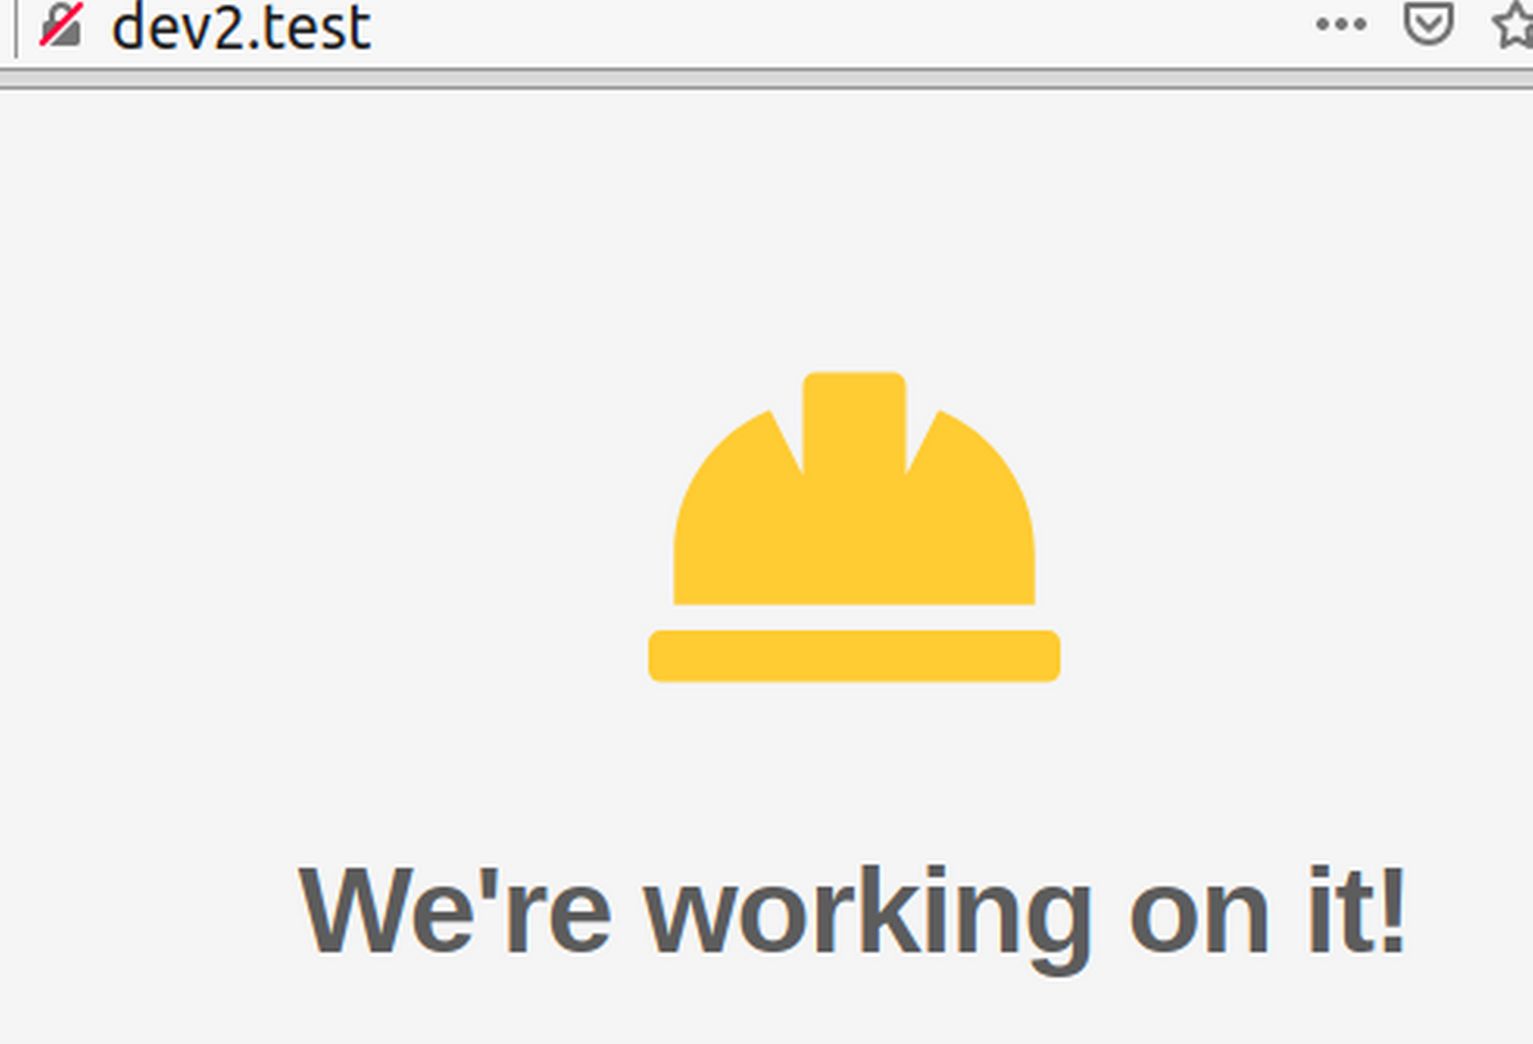
It is important to verify that the Hestia test page displays before trying to install a Joomla website on it.
5 Download the most recent Joomla Installer Zip File
Go to Joomla.org and cdownload Joomla 3.10. Here is the direct link:
https://downloads.joomla.org/cms
Click on Joomla 3. Then for the latest version of Joomla 3.10, click View Files. Then scroll down to the ZIP package and click Download Now. Then save the package in your Downloads folder.
6 Upload the Joomla 3.10 Zipped File to public_html
Go back to the Hestia User 2 screen and click Files, web, dev2.test and open the public_html folder. Then click Add files. Then select and add the zipped file. Then in your home file manager, navigate to your Downloads folder and select the zipped Joomla folder.
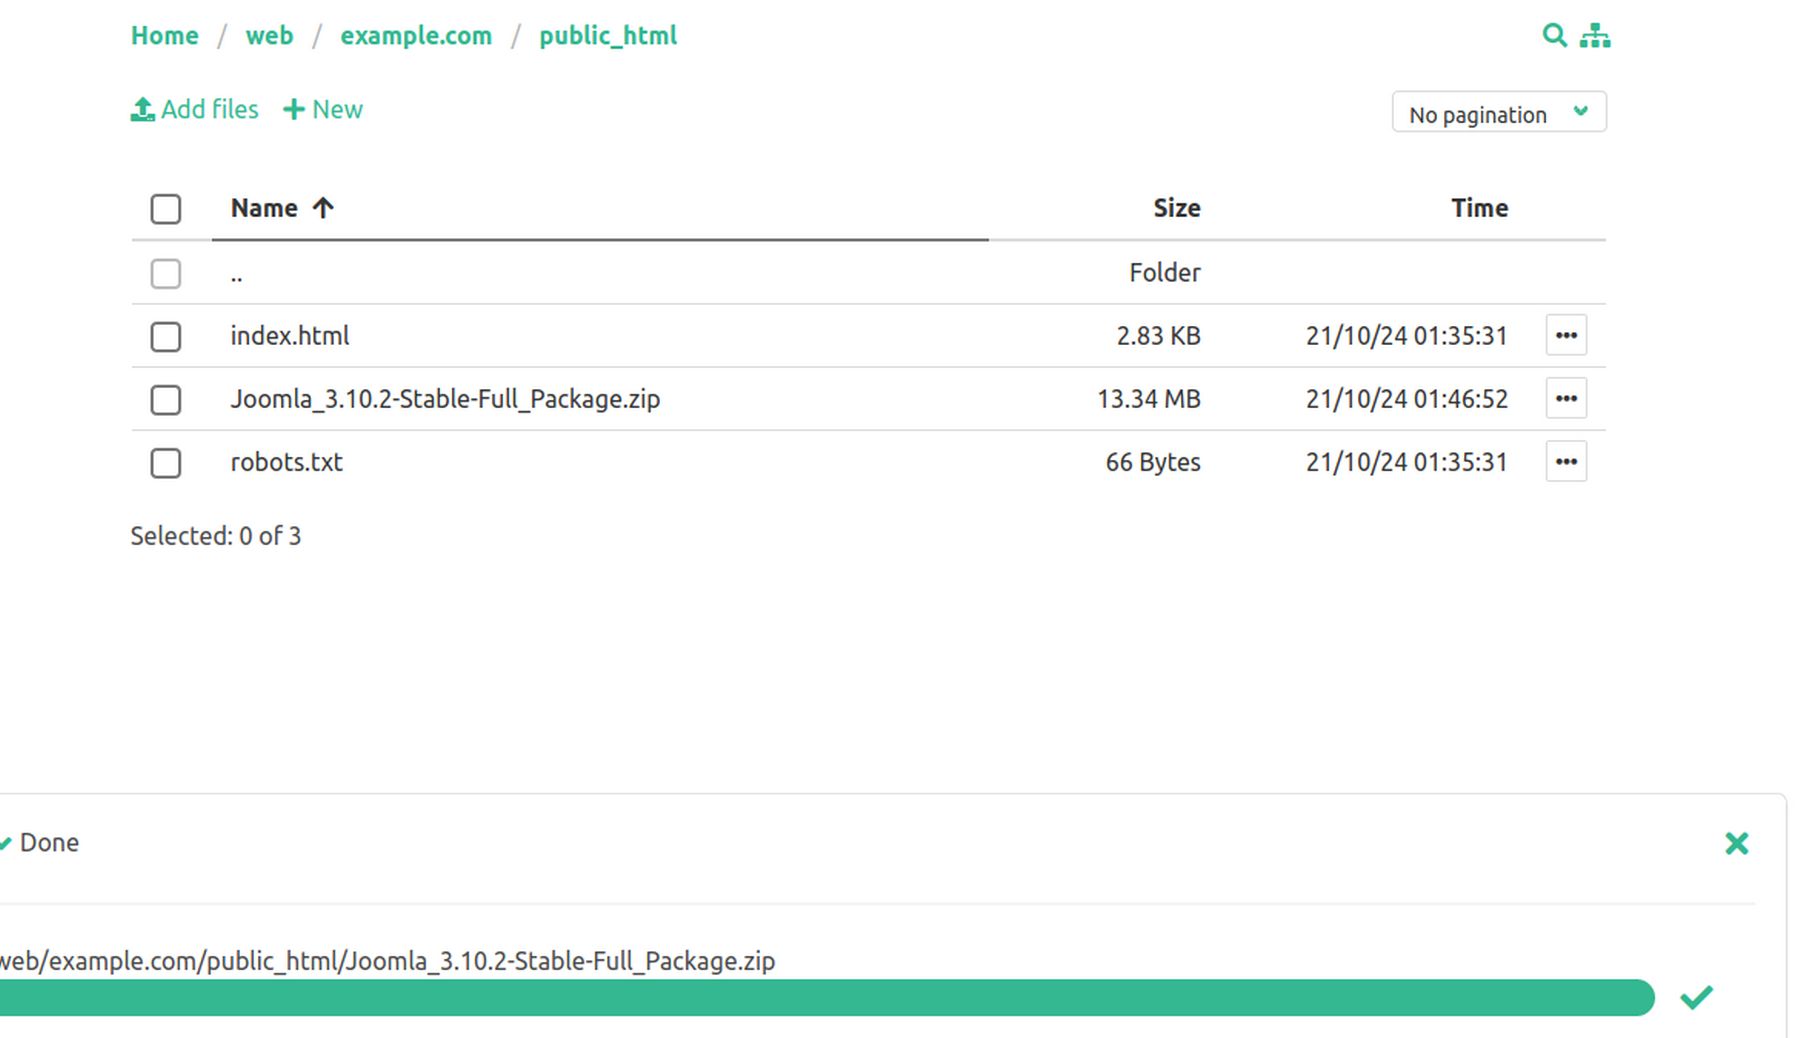
When it is finished loading, close the upload screen. Click on the three dots to the right of the Joomla zipped file. This will bring up a pop up screen. Click Unzip. Then click Unzip again. When it is done, there will be lots of folders and files in the public_html folder:
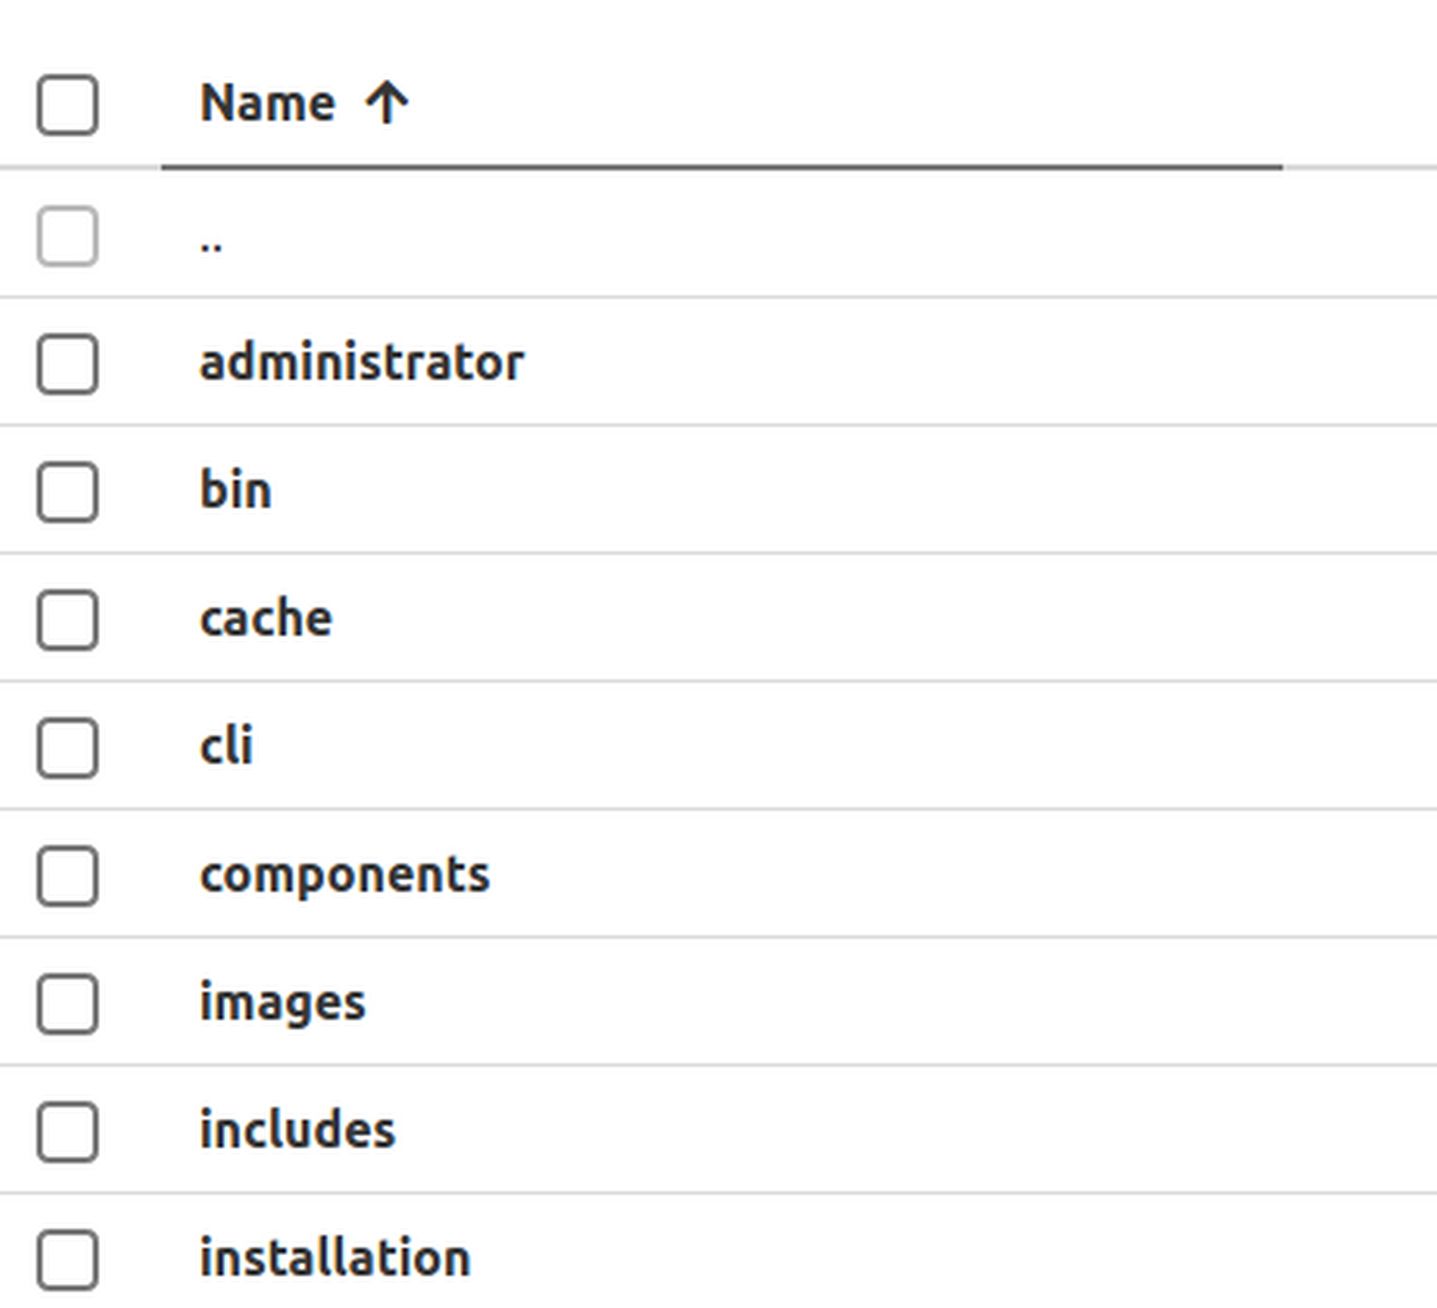
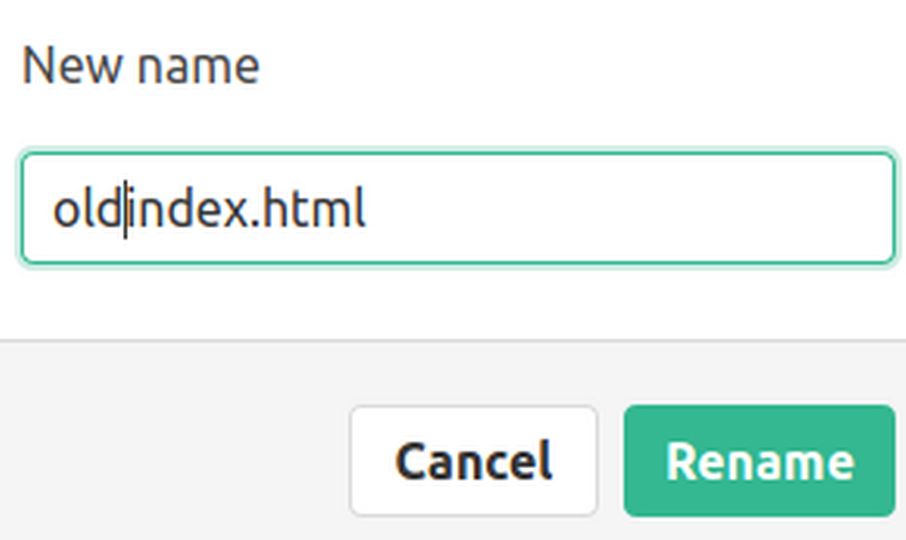
Find the Joomla zipped folder and click on the three dots. Then click Delete to delete the zipped folder. Then find the index.html folder and click on the three dots and click Rename to rename it old-index.html.
7 Use a web browser to open the Joomla Installation page
Click Exit to Control Panel to go back to the Hestia User 2 screen. Then click on the arrow to the right of the website name to open a new browser tab and go to the Joomla installation page.
Tip: If the prior default Hestia page comes up instead, rather than clearing the browser tab, which will log you out of the Hestia panel, just copy the website URL into a browser tab on a different browser:
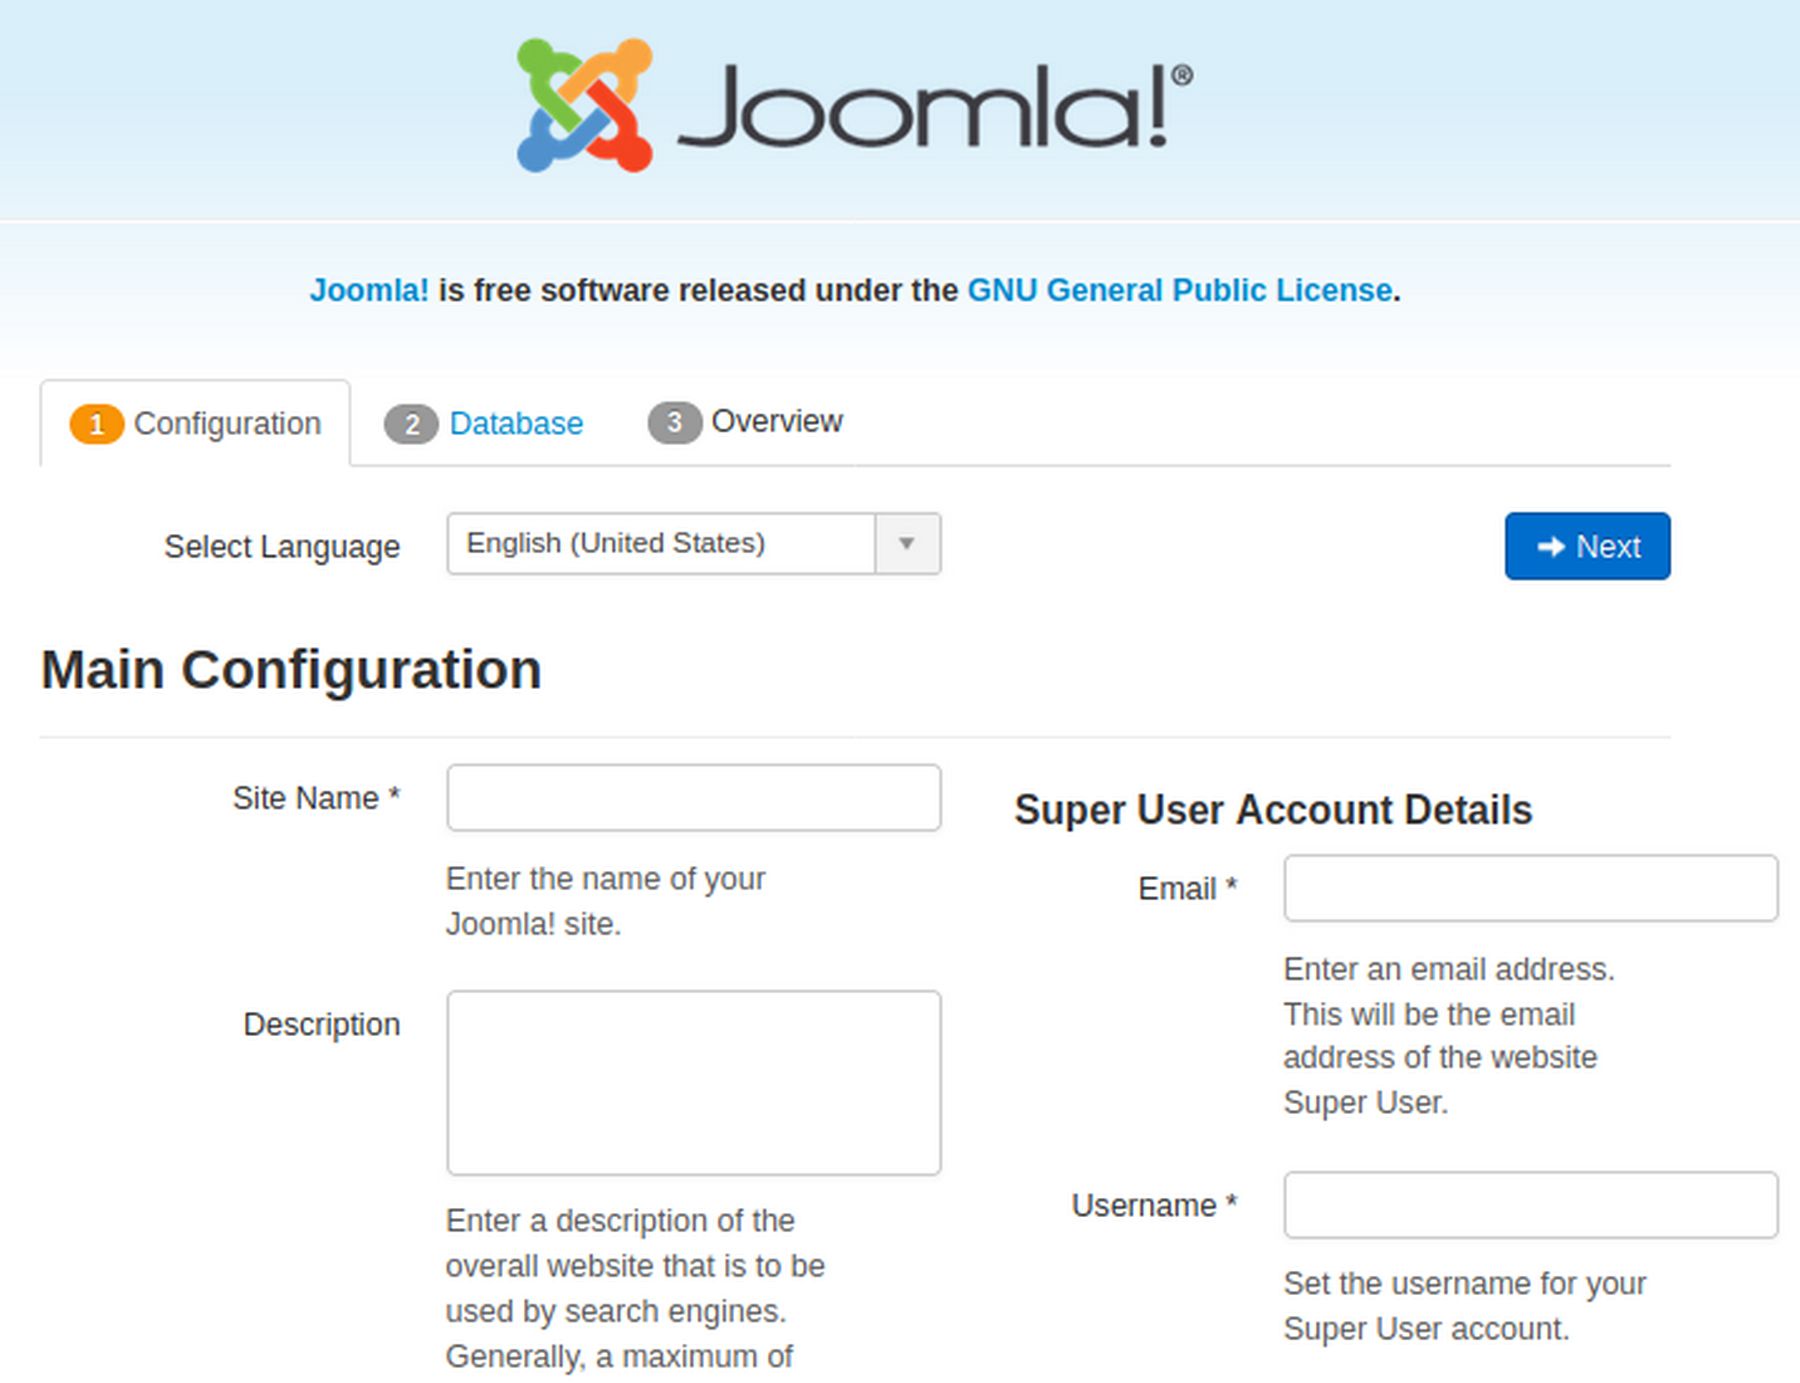
Name the site whatever you want. We will call the site Joomla 3 Ten Test Site. Type in a one sentence description. Type in your email address and an easy to remember username and password. Then click Next.
8 Use Hestia to Create a Database
Before we can fill out the browser database page, we need to use Hestia to create a data. Go back to the Hestia User 2 panel. Then click DB (for Database). Then click Add Database.
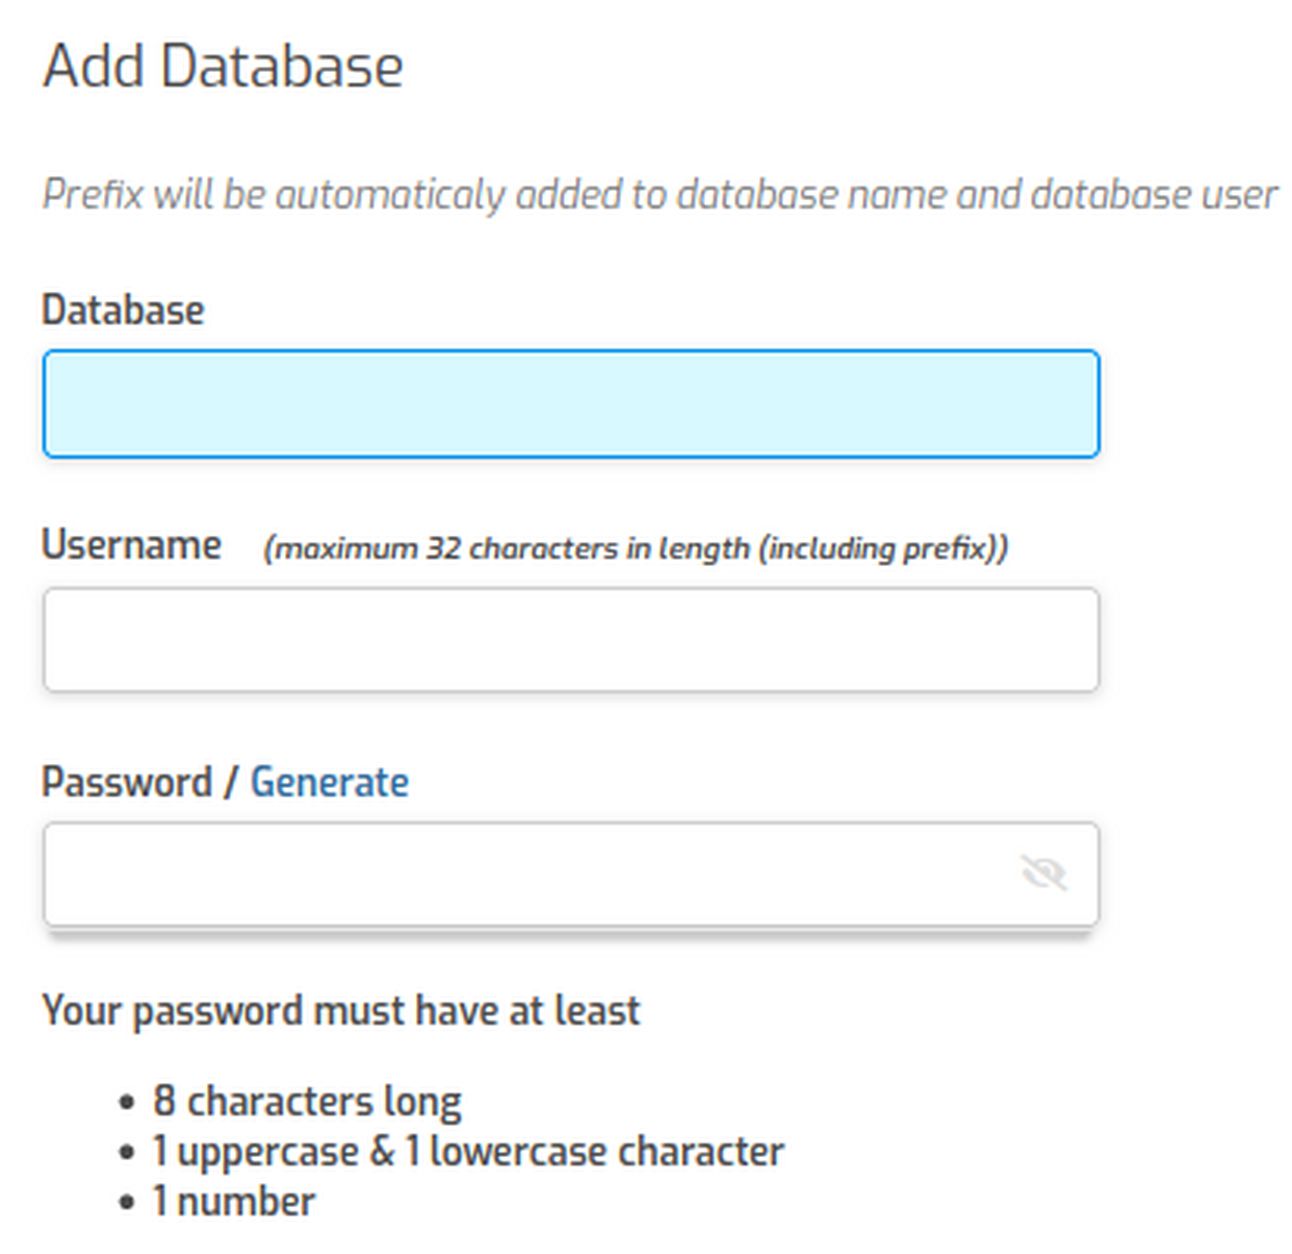
Hestia will add the user name as a prefix to the database name and database username. Therefore:
Database name db2 = user2_db2
Username un2 = user2_un2
Password user2_Pw2
Then click save and go back to browser and fill in the form. Then click Next.
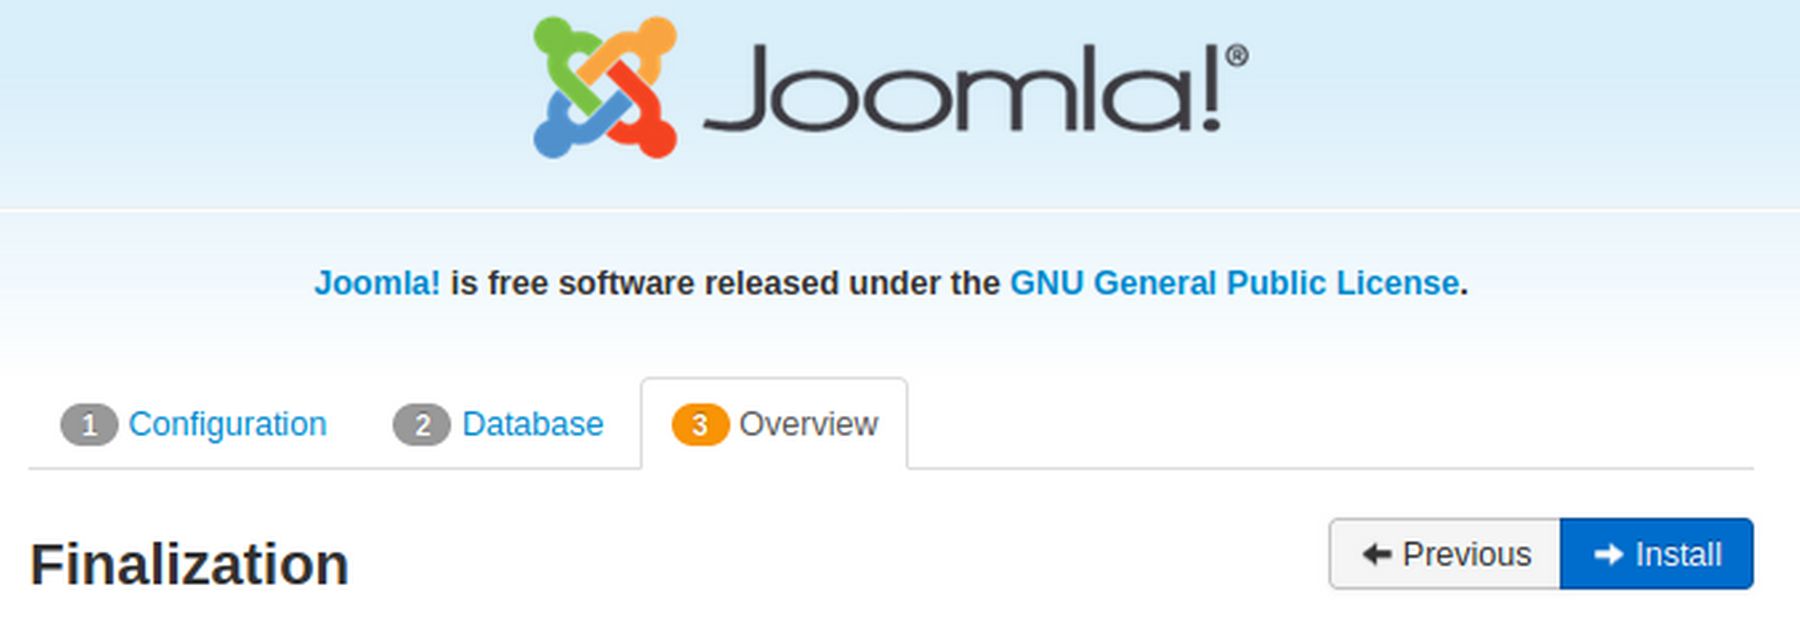
Leave Install Sample Data at None. Scroll down the screen to make sure everything looks OK. Then click Install.
Scroll down the page and click on the orange button to delete the installation folder. It will reply "Installation folder removed."
9 Log into your new Joomla website
Click on the blue Administrator button to go to the log in page:
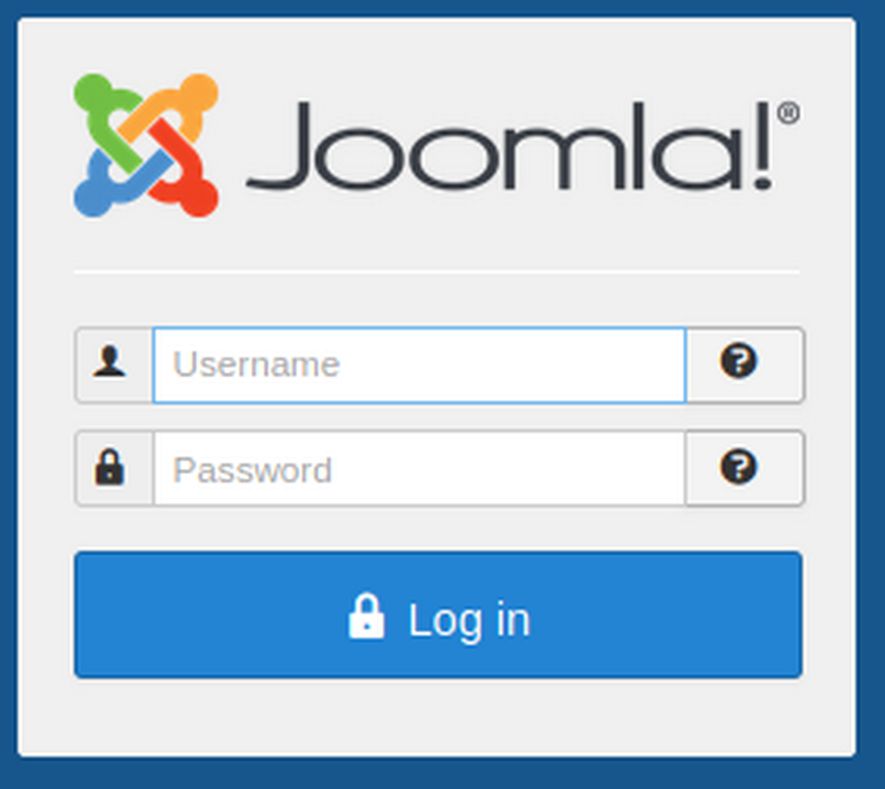
Log in with your administrator username and password.
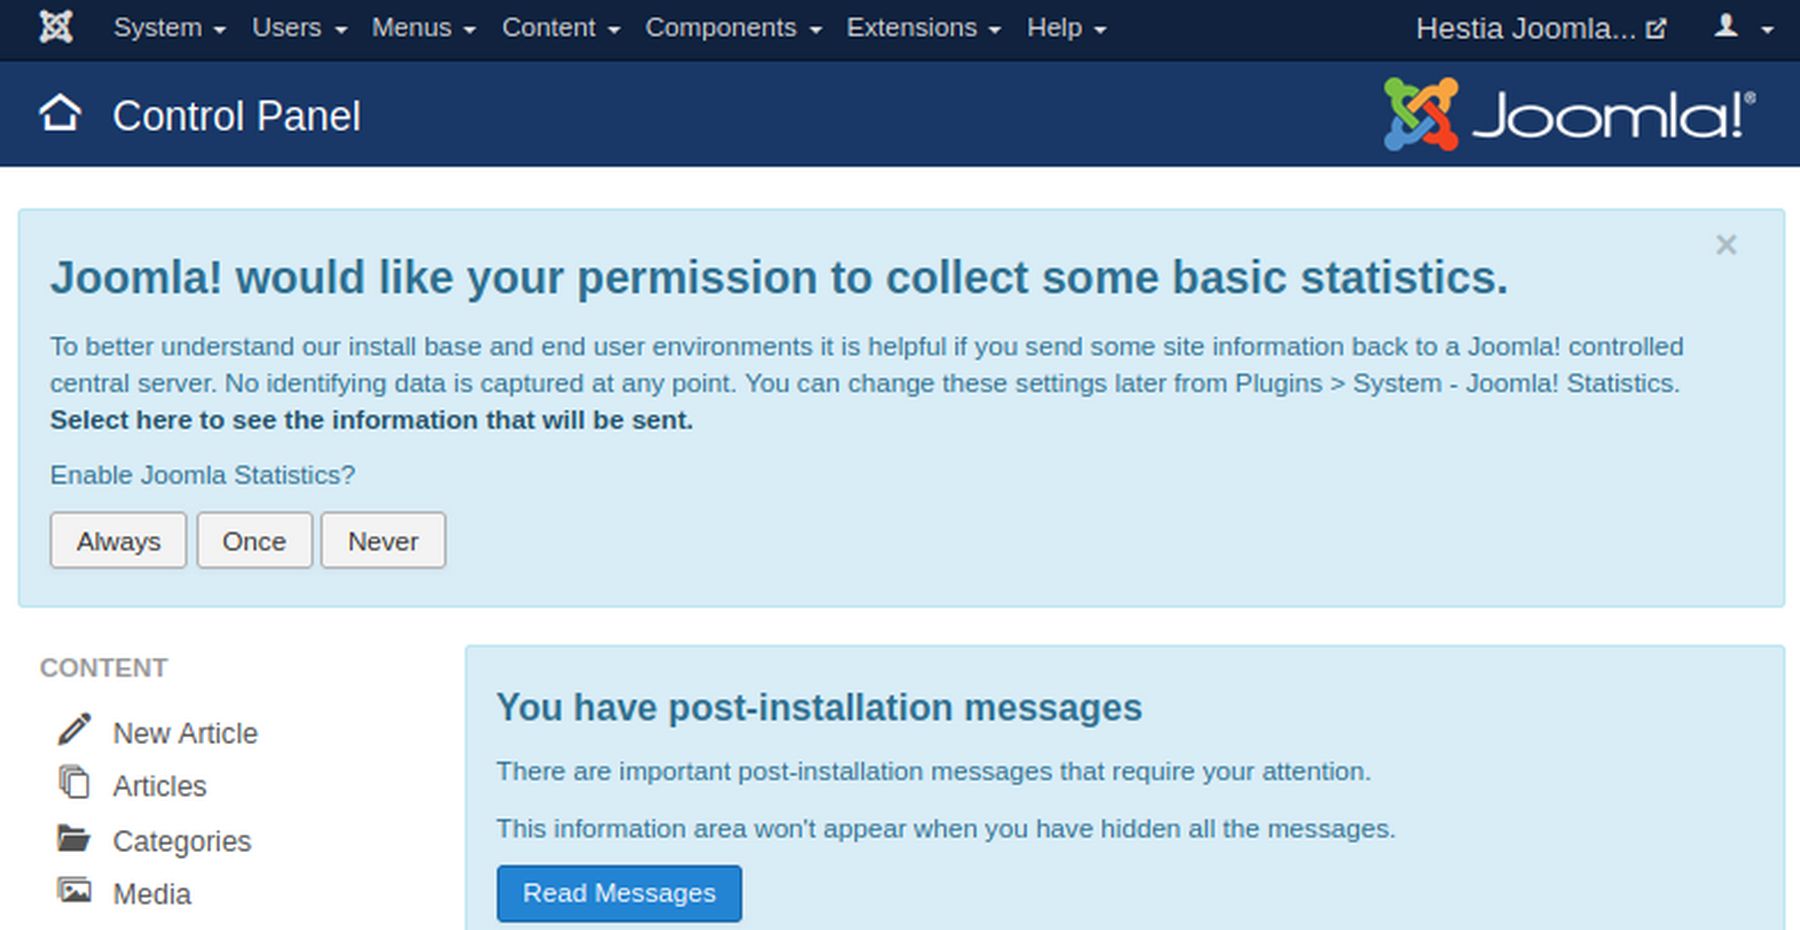
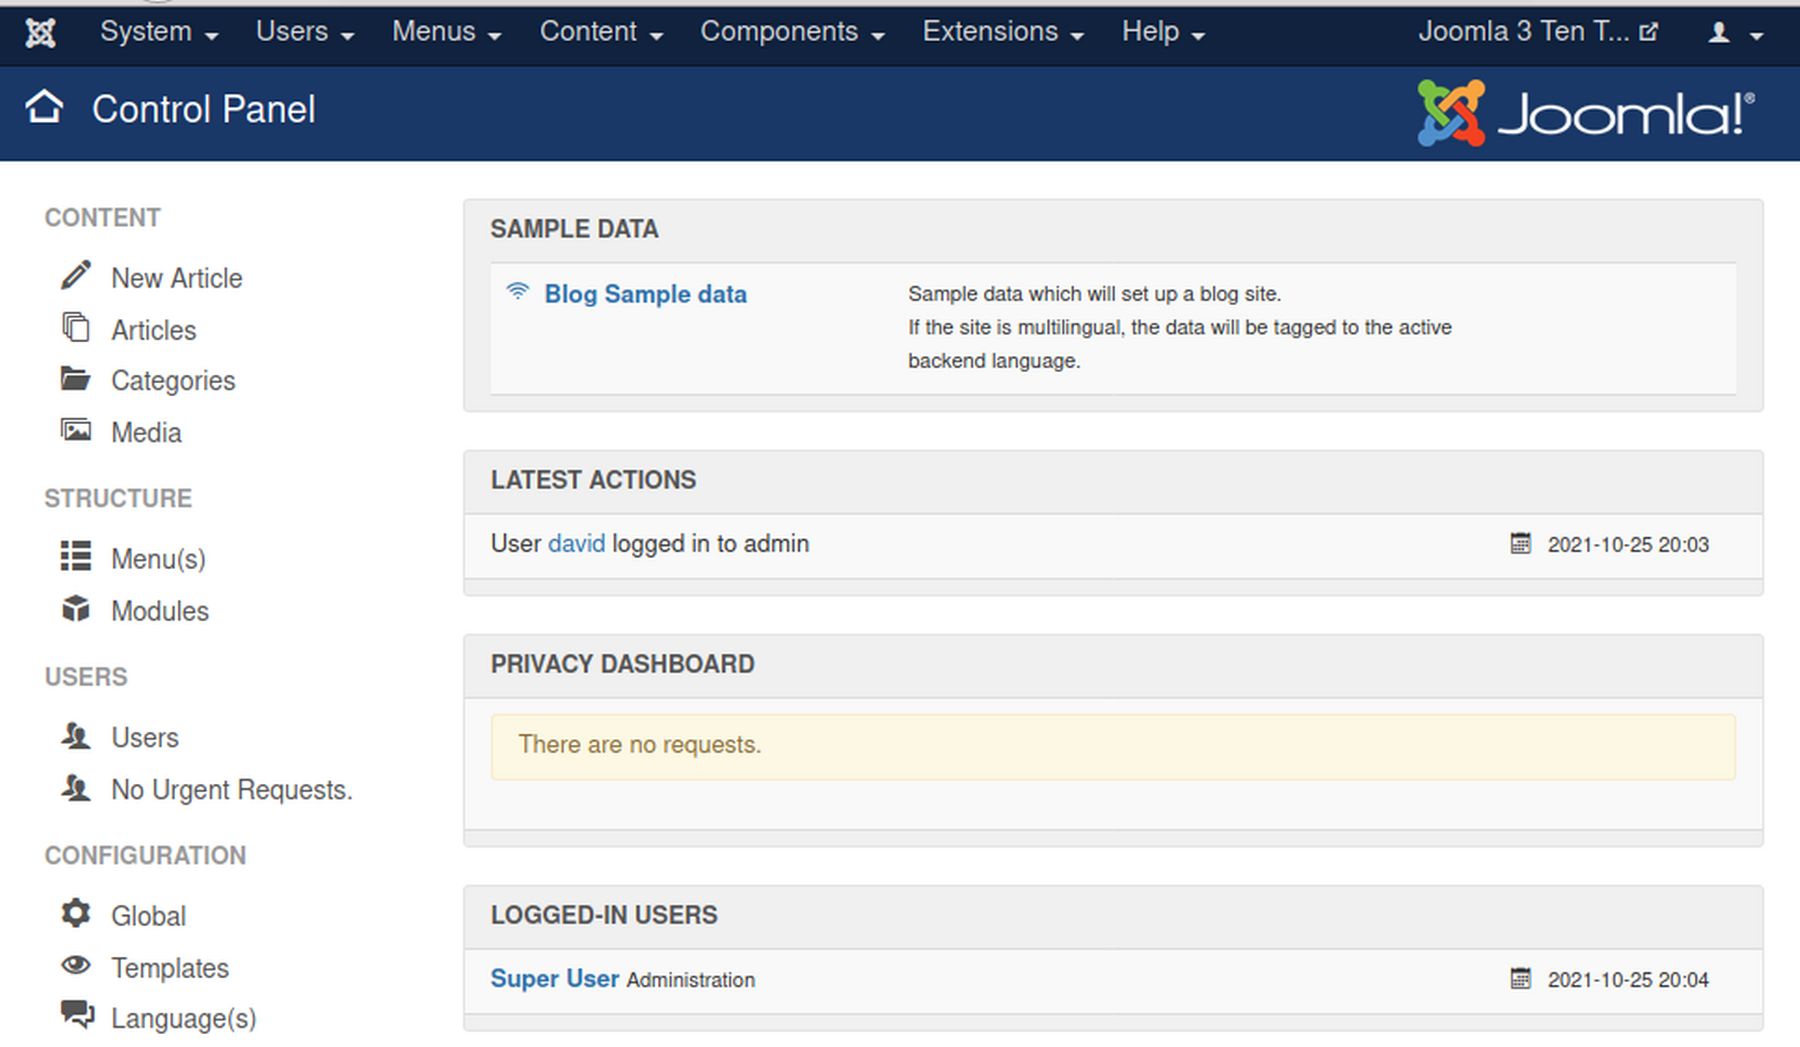
Click Never for the data mining. Read and close the Messages. Here is the default Joomla 3 Control Panel:
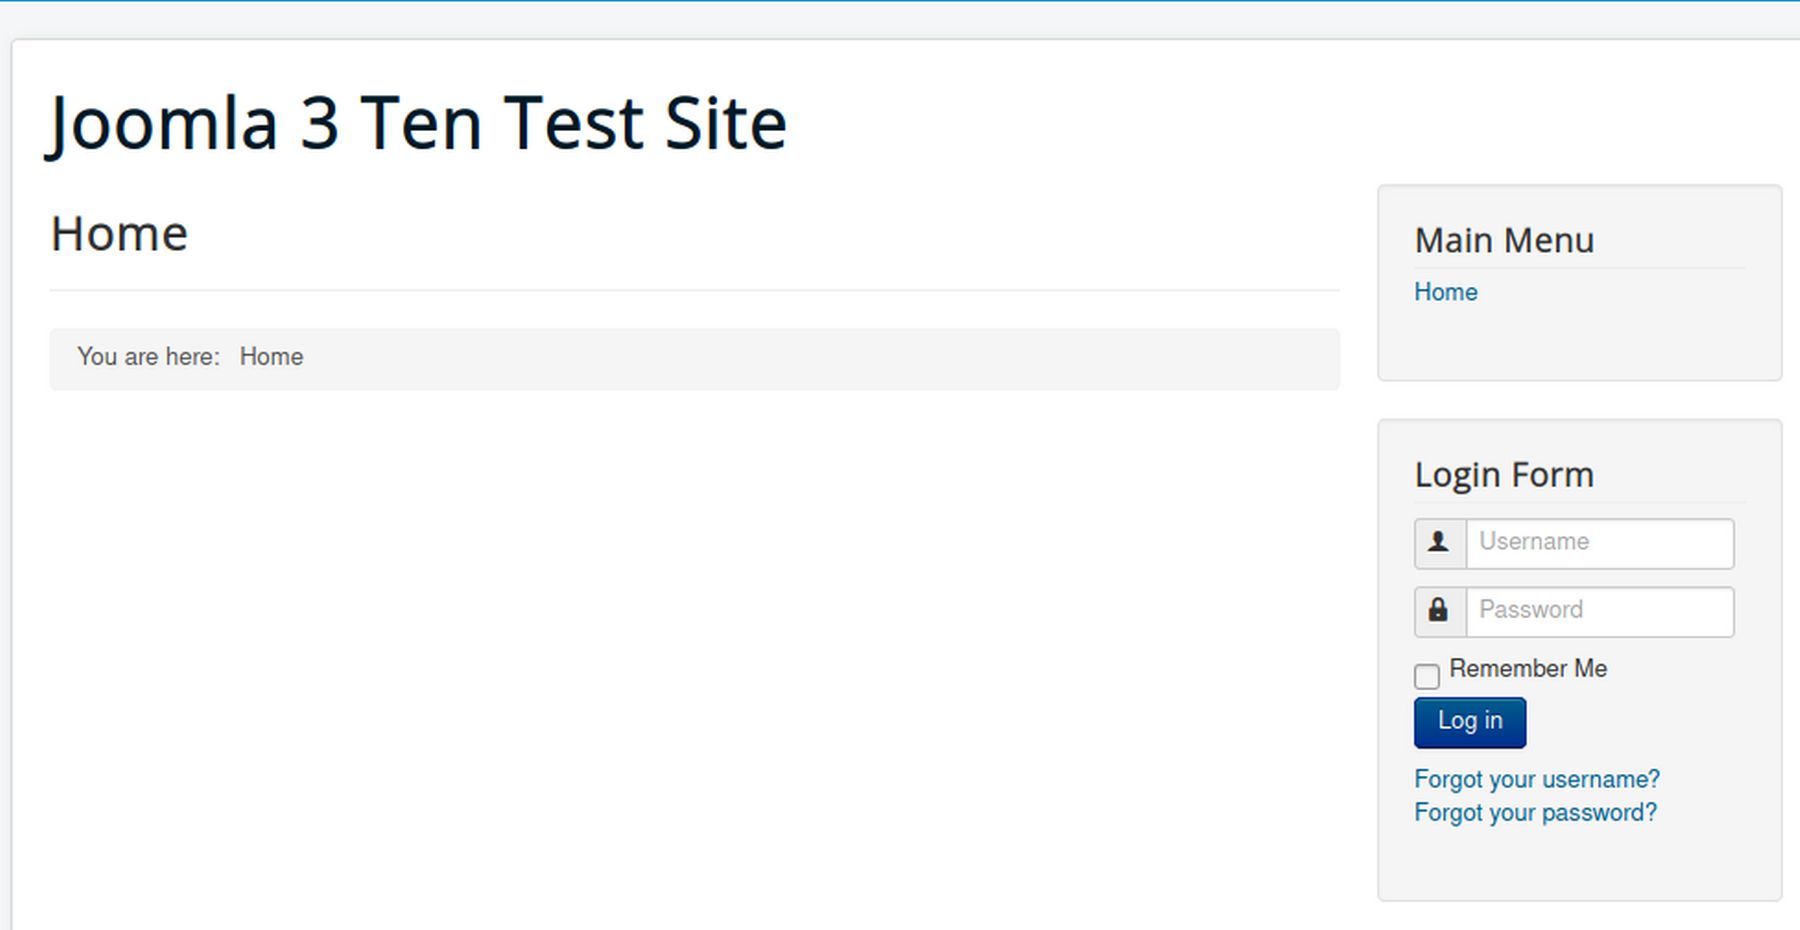
Then click on the site name in the upper right corner to go to the front end of your website:
Close the browser tab and log out of your Joomla control panel by clicking on the person icon in the upper right corner. Then log out of your Hestia user screen and admin screen. Then shut down your ns01 VPS. Then close Virtual Machine Manager.
What's Next?
Now that you know how to use Hestia to create a Joomla website, in the next article, we will look at how to choose a VPS host. Then in the following chapter, we will review steps to improve the security of your Hestia Control Pane, your VPS and your Joomla website.