
Our goal in this article is to first upgrade LibreOffice from version 6 to the latest version 7. We will then greatly simplify the LibreOffice screen.
Upgrade LibreOffice
By default, LMDE comes with a very old version of LibreOffice (version 6). To download the latest version of LibreOffice, go to this link:
https://www.libreoffice.org/download/download/
Change from rpm to deb:

Then click Download. Save the file in your Downloads folder. Then extract the folder. Then open the extracted folder.

Before we can install the new version of LibreOffice, we need to uninstall the core files of the old version. To do this, open a terminal and copy paste this:
sudo apt-get remove libreoffice-core
Then enter your password and press Enter again. When the uninstall is done, close the terminal
Then in the LibreOffice folder in your Downloads folder, left click on the "DEBS" folder to select it. Then right click on the DEBS folder and choose "Open in Terminal". A terminal window will open. Copy and paste the following command:
sudo dpkg -i *.deb
The installation process is now completed. Add the new Libre Writer 7 icon to the task bar.
Simplify Libre Writer
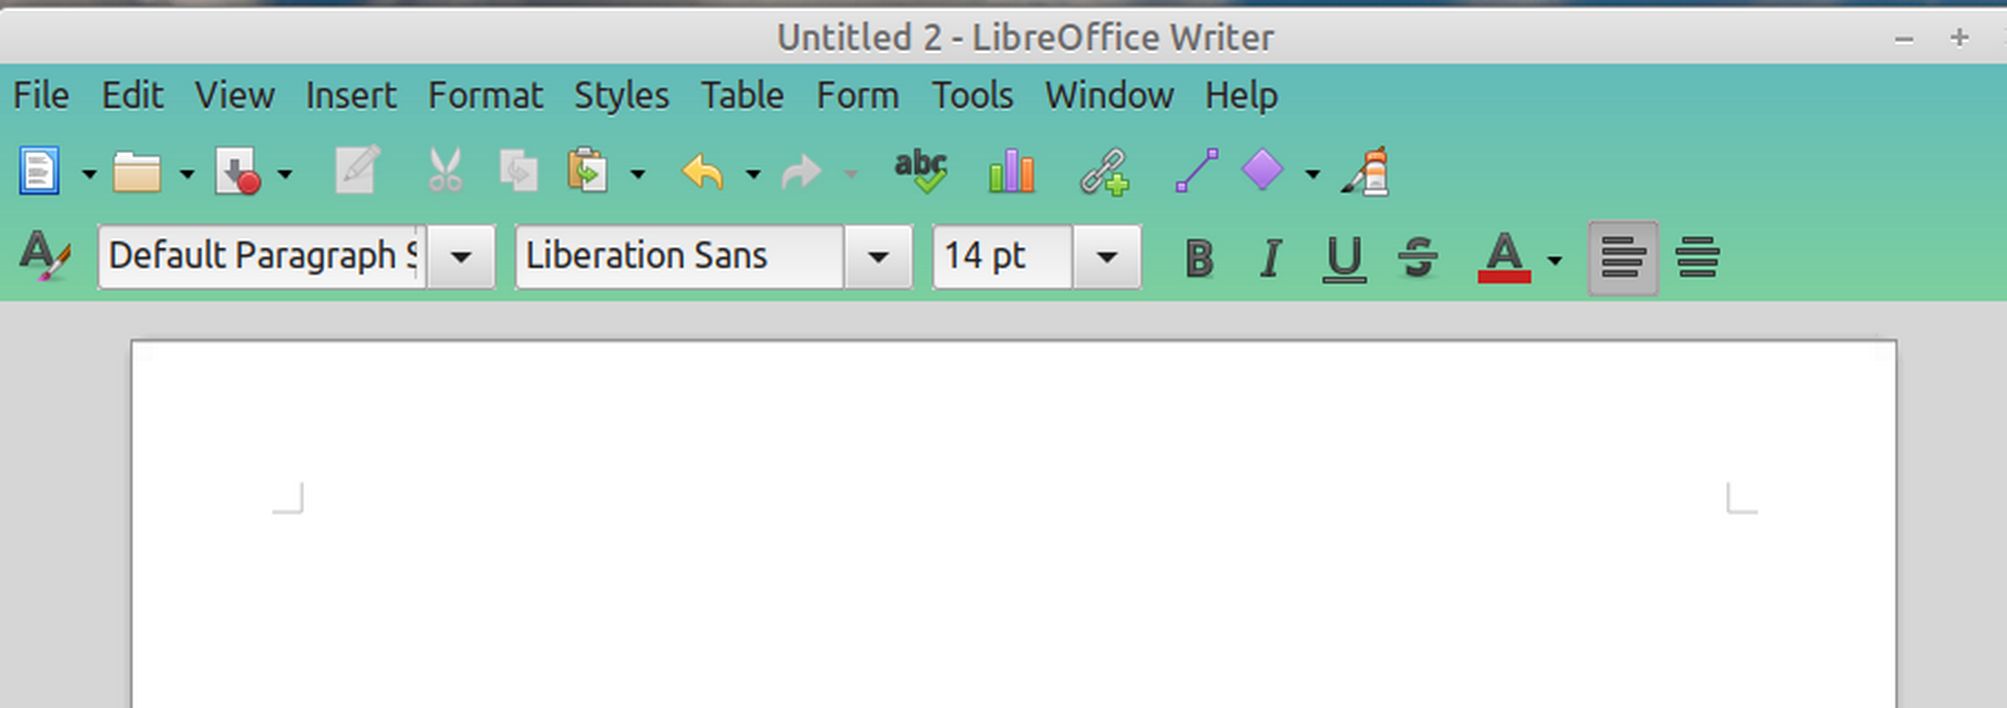
Open your first Writer document. When you open your first Libre Writer document, you are confronted with a bewildering nightmare of functions spread out in a full screen from one side of your desktop to the other.
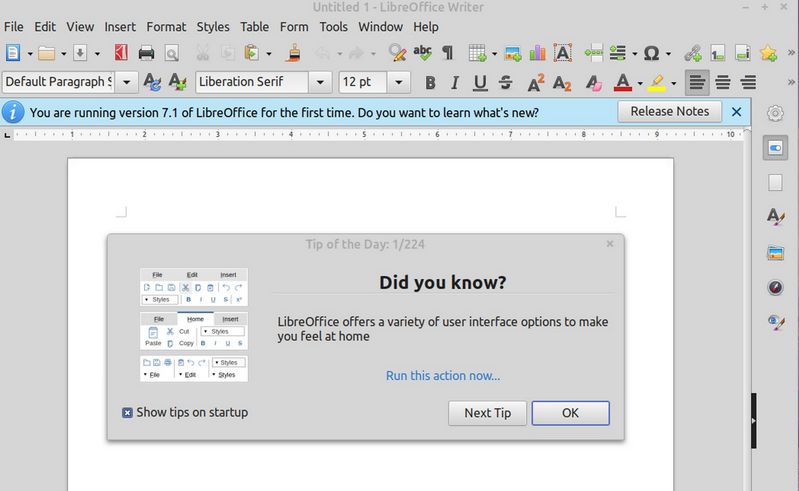
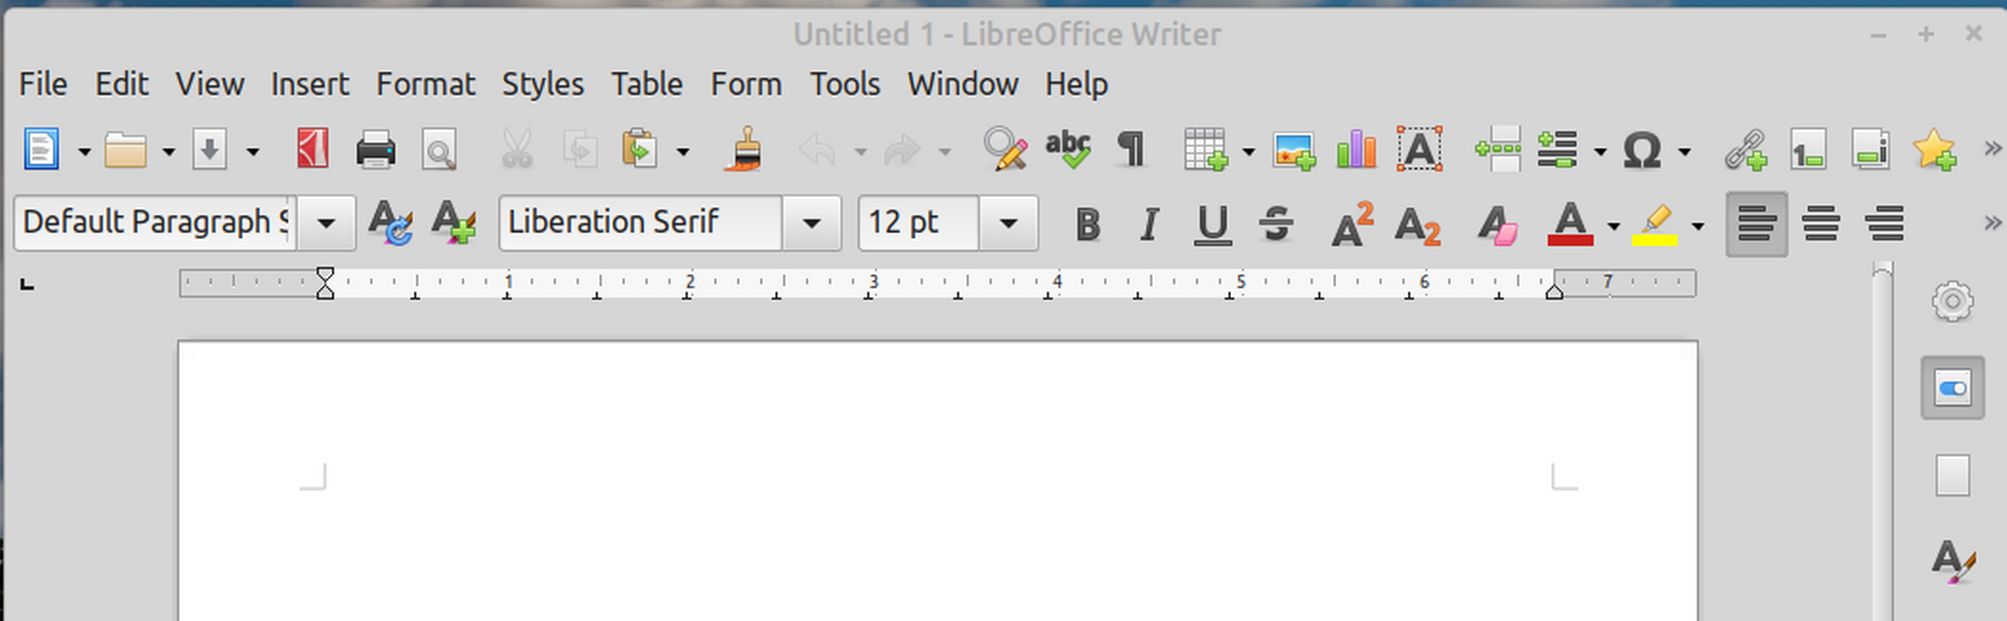
Clearly the authors of Libre Office did not consult with a teacher in their choice of a Start screen. Uncheck Show tips on startup. Then close the Tips window. Then close the Release Notes bar. We still have the following mess:
Click View and uncheck the Status Bar. Then click View again and uncheck the Ruler. Then click Tools, Customize and click the Toolbars tab:
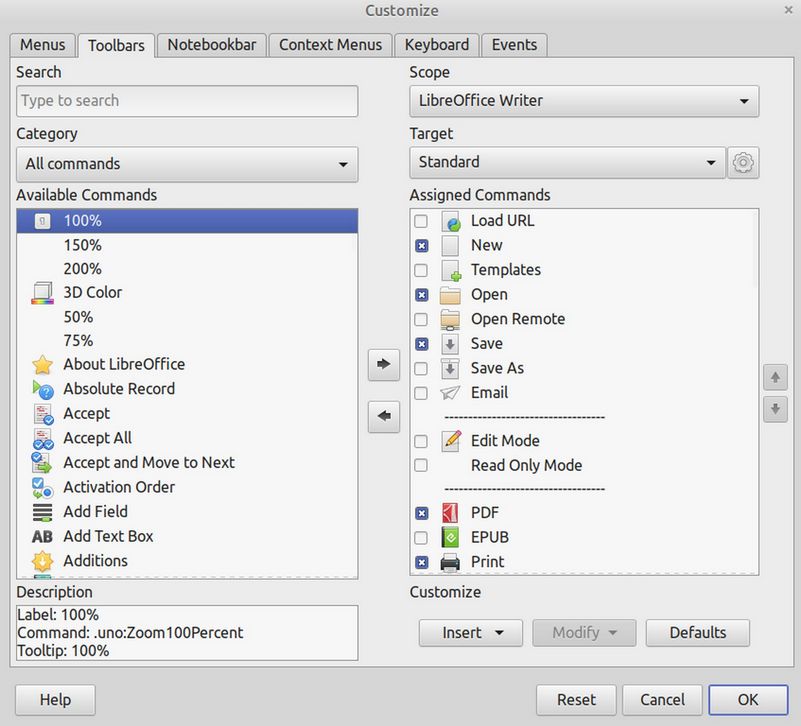
By default, the screen opens at the Standard Toolbar – which is the tool bar just below the main menu. The reason we need to uncheck most of these options is that we never want Libre Writer to take up more than half the width of our desktop. This is important so we can have a two documents side by side or one document and a web browser side by side. We will therefore uncheck the following Standard Toolbar functions which are checked by default:
PDF, Print Directly, Print, Clone, Find and Replace, Formatting Marks, Table, Image, Text Box, Page Break, Field, Symbol, Footnote, Endnote, Bookmark, Cross Reference, Comment, Track Changes Function. Then click OK.
Then click Tools, Customize again and change the Target from the Standard toolbar to the Formatting Toolbar (which is the second row below the main menu).

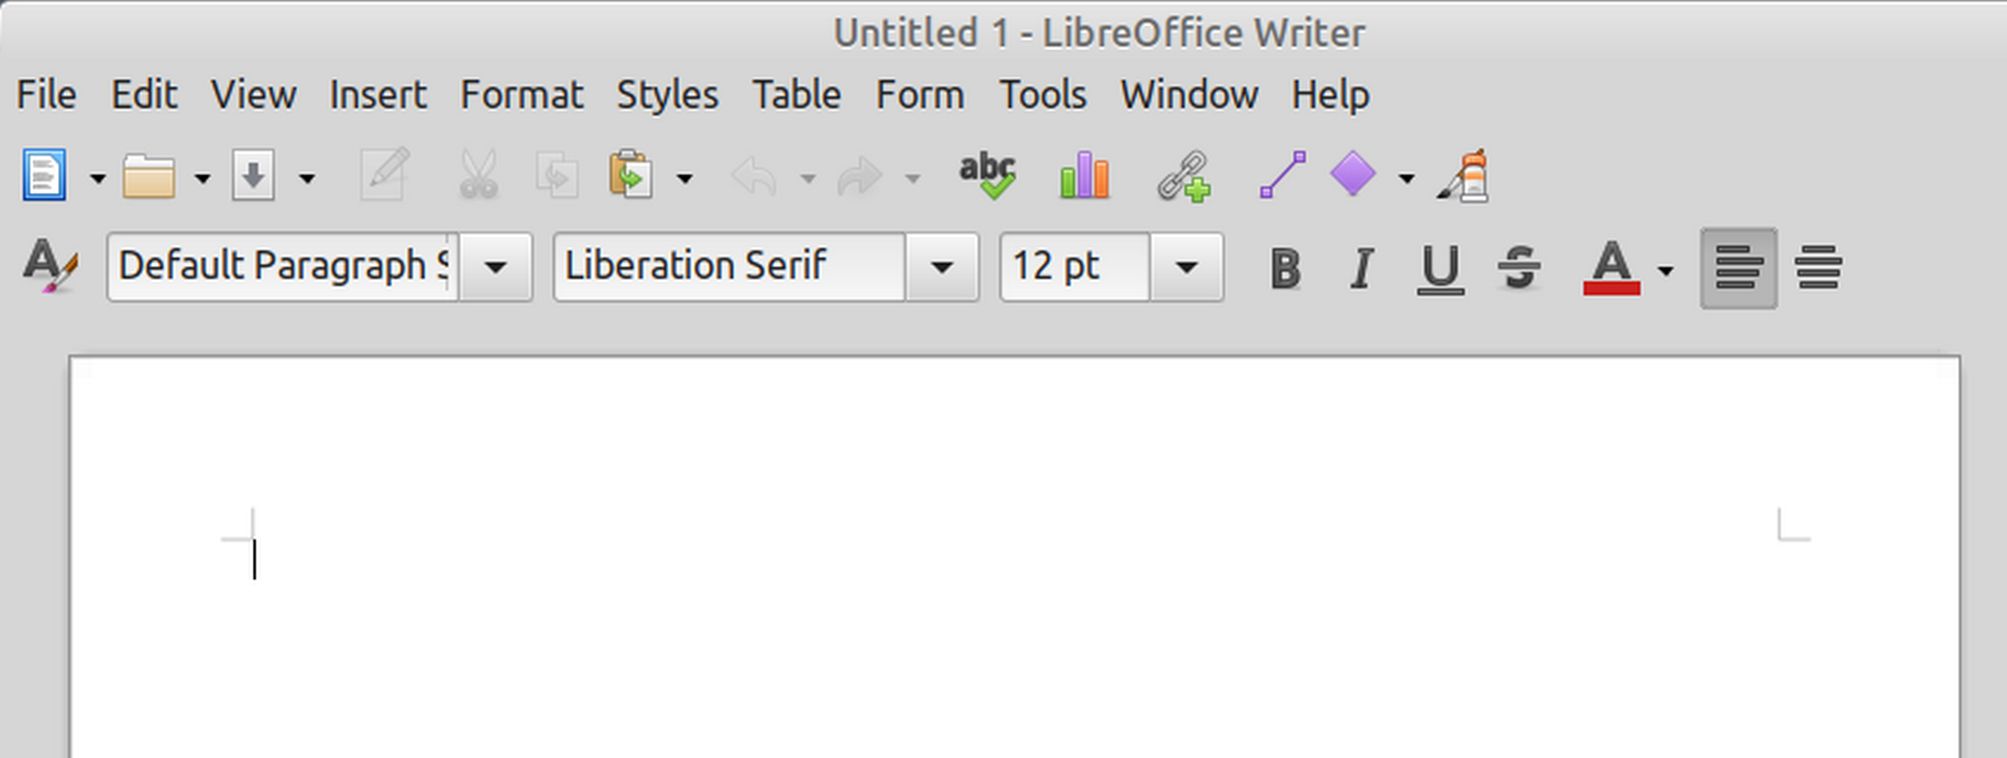
It is shocking that the most important of all Libre Write functions, called Styles - is not checked by default. So check the Styles function. Then uncheck the following functions which are checked by default: Update, New, Strikethrough, Superscript, Subscript, Clear, Highlight Color, Right, Justified, Bullets, Numbering, Increase, Decrease, Line Spacing, Increase, Decrease, Left to Right, Right to Left. Then click OK. Here is our simplified screen:
Next click Tools, Options, Paths:
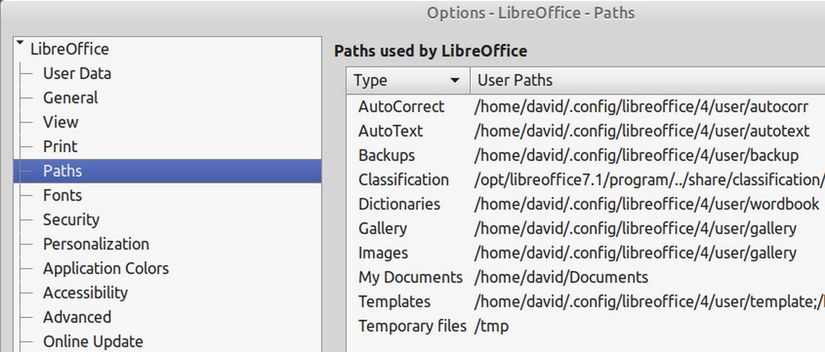
In the right column, click on the Images path. Then click Edit. Then click on your Home folder and click 0-my-images. This will give you better control over the location of your saved images.
Then click on the Templates path and click Edit. Select the top path and click Delete. This will leave the templates path as /home/yourname/Templates.
Then click OK. Then click Personalization and select a color. Then click Apply.
Then click Online Updates and uncheck Check for updates automatically.
Then click Libre Writer and click Basic Fonts (Western). Change the default from Liberation Serif to Liberation Sans. Then change the size for Default from 12 to 14 and change the size for Heading from 14 to 16:

Then click Formatting Aids and change the image anchor from Character to Paragraph. Then click Apply and OK
Next change the Paragraph style in the box from Default to Text Body. Then click on Styles to open the Styles panel. Right click on the Text Body style and click Modify.
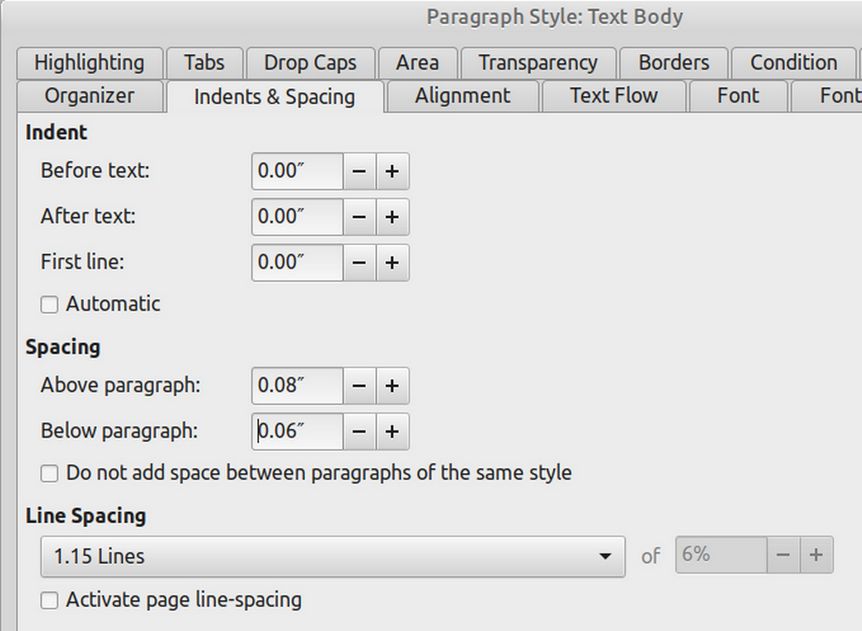
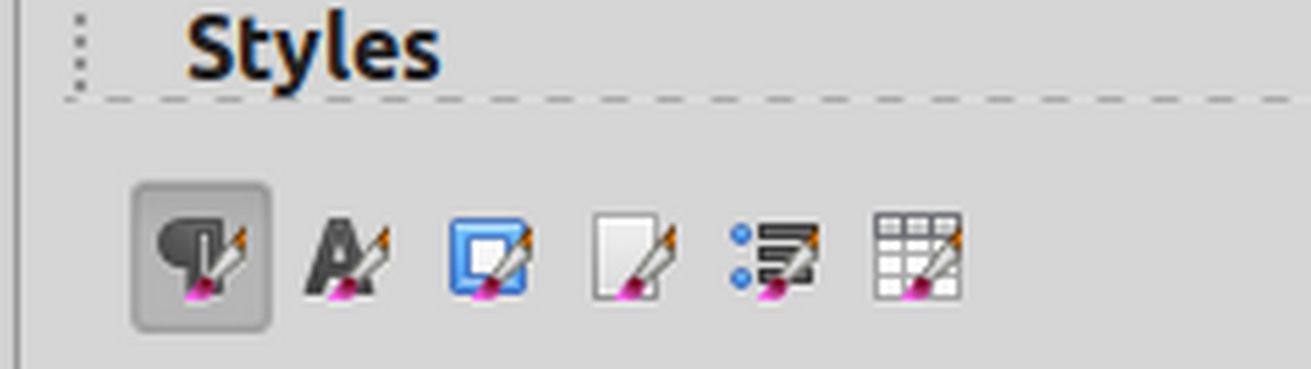
Click on the Indents and Spacing tab. Then increase the Above spacing to 0.08 and decrease the below spacing to 0.06. Then at the top of the Styles Panel, click on the Frame Styles icon which is the third icon from the left.
Then select Graphics, right click and click Modify.
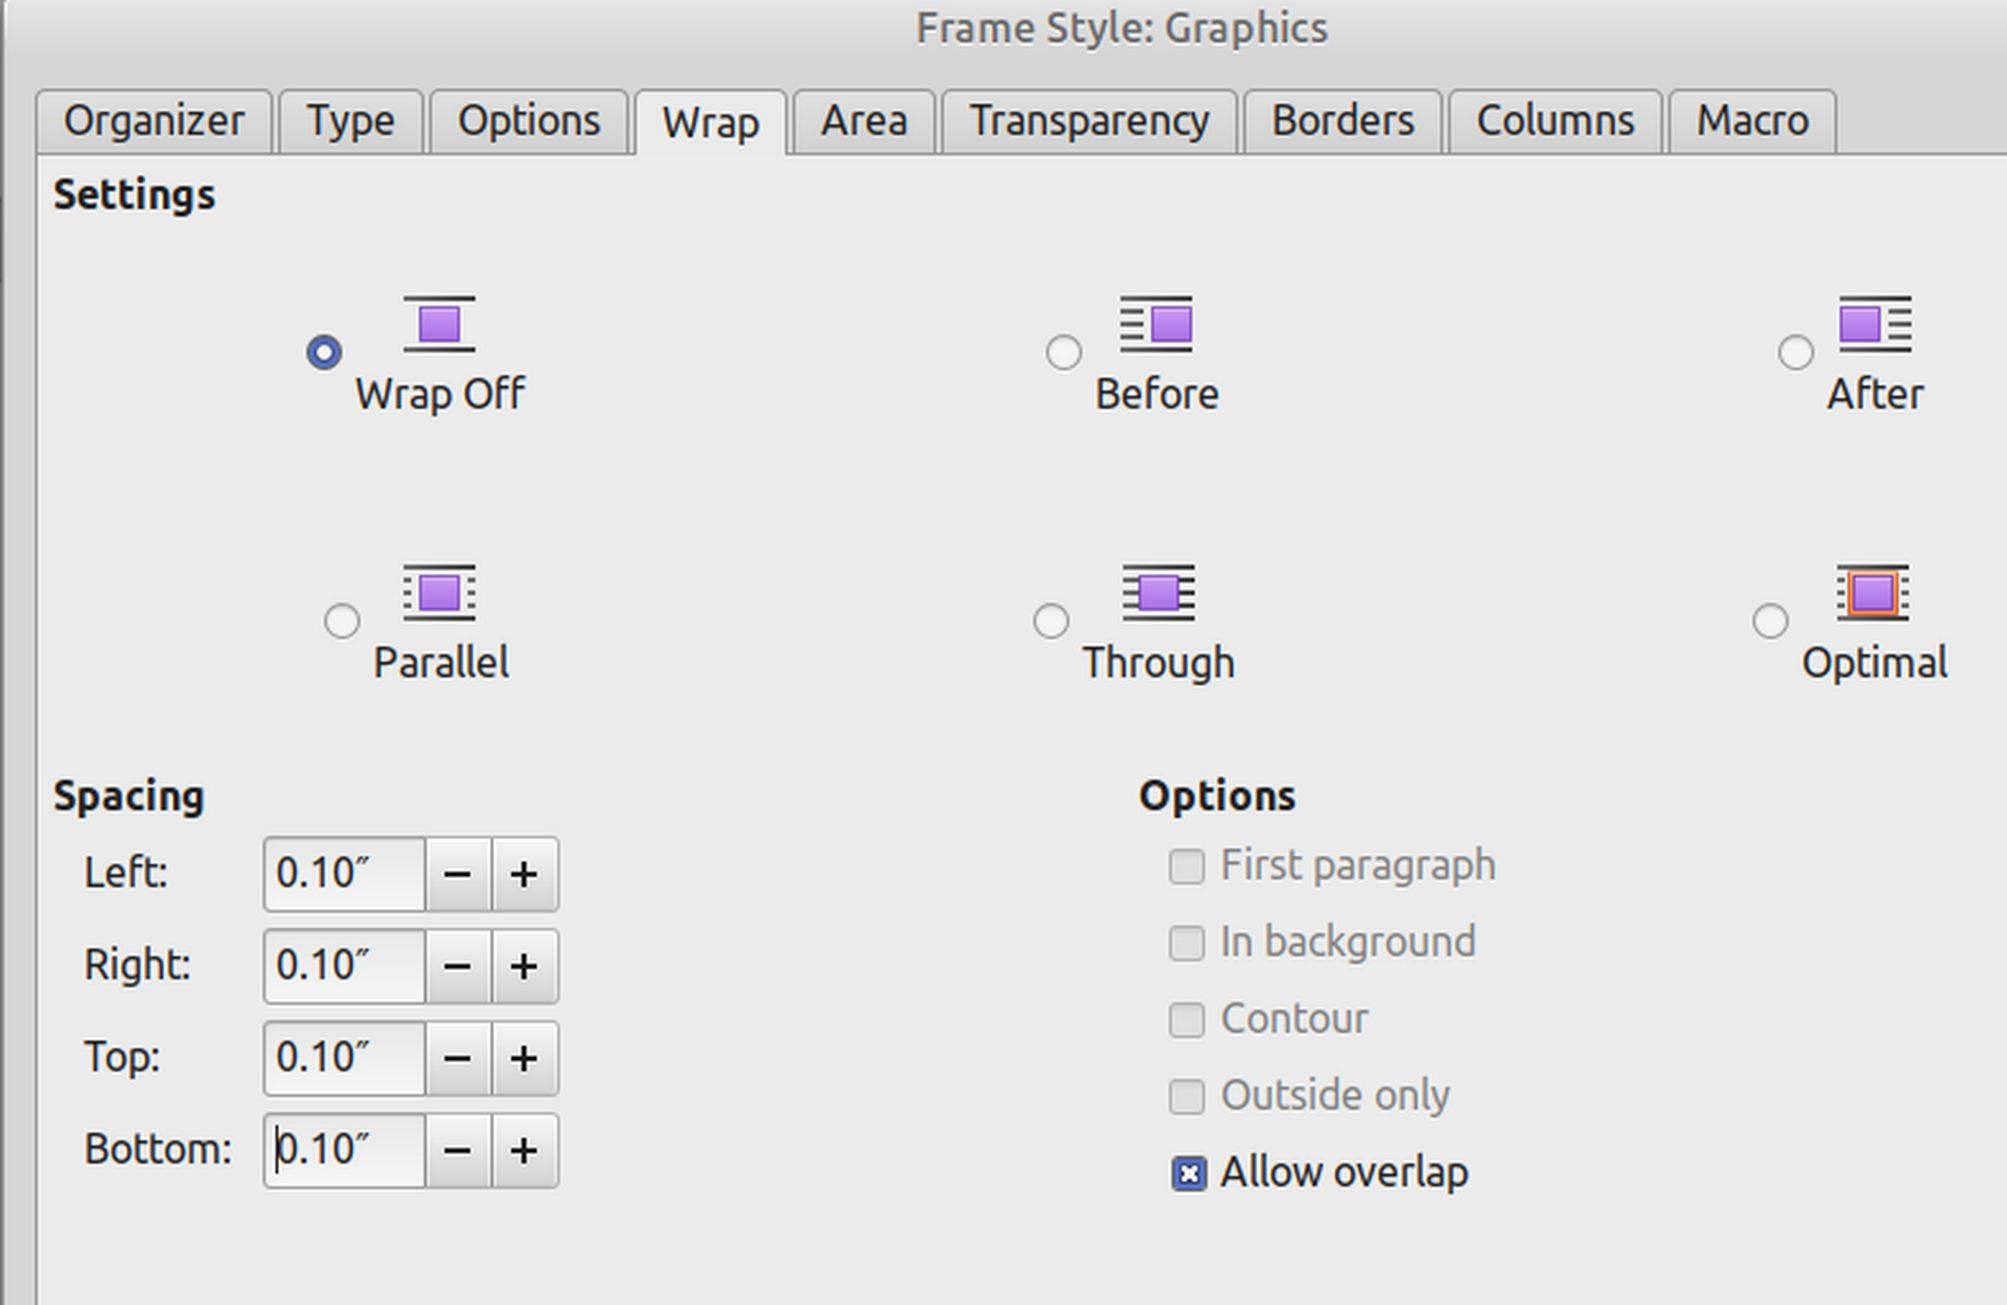
Click the Wrap tab and change the Wrap to Off. Then add 0.10 inches of spacing to Left, Right, Top and Bottom. Then click Apply and OK.
Then at the top of the Styles panel, click on Page Styles which is the fourth icon from the left. Then right click on Default Page Styles and click Modify. Then click on the Page tab.
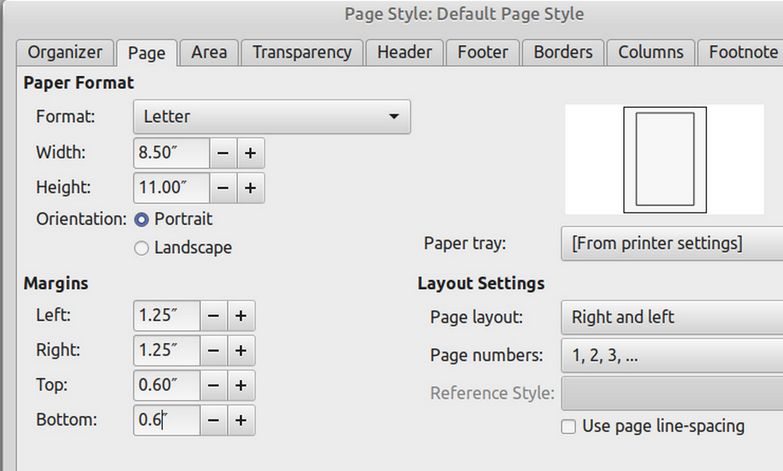
Change the Format from A4 to Letter. Then change the Left and Right margins to 1.25 inches and the Top and Bottom margins to 0.60 inches. Then click Apply and OK.
Then click View, and uncheck the Side Bar to hide the Styles panel. Here is our final simplified configuration:
Create Your Default Template Style
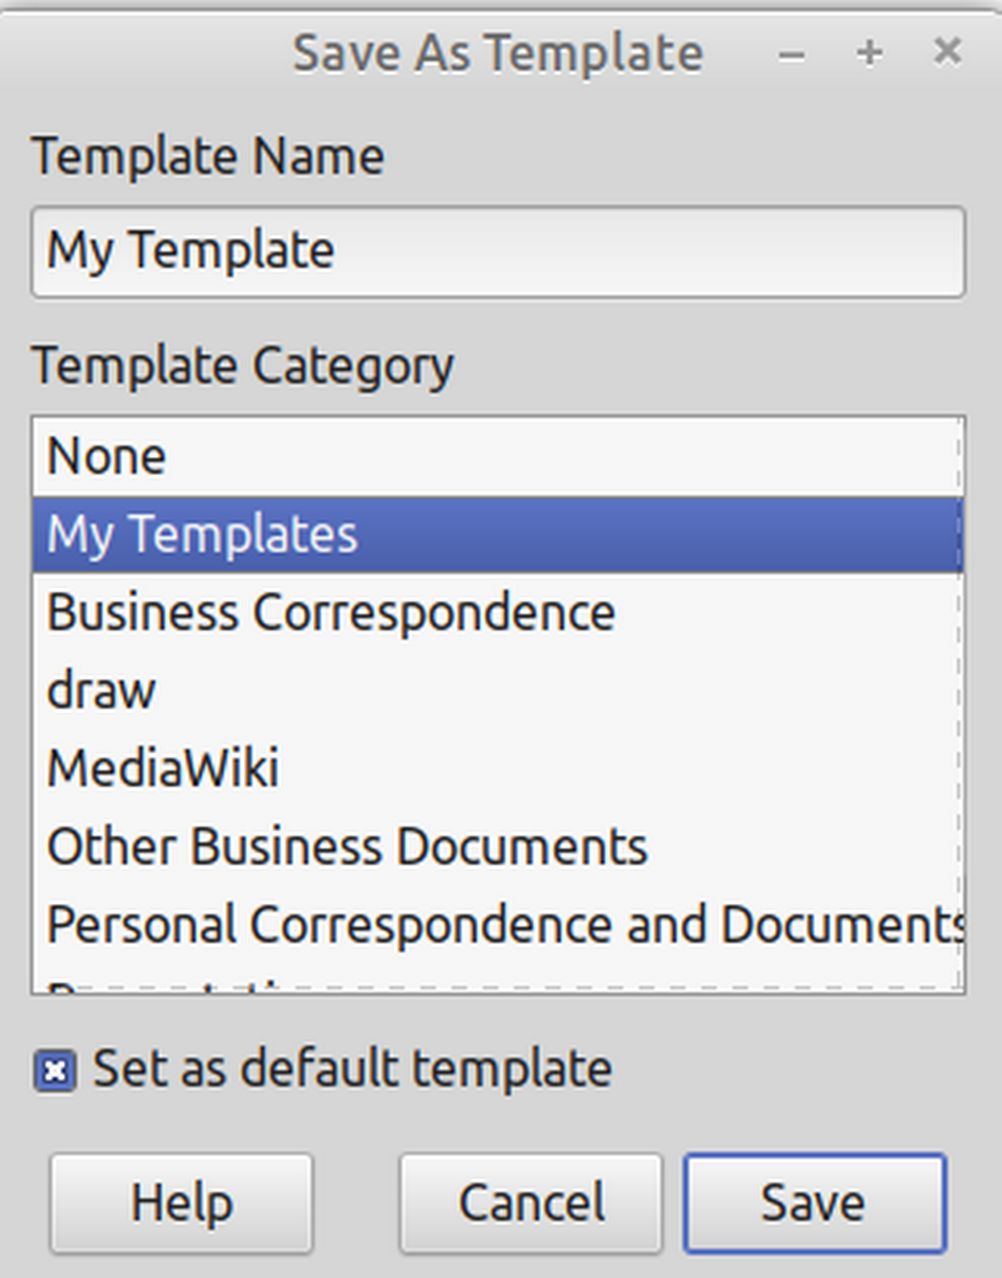
Click File, Templates, Save as Template. Name the template My Template. Then click the My Templates category. Then check Set as the default template. Then click Save.
Then close your empty write document. Do not save it. Then open a new Writer document to check that the new document appearance is controlled by your new default template.
What’s Next?
In the next article, we will install Virtual Machine Manager and create our first virtual machine.