
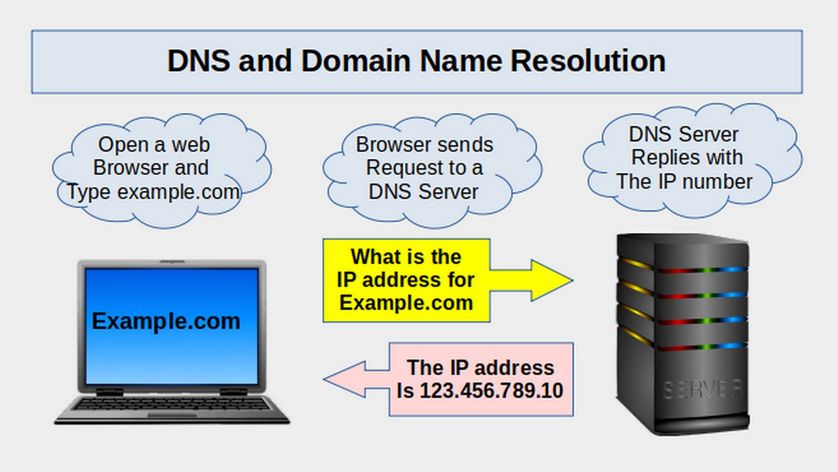
A domain name is a human understandable set of words that will link to a website. For example, a domain name could be "my website dot com" which is written mywebsite.com. DNS, which stands for Domain Name System, is a system used to translate domain names to their respective IP addresses. Learning how to set up and use DNS is important because each website has two names. One is a computer friendly name. The other is a human friendly name. Computers like to use numbers. Computers assign each network connection end point a 12-digit number such as 123.456.789.001 We call this 12-digit number an IP address. However, it is hard for us humans to remember 12-digit number numbers. We prefer to use domain names like mywebsite.com. A DNS server (which is also called a Name Server) is used to connect the IP address 123.456.789.001 to the domain name mywebsite.com.
How does DNS work? – The hotel example
To understand how DNS works, consider how networking happens in a hotel. Imagine you need to visit your friend who is staying at a hotel. You know your friends name is John Smith but you do not know their room number. To find your friend’s room, you go to the hotel receptionist and tell the receptionist your friends name and ask for their room number. The receptionist then looks up the room number for John Smith.
Let’s say John Smith is staying in room 12.34. This means that to find his room, you would go to the 12th floor and then look for room number 34. DNS acts in a similar way. Your friend’s name is his domain name. His room number is his IP address. You type a website name into a browser. The browser sends the request to the DNS server. The DNS server provides the IP address.
How do I find the DNS or IP number of my home computer?
Your home computer has more than one connection. We will focus on our default Ethernet connection which in Debian is called Wired connection 1. First, we need to know what network management system is being used. This will help us understand where we should look to find the file that is controlling the DNS. Network Manager is controlling network management on Linux Debian. Network Manager is configured by clicking on the Network icon on your bottom right task bar. Then click Network Connections.
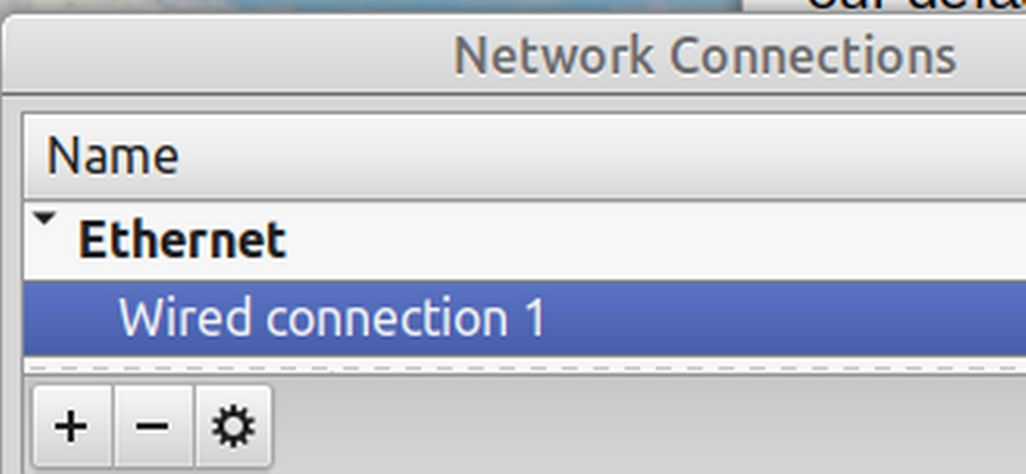
Click on Wired connection 1 to select it. Then click on the Setting wheel to open up the Wired connection 1 Edit screen.
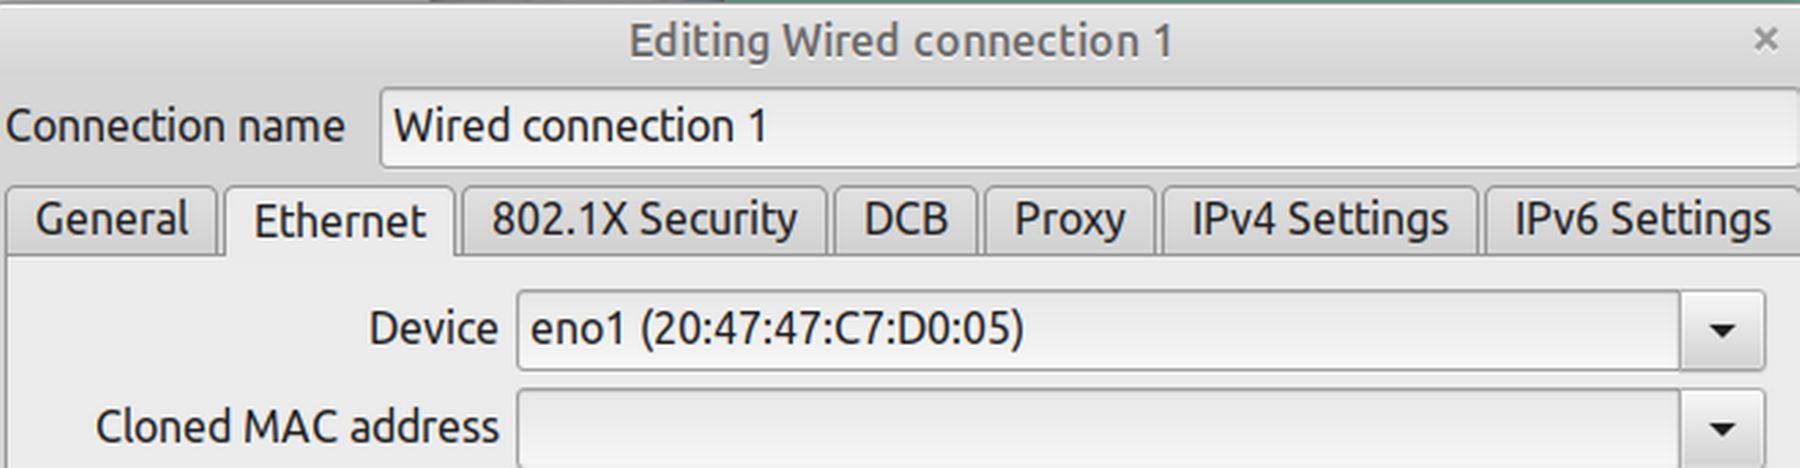
Wired connection 1 uses your laptop's Ethernet device which is called eno1.
Note that a device is a Network Interface Card (NIC) while a connection is a configuration that is applied to a NIC. Each NIC can have more than one connection. Click on the IPv4 tab:
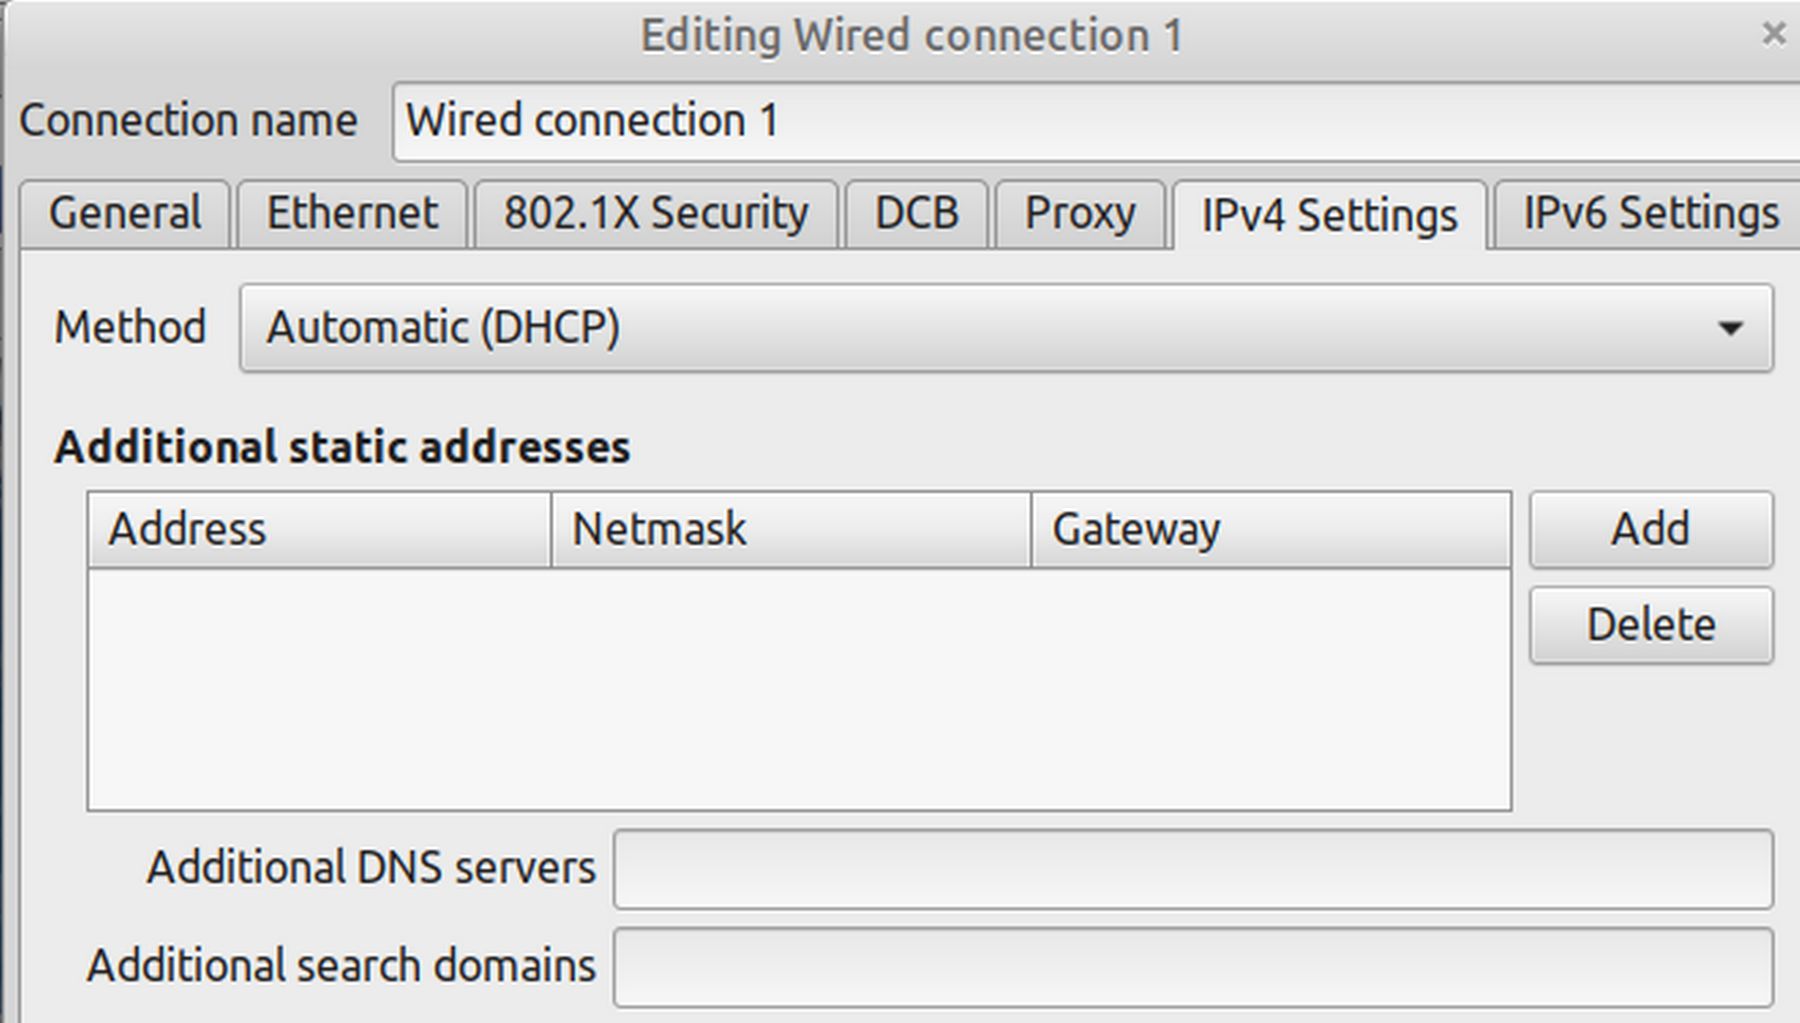
Wired connection 1 does not have a static or fixed IP address. Instead it is automatically assigned an IP address by DHCP. To see the automatically assigned address to the eno1 device, open a terminal and type
ip addr show eno1
The ip address shown on my laptop (after the word inet) was 192.168.0.50. But on a future day, the assigned IP number might be different. My local area network "gateway" IP address is 192.168.0.1 which means that DHCP can assign any number to the Wired connection from 192.168.0.2 to 192.168.0.250.
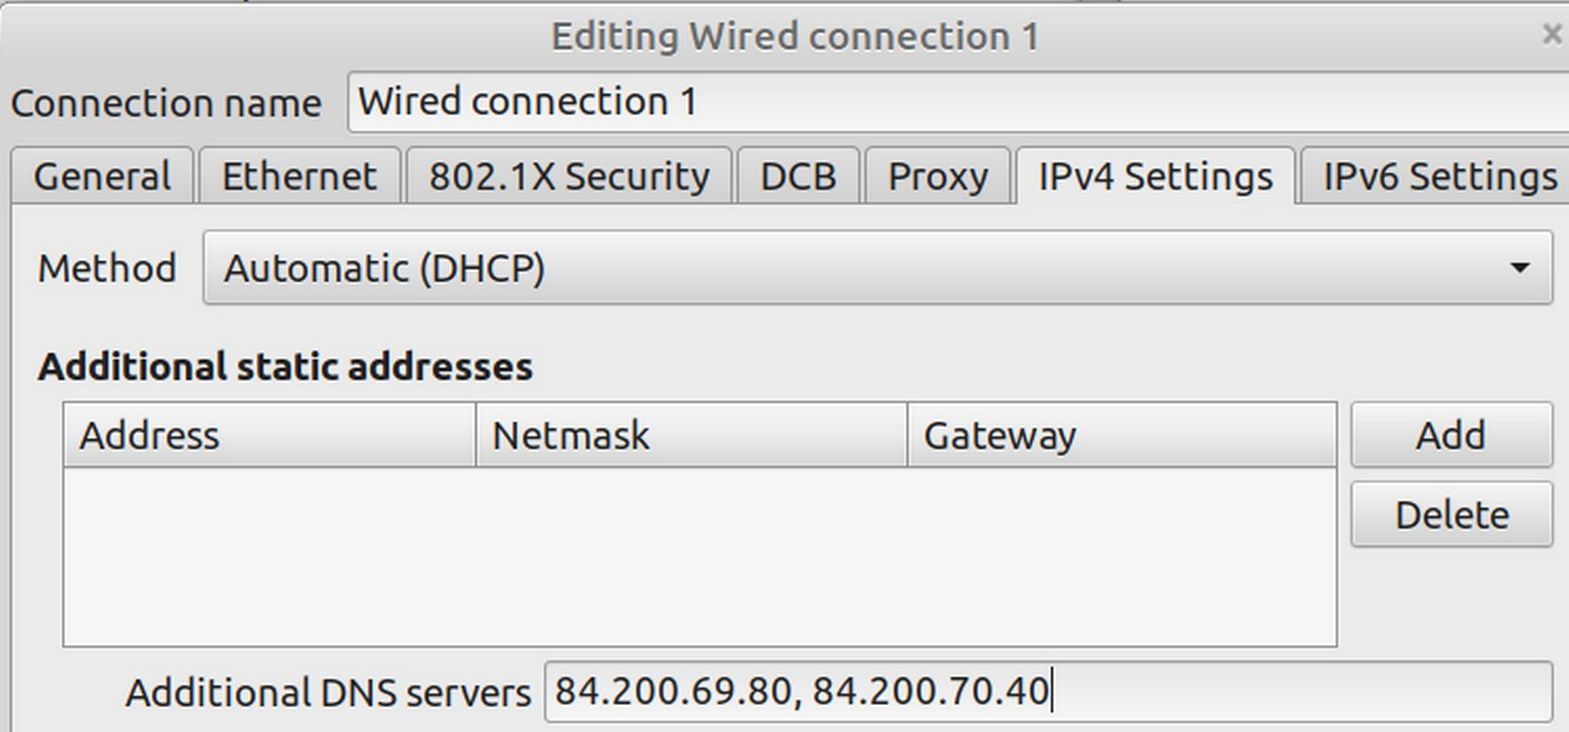
Note that Wired connection 1 does not have an assigned DNS server (the additional DNS servers box is empty). Wired connection 1 will therefore use the DNS server provided by your Internet Service Provider (which can be very slow and also censor the responses).
For network connections configured by DHCP, the DHCP server provides Network Manager with both an IP address for the local interface (or Local Area Network or LAN) and the address of a (remote) DNS name server (which will resolve domain names of the Wide Area Network or WAN also known as the Internet or Public Internet). But we do not want to leave DNS to DHCP!
The DNS Dilemma... Who should control Internet Traffic?
DNS stands for Domain Name System which is a process for converting domain names such as example.com into numerical IP addresses such as 192.168.0.1. But DNS also stands for Domain Name Servers. These are servers that specialize in rapidly converting (aka resolving) millions of DNS requests into their IP addresses every second. DNS lookups are such an essential feature of the Internet that control of DNS lookups equates to control of Internet traffic. And control of Internet traffic means control of the flow of information.
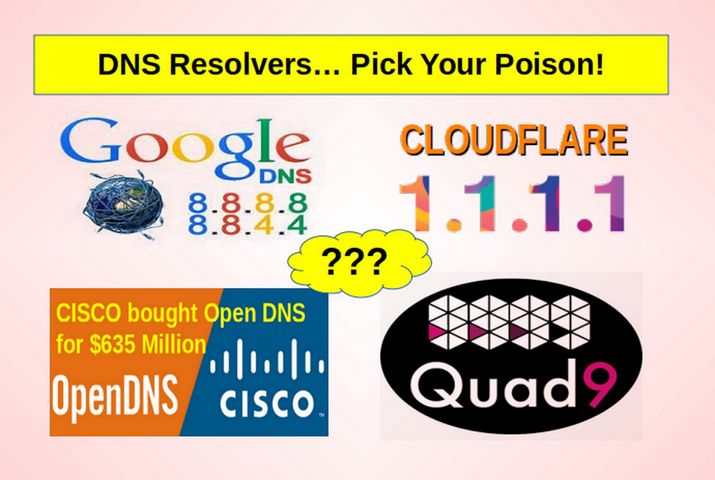
These important DNS resolvers are required to offer users two resolver IP addresses under the hope that if one resolver IP address or server goes down, that the second one will still be able to resolve the DNS request.
The most widely known DNS resolver is owned and controlled by Google. They use the resolver IP addresses 8.8.8.8 and 8.8.4.4. Google's draconian censorship policies have caused many to turn against Google.
A second common DNS resolver is owned and controlled by Cloudflare. They use the resolver IP addresses 1.1.1.1 and 1.0.0.1. Sadly, Cloudflare is basically a front for the NSA and the CIA. So many privacy advocates think that Cloudflare is not any better than Google. Both are monopolies in terms of controlling Internet traffic.
Thus, some privacy advocates promote an alternative DNS resolver called Open DNS. They use the resolver IP addresses 208.67.222.222 and 208.67.220.220. Sadly Open DNS is owned by Cisco which is another Internet monopoly that controls a huge share of the routing of traffic on the Internet and is also closely aligned to the Police state. Also Open DNS has their DNS servers located in the US which means they are under the control of draconian US laws. Unlike Google and Cloudflare, Cisco policy does not allow businesses to use Open DNS for free. So Open DNS is not really a very good option.Therefore, in 2017, a new Non-profit organization was started in Switzerland called Quad9. They have a DNS resolver that uses the IP addresses 9.9.9.9 and 149.112.112.112.
Follow the Money
It is always useful to understand who is backing a particular program before using that program. Quad9 was started by IBM and the Global Cyber Alliance. The Global Cyber Alliance was founded through a $25 million grant obtained via a criminal asset forfeiture, organized by Manhattan District Attorney Cyrus Vance Jr. While the GCA is a non-profit organization, it requires constant funding. In the past, the GCA has received funds from the US Secret Service, City of London Police, France National Police and IBM. "Law enforcement funded" and "secures your privacy" don't often end up to together in the same sentence.
In addition to being closely connected to the Police State, Quad9 uses a censorship program which they claim is to protect us from "bad websites." This is similar to Google which also claims to protect us from "bad websites." But we have seen recently that censorship can also be used to divert the public away from websites that are critical of the Police State. Therefore, Quad 9 may not be that much better than the other "monopoly" DNS resolvers.
What is the solution to this problem?
One benefit of Quad9 is that their servers are in Switzerland and under Swiss privacy laws which are much better than the current legal situation in the US. The simple solution is to use the Quad9 resolvers.
A second solution is to seek out a lesser known DNS server - preferably one that is not located in the US. One of the best alternative DNS servers is called DNS.watch.
Here is their website: https://dns.watch/index
Their servers are located in Germany and their policies include no data mining and no censorship. They also offer excellent security. Finally, despite being located in Germany, their response time is very fast. Here are their two IPv4 addresses:
Primary DNS: 84.200.69.80
Secondary DNS: 84.200.70.40
To use the DNS.Watch resolvers instead of the DHCP resolvers, open Network Connections and select Wired Connection 1. Then click on the Edit wheel. Then click on the IPv4 Tab. Then add the following line to the Additional DNS servers box: 84.200.69.80, 84.200.70.40
Then click Save. Then close Network Connections. Then restart your laptop for the change to take effect.
How your File Manager Processes DNS
To see what the default settings are for Wired connection 1, open your File Manager and click on File System. Then click on the etc folder. Then click on the Network Manager folder. Then click on the system-connections folder. Then right click and click Open as Root. Then click on the Wired connection 1 file to open it. Note that
interface-name=eno1 and the [ipv4] section shows:
dns=84.200.69.80; 84.200.70.40;
dns-search= and method=auto
Auto means that that DHCP will assign a random IP address to this connection when you turn on your laptop.
To see the default settings for Network Manager, close the Wired connection file. Then close the system-connections folder. Then click on the NetworkManager.conf file to open it.
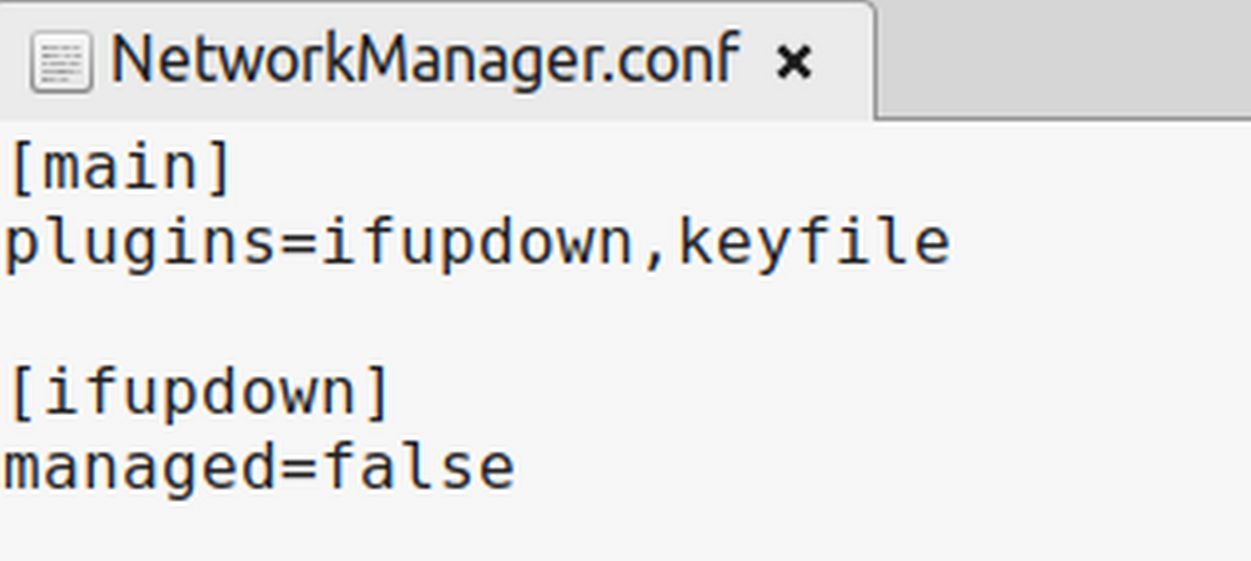
This file shows that there are two plugins installed. One is called IfUpDown. The last line, (managed=false) is very confusing. But it basically means that if a network connection is managed by IfUpDown, then it will not be managed by Network Manager.
To see what connections are being managed by IfUpDown, close the Network Manager folder and open the folder just above it (/etc/network). Then click on the file interfaces to open it.
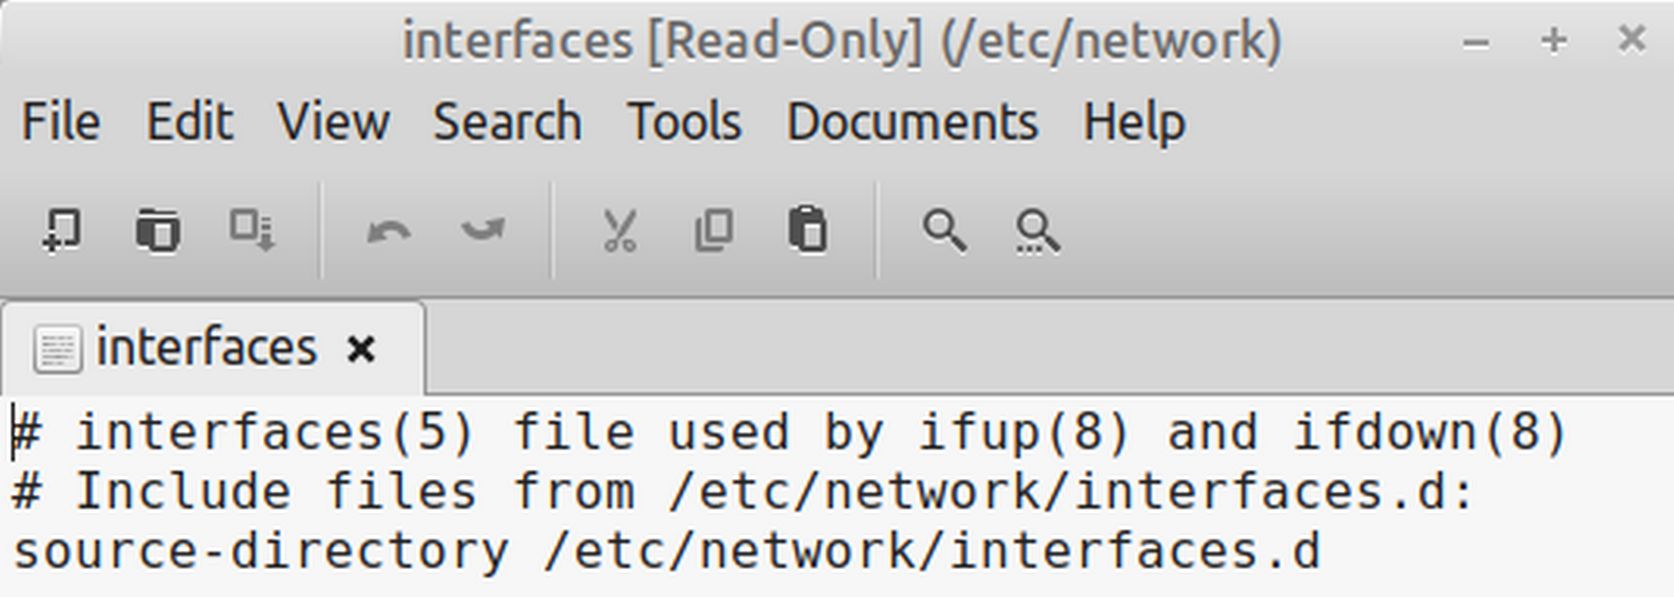
Note that the file says Read Only. This is because we did not right click on the previous folder screen and click Open as Root. To edit any file in the File System, you need to open it as Root.
The file explains that the source directory or folder is /etc/network/interfaces.d. But there are no files in the folder interfaces.d. Therefore, at least initially, there are no network connections controlled by /etc/network/interfaces. This means that network connections will be controlled by Network Manager.
The next file we need to look at is /etc/resolv.conf. Close the network folder. Then scroll down to a file called resolv.conf. Then click on it to open it. It reads:
The next file we need to look at is /etc/resolv.conf. Scroll down to a file called resolv.conf. Then click on it to open it. It reads:
# Generated by NetworkManager
nameserver 192.168.0.1
nameserver 84.200.69.80
nameserver 84.200.70.40
Thus, Network Manager automatically takes the gateway IP for our Local Area Network, 192.168.0.1 and uses it as the name server for our local area network. Network Manager then adds whatever DNS servers we added to our Wired Connection 1 device IPv4 screen.
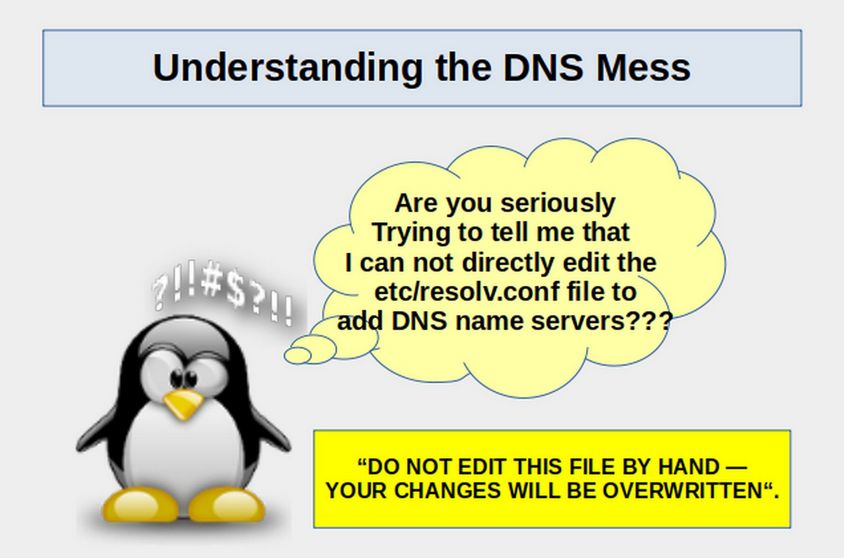
In the past, the file /etc/resolv.conf included the warning: DO NOT EDIT THIS FILE BY HAND - YOUR CHANGES WILL BE OVERWRITTEN.
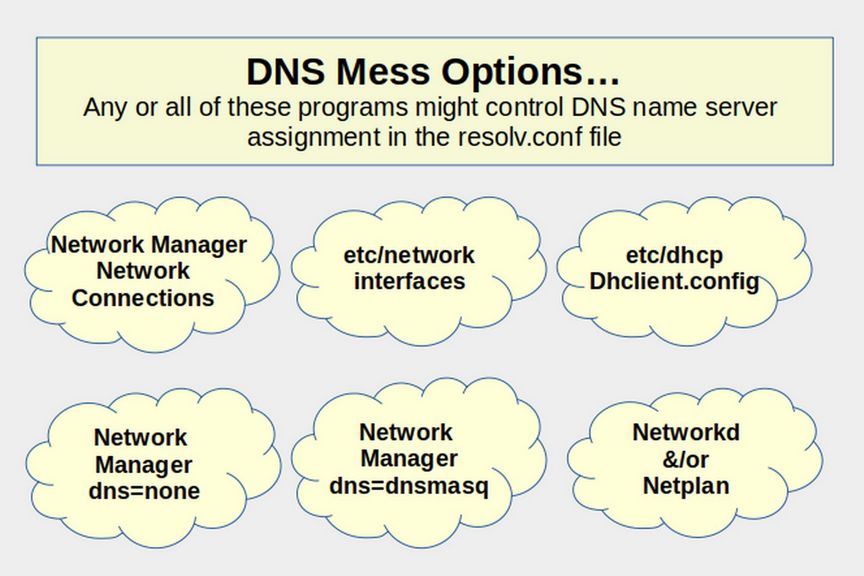
The reason you should not add DNS name servers directly to the resolv.conf file is that this file is automatically generated after input from up to seven other programs!
Why we want to add DNS Name Servers to the resolv.conf file
In a moment, we will look at the advantages and drawbacks of several of these methods. First, know that there are at least three reasons we want to take the time to list our own carefully selected name servers in the resolv.conf file. When it comes to resolving domain names on the Wide Area Network (the public Internet), if you do not specify your own DNS Name servers, you laptop relies entirely on your Internet Service Provider - which uses a DNS server that may be both slow and loaded with security and censorship problems. Adding your own DNS Name Servers can improve speed, increase security and reduce censorship of your website.
How to Add DNS name servers on your VPS
Turn on your VPS ns01 and log in. Then type mc to open Midnight Commander. If it is not installed yet, type
sudo apt install mc
Then press Enter and enter your password. Then change the background to a lighter color with Options, Appearance, Green, OK. Then press Enter. Then use the up arrow to select the root file. Then press Enter again. Then use the up arrow to select the etc folder. Open the etc folder and you will see there is no folder inside of it called Network Manager. There is a folder called Network. In this Network folder is a file called interfaces. Select this file and click File, Edit. This file says that the source file is called /etc/network/interfaces.d/* However if we open this folder, we see this folder is empty. Here is the default instructions in the etc/network/interfaces file:
# Loopback is
auto lo
iface lo inet loopback
# the primary network interface is
allow-hotplug ens3
iface ens3 inet dhcp
This basically says that the interface device ens3 is controlled by a tool called DHCP. We can not change this file because we have not yet created a root account and logged in as root.
Using Midnight Commander, we have seen that virtual servers created by Virtual Machine Manager do not come with Network Manager installed. Even if we installed Network Manager, the previous tool we used to set the Name Servers (called Network Connections) would not display - because this tool only works on Desktop computers - not on servers. We will therefore need a different way to set DNS name servers on our VPS.
We could try to use an older tool called etc/network/interfaces (the file we just looked at). However, making changes to this file will not work as there is another tool called DHCP that has priority over it. The configuration file for DHCP is located here: etc/dhcp/Dhclient.
Before we look at this file, let’s see what is in the etc/resolv.conf file. On a VPS using the default or NAT connection, the only name server should be 192.168.122.1 which is the gateway IP for NAT. We will next look at how to add DNS servers to the etc/resolv.conf file using the DHCP configuration file.
Add DNS name servers using the DHCP configuration file
To edit the DHCP configuration file, we first need to exit Midnight Commander and then copy paste this command
sudo nano /etc/dhcp/dhclient.conf
The type Alt plus c to show the line numbers. Then use the down arrow to scroll down to Line 25 - the line that begins with the word prepend. Then delete the hash #. Then use the right arrow to type the following into the line:
prepend domain-name-servers 84.200.69.80, 84.200.70.40;
Do not add more than two IP addresses to this line as we want to also use the default DNS server and there is a limit of 3 domain name servers that can be shown on the resolv.conf file. Then save the file with Control plus o, then Enter. Close the file with Control plus x. Then shut down the server with sudo poweroff and restart it and log back in. Then type cat /etc/resolv.conf or open Midnight Commander and go to the file /etc/resolv.conf
The content should be
nameserver 84.200.69.80
nameserver 84.200.70.40
nameserver 192.168.122.1
The first two will be our public name servers (change to whatever you want) and the last one will be the name server for our local area network. Type sudo poweroff to close your VPS. Then close VMM.
How does DNS look with the same server using a bridge0 connection?
Assuming we have made a bridge0 connection, we can change ns01 to bridge0. Then log in and type ip addr. The IP address will have changed from a NAT IP address (192.168.122.xxx) to a local IP address (192.168.0.xxx). 217
In addition, the name servers in the file /etc/resolv.conf
will have changed to
nameserver 84.200.69.80
nameserver 84.200.70.40
nameserver 192.168.0.1
Thus, it appears that we do not need to install Network Manager or any other tools to have a functional set of nameservers.
Comments on other DNS Name server tools
Some tutorials on the internet recommend adding Network Manager to your VPS and using Network Manager tools like nmtui to set the DNS servers. This has the advantage over the DHCP tool in that many connections are not controlled by DHCP. They could be static or manual. So we may add Network Manager later if needed. But the problem with adding Network Manager now is that the only network device on the VPS, called ens3, is configured using etc/network/interfaces. Sadly, Network Manager will not control any device which is configured with etc/network/interfaces. So there is literally no device for Network Manager to control!
Other tutorials recommend adding DNSmasq. This is a powerful tool for complex DNS situations where there are lots of connections and you want to precisely control which connections get which DNS name servers. (note that resolv.conf only assigns DNS servers globally). So DNSmasq actually replaces resolv.conf. There is another tool called resolvconfig that can also replace resolv.conf. DNSmasq also works with Network Manager by adding the line dns=dnsmasq to the Network Manager configuration file. These options just add more complexity.
Other tutorials recommend using Network d and/or Netplan. Both of these are loaded with problems. Finally, some people have gotten so frustrated with all of the programs fighting for control over the /etc/resolv.conf file that they removed the symbolic link to it with:
rm /etc/resolv.conf
They then created a new version of the file which can be directly edited with:
sudo nano /etc/resolv.conf
The reason this is a bad idea is that you may later need to add a more complex configuration to your DNS name servers - one that requires the use of Network Manager and or DNSmasq. While the symbolic link creates lots of problems, getting rid of it only creates more problems.
We will therefore use the default tool which comes with a Debian 11 server. This is the DHCP client configuration file with its link to the etc resolv.conf file. It has two big advantages over all of the other options – it is simple and reliable. This is only a temporary solution. Once we install Hestia, it will come with a DNS Manager for each website. We will then get our real domain names from a Canadian web host which will have its own DNS Manager.
What's Next?
In the next article, we will look at a file called Etc/hosts which actually has priority over Etc/resolv.conf and is therefore capable of being the ultimate DNS controller.