
In this article, we will first explain why we want to install Virtual Machine Manager and then review the steps to install this important tool.
Why Virtual Machine Manager?
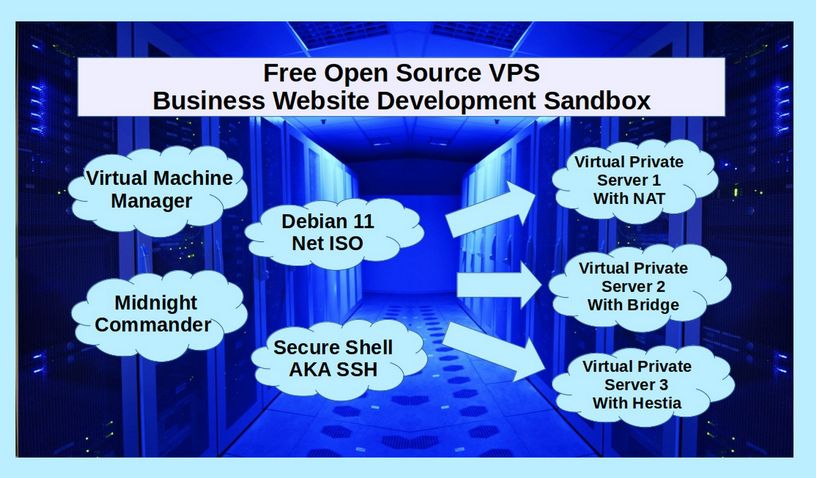
We will use Virtual Machine Manager to create a series of “test” virtual private servers (VPS). The benefit of learning with a test server is that, if you make a mistake, you can easily delete the VPS and start over. This is why it is called a sandbox. If you sand castle falls over, you can quickly make another one.
Virtual Machine Manager allows you to:
#1: create, edit, start, suspend, resume and stop VMs,
#2 view and control each VM's console (aka VM terminal),
#3 view summaries and details of all running VMs,
#4 manage virtual machines, running either locally (inside your desktop computer) or remotely (running on a different desktop or server with connection via Secure Shell SSH).
#5 Practice working with pretend virtual private servers, control panels and firewalls before installing them on a real virtual private server. VMM is therefore ideal for learning how to run a VPS.
The VMM process is very similar to the process used to create a real virtual private server. With the VMM sandbox, we will use an actual static IP address and DNS server combined with fake or real domain names to display our practice business websites. The VMM sandbox therefore is a useful stepping stone in understanding how a secure business website is actually created.
VMM versus Virtual Box
Many people use a tool called Virtual Box to create a virtual private test server. However, Virtual Box is needlessly complex - resulting in too much time spent learning how to use Virtual Box rather than spending time learning how to use Virtual Private Servers. While Virtual Box is free, it is not specifically designed for Linux servers.
By contrast, VMM is specifically designed for Linux Kernel Virtual Machines (KVM). These are the same virtual machines or virtual servers that are used on real Virtual Private Servers.
VMM versus Cockpit
Cockpit is supposedly the new open source replacement for VMM. However, even after many years of development, there are many function which can be done on VMM that still can not be done on Cockpit. Also VMM is generally easier to use then Cockpit. Therefore, as long as VMM is supported by Debian, we will continue to recommend and use VMM. If Debian ever decides to get rid of VMM, then we will use Cockpit in its place.
What is a Virtual Private Server
A virtual private server (VPS) – also called a virtual machine (VM) - is a way to test an operating system that runs inside of your own computer. Virtual machines are a great way to test out any new operating system you might be interested in before installing the operating system on a real computer or a real Virtual Private Server.
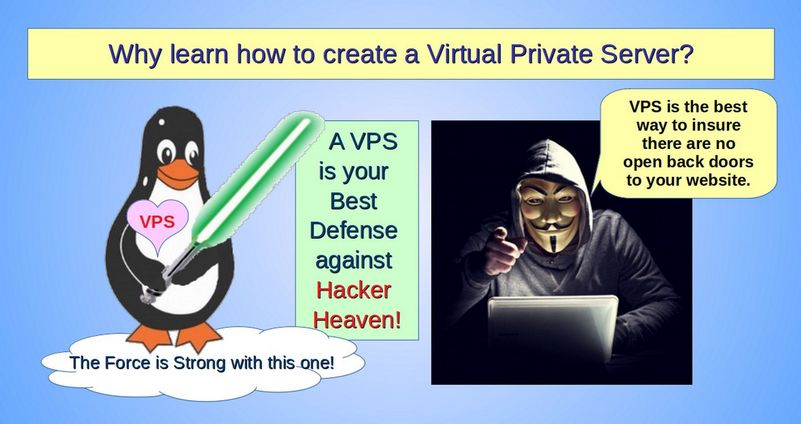
Why a VPS is Better than Shared Hosting
In the past, I recommended a shared hosting account at a Canadian web host for new startup businesses. However, recent events have caused me to change this recommendation. In 2020, Cpanel which is essential to manage a Shared Hosting account dramatically raised their prices. As a consequence, a basic shared hosting account with 15 GB of Disk Space, 2 Cores and 4 GB of RAM with Cpanel is now $15 US per month – and likely to be more in the near future. This does not include a dedicated IP address. Meanwhile, a KVM VPS through Canhost with 20 GB of Disk Space, 2 cores and 4 GB of RAM and a dedicated IP address is only $20 US. The drawback is that a VPS does not come with Cpanel. However, we will show you how to add a better free control panel called Hestia.
Hidden Advantages of VPS over Shared Hosting
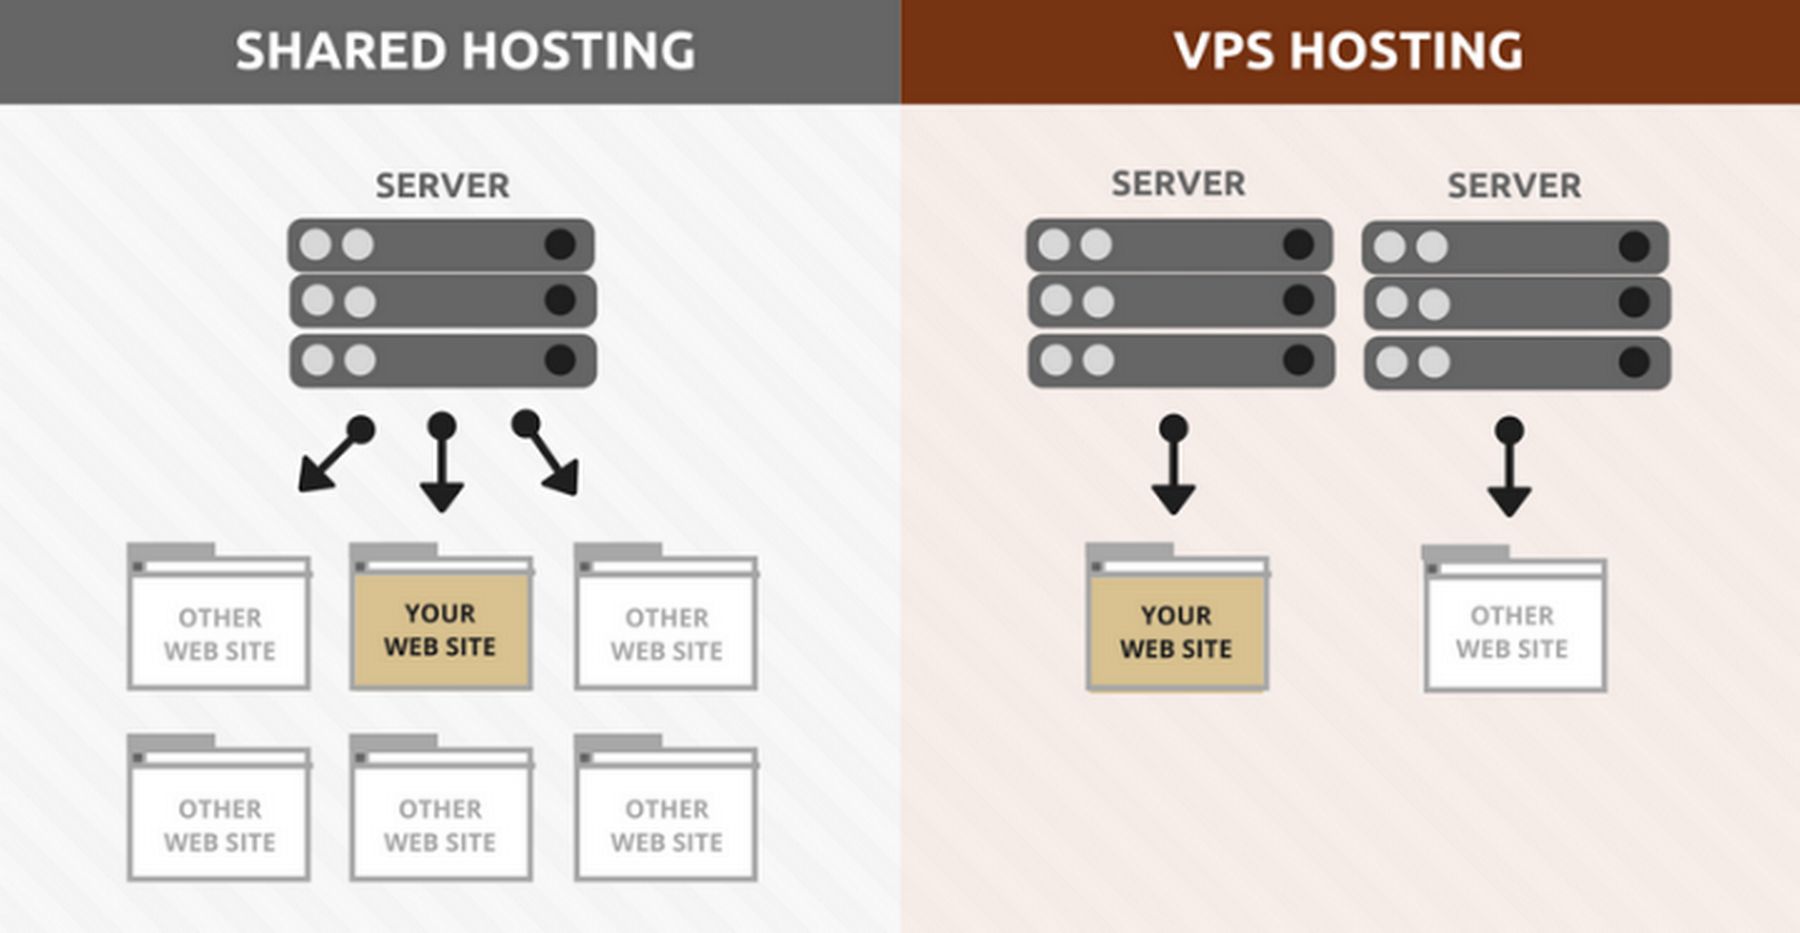
Shared hosting is like having 1000 people (websites) share the same large house (server). They share the same bathroom and kitchen and thus problems can result. Virtual private hosting is like turning the large house into a series of apartments. There are walls between the apartments and each person or website has their own kitchen and bathroom. Another difference is that with shared hosting the hosting company provides the furniture in the house (Cpanel) while with a VPS you need to create your own furniture (our own custom control panel). Historically, a Virtual Private server cost much more than shared hosting. However, recent technology advances have lowered the cost of a VPS – while at the same time, the massive price increase of Cpanel has increased the price of shared hosting – to the point where there is no longer a significant difference in price.
The only real obstacle to creating a VPS is learning how to set it up. It does take time to learn how to create your own custom server and control panel. But in the long run, it actually takes less time – because Cpanel can be much more difficult to work with than our own custom control panel.
If set up properly, a VPS will load faster than Shared Hosting. You will also have much more control over the appearance of the back end of your control panel. There is no way to change the appearance of Cpanel or reduce its complexity. With a custom control panel, you can choose your own color scheme and decide who has access to different tools in the back end of your server.
Finally, you can do much more with a VPS because you have root access to all functions on the server. With shared hosting, you have much more limited access. Root access is particularly important to business websites as is having your own dedicated IP address.
What about a Managed Versus Unmanaged VPS Account?
There are two types of VPS accounts offered by most hosting companies. These are managed and unmanaged VPS hosting. There is a dramatic price difference between the two.
An unmanaged VPS account can cost at little as $15 per month (with a limited amount of space and RAM). A more typical unmanaged VPS account with 4 GB of RAM and 20 GB on the hard drive will be $20 to $30 per month.
A managed VPS account will cost $100 to $200 per month – or more than $1200 per year. Because web hosting companies make much more from managed VPS hosting (or shared hosting), many web hosts do not even offer unmanaged VPS hosting. Their staff will claim that the average business owner is not capable of running their own VPS account. This may have been true a few years ago. However, the Hestia Control Panel has greatly simplified the process of running your own VPS (although many of the Hestia CP developers also have stated that the general public is not capable of running their own VPS).
My experience is that with clear instructions, most business owners can and should run their own VPS. This is particularly true if you are starting a new online business on a shoe string and do not have a ton of money to pay thousands of dollars to web developers and VPS managers. My hope is that you will take the time to learn some basic concepts so that you can confidently create your own Virtual Private Server. That is what this course is all about!
Why we will use Debian instead of Ubuntu
The two most common types of Linux servers are called Debian and Ubuntu. Ubuntu is based on Debian and is basically Debian with a few changes made to it. Unfortunately some of the changes made by Ubuntu create privacy and security problems. In addition, Ubuntu Server is about three times the size of Debian server (1200 MB versus 400 MB). This bloated code also creates security problems. You can have a Debian server complete with the Joomla Content Management System and the Phoca Cart Shopping Cart and a newsletter component and a form creation tool – and still use less space on your host computer than Ubuntu takes up!
The practice Debian servers we will create with VMM will have 1 to 2 GB RAM and 20 GB disk space. This is comparable to a typical online Virtual Private Server (VPS). Completing this exercise will provide you with an ideal foundation for learning how to create your own Virtual Private Server running Debian 11.
Host versus Guest Computer
Your own personal computer or laptop serves as the Host computer. We will install VMM on your host computer. We will then install Virtual Private Servers also known as Virtual Machines or Guest computers using VMM onto your Host computer. We assume that you have already installed Debian 11 on your Host computer. We will also assume that your host computer is a relatively modern computer with Virtualization enabled in your host computer BIOS and that you are using an AMD or Intel x86 processor. Finally, we assume that your Debian 11 Host computer is up to date and that you have upgraded your host computer to install upgraded packages. Open a terminal and type
sudo apt update
Once complete, run this command:
sudo apt upgrade
Host Computer Hardware Requirements
To install a Virtual Machine, you should have a host or home computer with at least 4 GB of RAM and preferably 8 GB of RAM (as the process requires giving 1 to 2 GB of your RAM to your virtual server). You should also have at least 20 to 40 GB or more of free space on your hard drive. Your CPU (Central Processor Unit) must support Intel VT-x or AMD-v virtualization features which must also be enabled in UEFI/BIOS.
Download the ISO of the Debian Operating System
In our case, we want to test the Debian 11 operating system. Go to the Debian Download page:
https://www.debian.org/distrib/
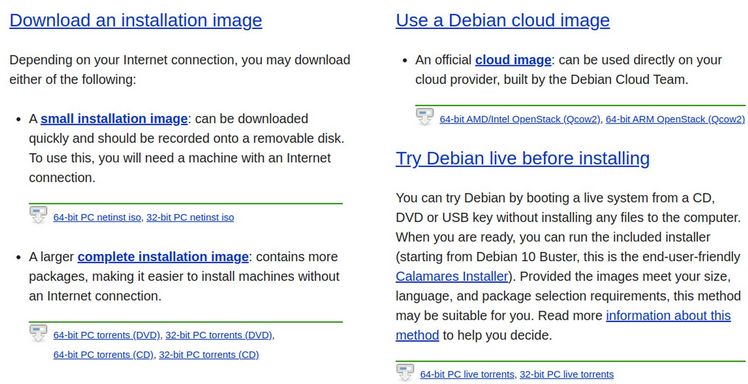
You have four options. You can download a small installation image or ISO file which is a zipped version of the operating system. Or you can download a complete installation image of the operating system with the Desktop interface. Option 3 is to download a cloud version of the operating system. Option 4 is to Try Debian Live. This is the ISO used to create a live USB stick for installing Debian on a personal computer. We will be installing just the server part of Debian. We will therefore download option 1 (also called a Net ISO) which is the small installation image. Click on the 64 bit PC Net ISO to download the file.
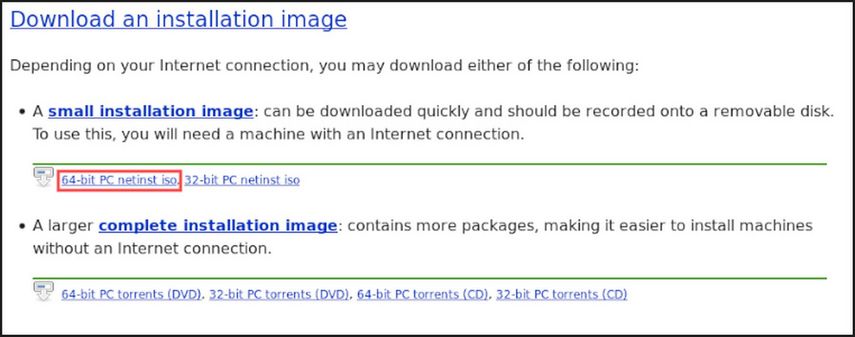
The Debian Net ISO is less than 400 MB which is much smaller that the Ubuntu Server ISO file which is 1.2 GB. Small is good. Leave this ISO file in your Downloads folder as we may use it several times during the learning process.
Install Virtual Machine Manager aka Virt Manager
We will next install Virtual Machine Manager from the Debian Software Center. Type Virtual Machine into the Search Box.
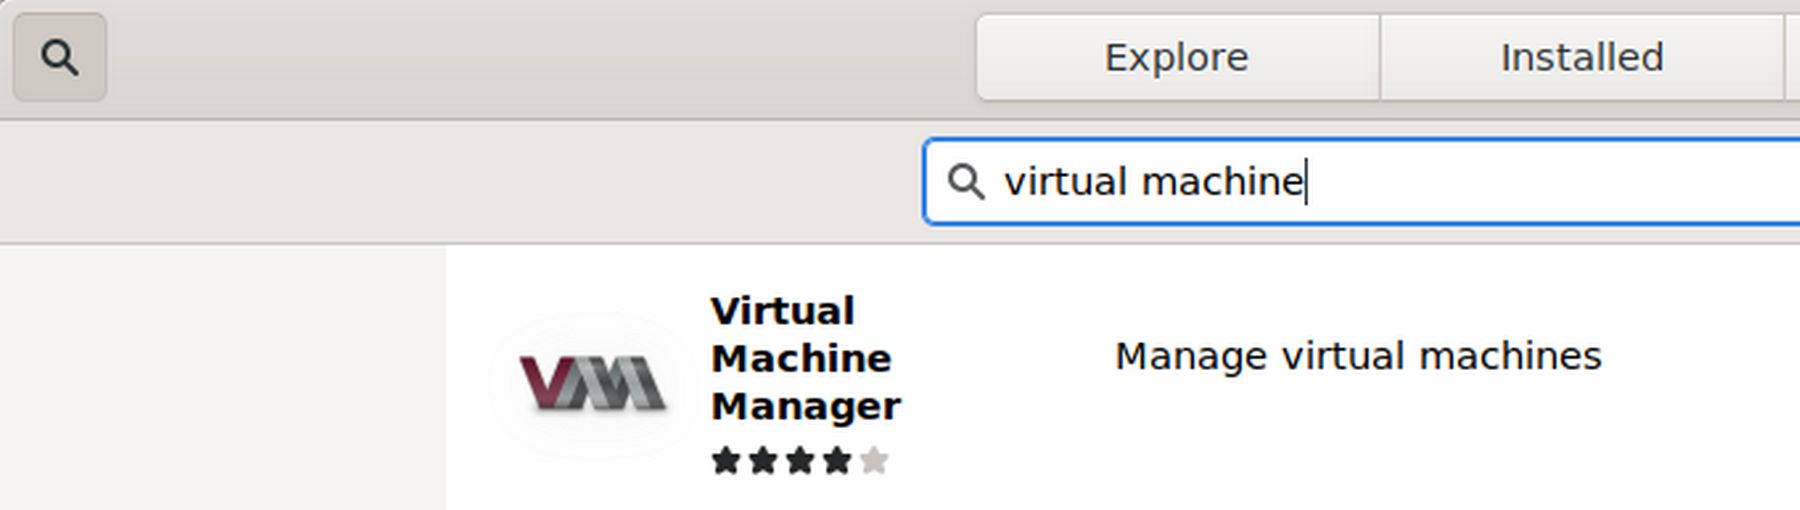
Then click on Virtual Machine Manager and click Install. Then enter your password. After the download is complete, close the Debian Software Manager. Note that you can also install Virtual Machine Manager by opening a terminal and typing
sudo apt install virt-manager
When you install Virtual Machine Manager, it comes with 5 components:
virt-install: Command-line utility to provision OS
virt-viewer: The UI interface with graphical features
virt-clone: Command-line tool to close existing inactive hosts
virt-xml: Command-line tool for easily editing libvirt domain XML using virt-install’s command-line options.
virt-bootstrap: Command tool providing an easy way to set up the root file system for libvirt-based containers.
However we also need to open a terminal and add the following packages by copying and pasting this command into the terminal:
sudo apt install qemu libvirt-daemon-system libvirt-clients bridge-utils
Then close the terminal. Then, restart your host or home computer.
Notes on the above command: sudo apt install qemu is the same as sudo apt install qemu-system-x86. qemu-system-x86 replaces qemu-kvm. Previously qemu-kvm was a fork of QEMU. However, kvm has now been merged into QEMU upstream and the fork qemu-kvm has now been discontinued as of 2020. In plain English, QEMU uses KVM. You can check your KVM version by opening a terminal and typing kvm –version or typing apt show qemu-system-x86
libvirt is a tool for managing KVM and QEMU. Libvirt includes the vrish terminal commands - which is a terminal tool that can be used in addition to or instead of Virtual Machine Manager. Virtual Machine Manager is a Graphical User Interface for libvert, KVM and QEMU. VMM includes a tool called Remote Viewer which is the same as Virt Viewer and displays the terminal for your VPS in a popup window. VMM can be run alone to create a simple NAT based VPS, which uses the Network of the host computer. However, to create an independent Bridge based VPS, we will also need libvert and bridge utilities. VMM now appears to include libvert clients and daemon system programs, but does not yet include bridge utilities. We will add all of these via the above terminal command as the above is the command currently recommended by the Debian QEMU package team.
Open Virtual Machine Manager
Open the Mint Menu and click on Administration, Virtual Machine Manager. This screen will appear.
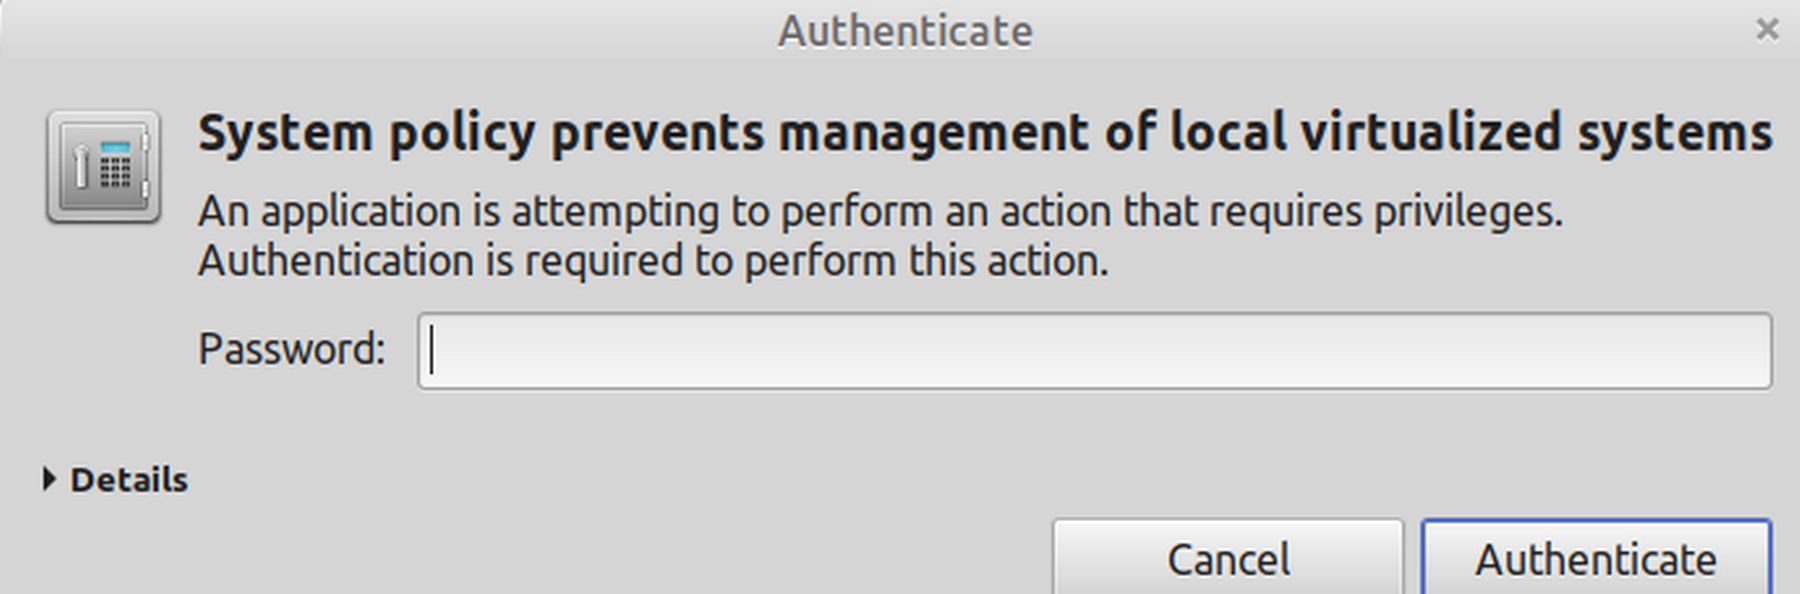
Enter your password. Then this screen will appear:
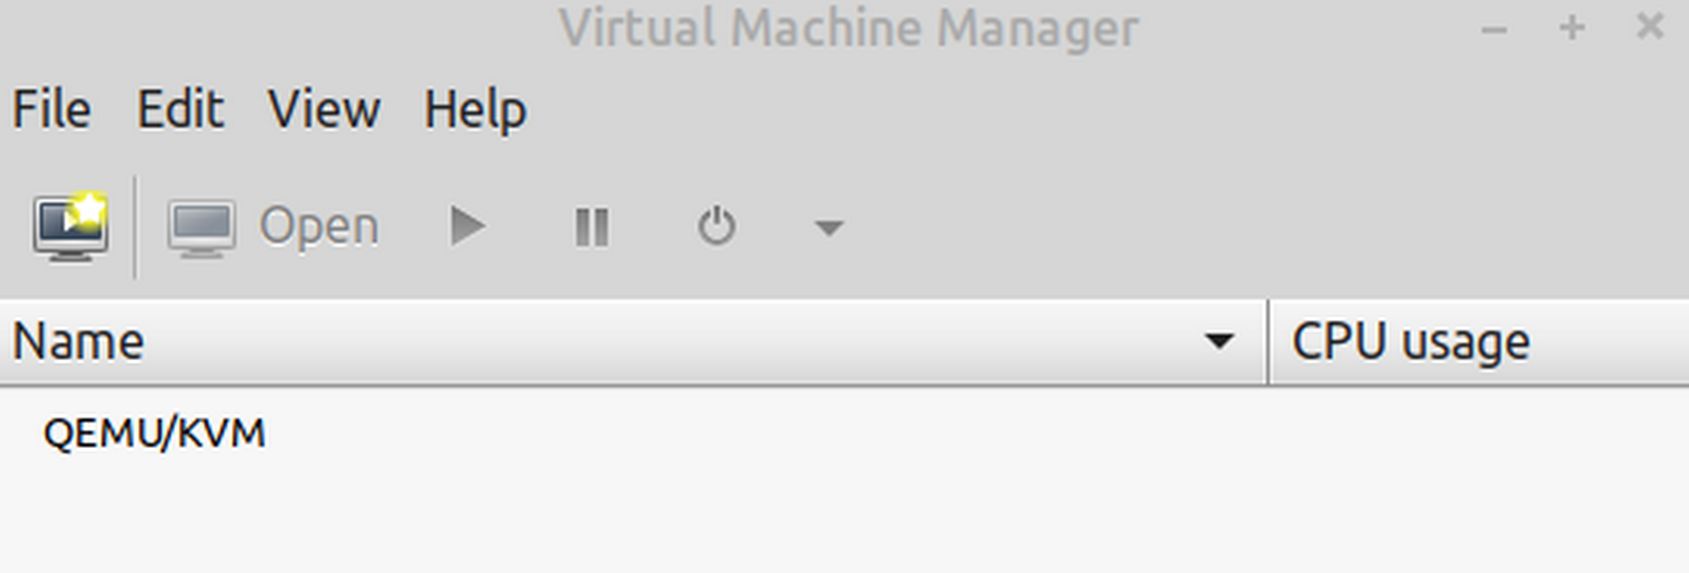
Congratulations. You have now installed Virtual Machine Manager.
What’s Next?
In our next article, we will use Virtual Machine Manager to create our first simple NAT based Virtual Private Server.