
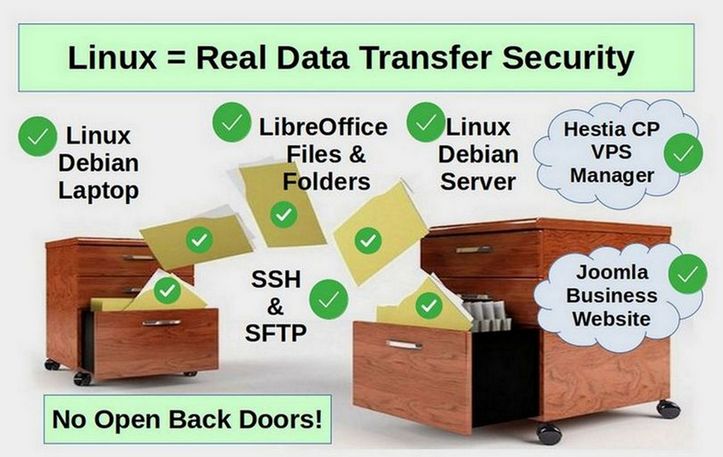
In this article, we will install the Hestia Control Panel on our VPS called ns01. As a reminder, Hestia is one of the six major tools we need to create a secure business website:
There are still a few tasks we need to complete before we install the Hestia Control Panel on our VMM VPS. Before we start, we need the home computer connected to at least two Ethernet ports using a USB to Ethernet adapter attached to a splitter with another Ethernet cable running to your router. This will allow your host computer to connect to the Internet at the same time that your VPS is connected to the Internet.
#1 Install Debian 11 on a Virtual Machine Manager VPS with a fully qualified domain name. In a previous article, we created ns01 with the fully qualified domain name ns01.dev.test.
#2 Make sure our VPS has a bridge connection and that the bridge connection has an active slave connection. Ideally, the bridge connection should use the manual method and also have a public and private DNS server:
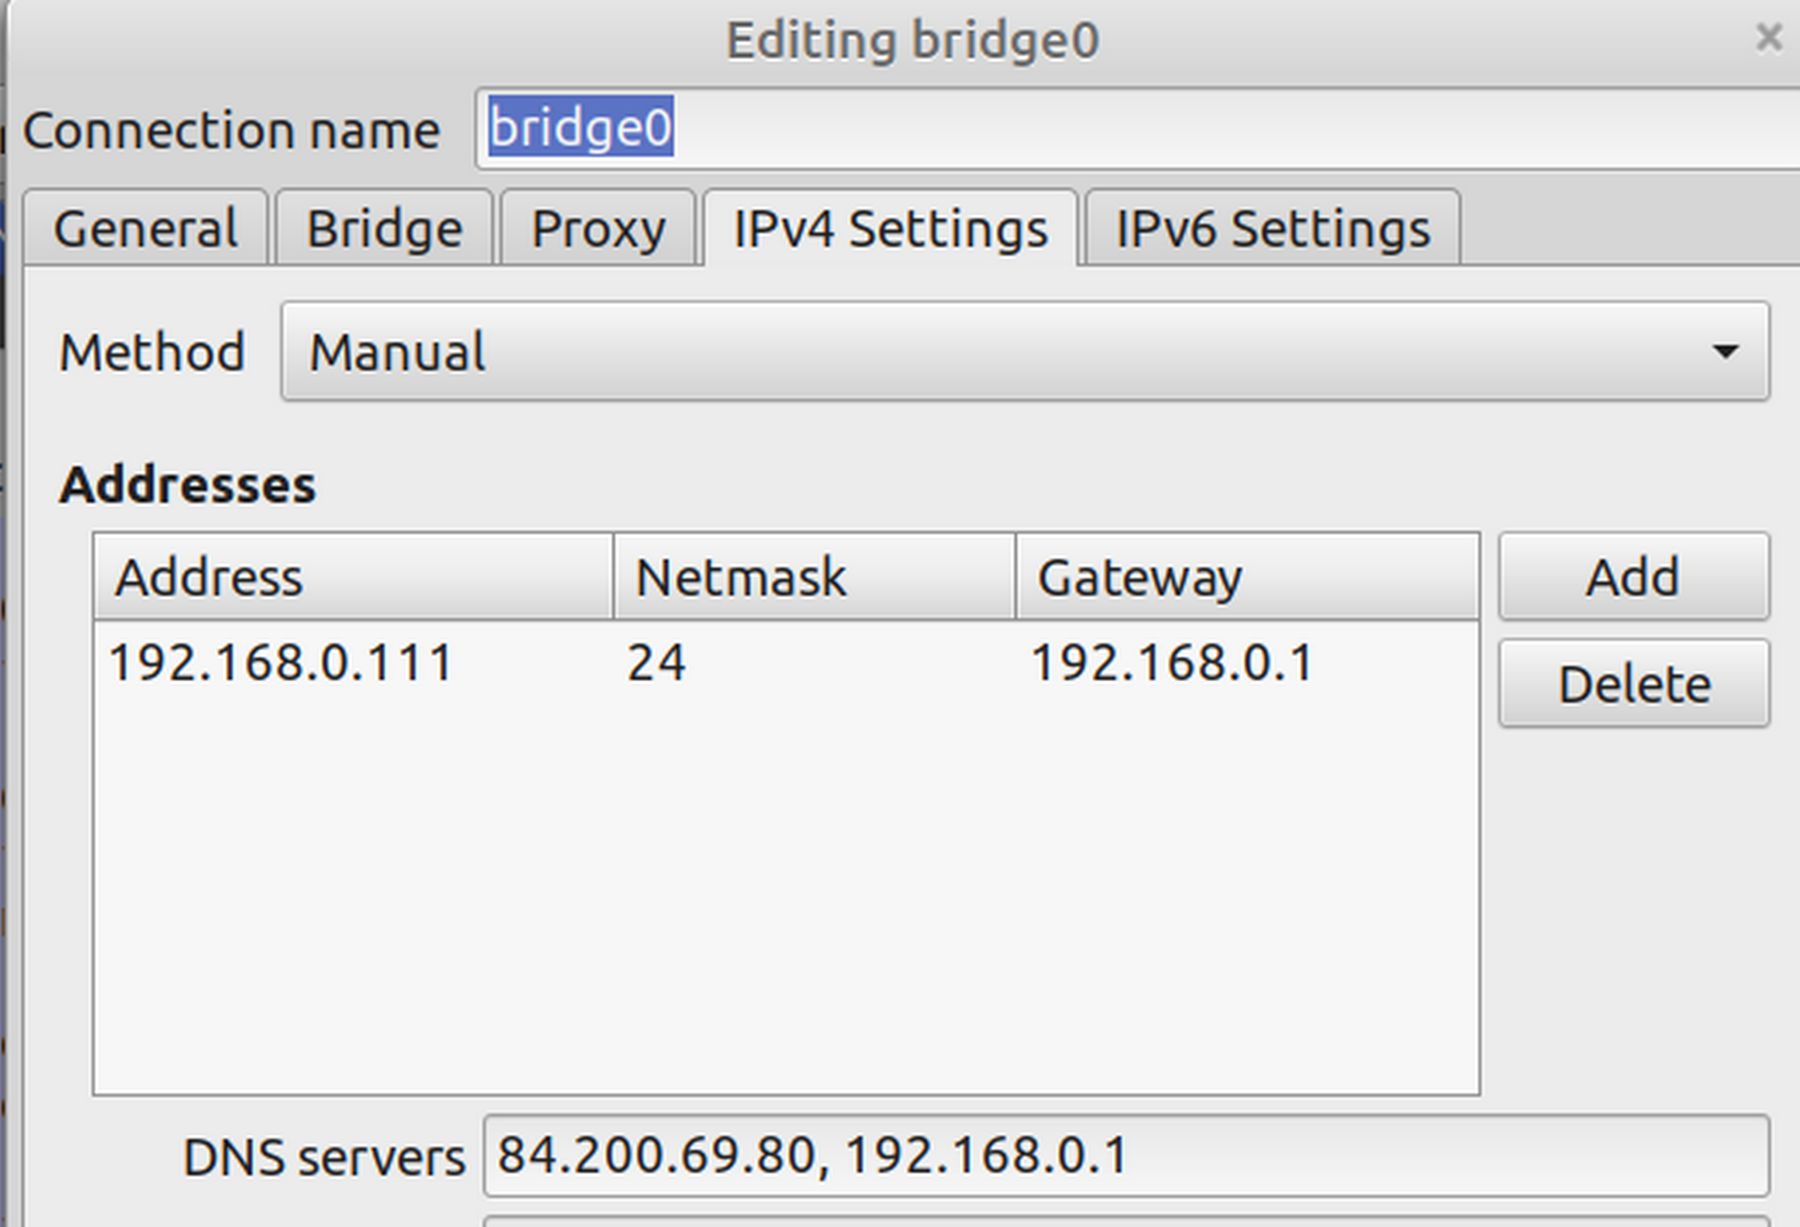
We then changed the connection on ns01 from NAT to Bridge0.
#3 Verify your VPS Fully Qualified Domain Name
To verify your VPS fully qualified domain name, start the VPS with Virtual Machine Manager and log in. Then type hostname -f. Then press Enter.
#4 Make sure our VPS has a static IP address assigned to the ens3 device. Type ip addr. You may have to type ip addr 2 to 3 times before the IP shows up. In our case, it shows a local IP address 192.168.0.105.
#5 Make sure Midnight Commander is installed on your VPS
Type mc. If Midnight Commander is installed, it will open. Type exit to close it. If it is not installed, type: sudo apt install mc
Then turn off the VPS with sudo poweroff
#6 Add the static IP to your home computer etc hosts file.
This is needed when using fake domain names for sandbox testing. Open your home terminal and type sudo nano /etc/hosts. Add these lines to the file just below the first two lines:
192.168.0.105 ns01.dev..test ns01
192.168.0.105 dev.test
192.168.0.105 dev2.test
We will use ns01.dev.test for the domain name of our server and we will use dev.test for the domain name of our first practice website and dev2.test for the domain name of our second practice website.
#7 Log into SSH session: Turn on your VPS with Virtual Machine Manager. Then use the static ip determined above with ip addr to log into an SSH session.
ssh
If asked, type yes (lower case letters) then press Enter then type password. Then press Enter.
#8 Change Permit Root Login to Yes
Once logged into your user SSH session, copy paste:
sudo nano /etc/ssh/sshd_config
to open the ssh configuration file. Use the down arrow to scroll down to PermitRootLogin. Delete the hash at the beginning of the line PermitRootLogin and set the value to yes:
PermitRootLogin yes
Save and close the file. To make the new setting take effect, restart the ssh server:
sudo systemctl restart sshd.service
#9 Create a password for the root user
While VPS is running, and still in your user ssh session, copy paste the following into the ssh terminal: sudo passwd root
Enter your sudo user password. Then add a root password typing it twice. Reply should be: passwd: password updated successfully
Then log out of user with sudo poweroff. Then close the home terminal.
#10 Start SSH session as root user and install Hestia
Restart the VPS with Virtual Machine Manager. Then open a terminal on your home computer and copy paste:
ssh
Enter the root password. Note that the prompt now says root at ns01. We are now ready to install Hestia CP on ns01.
#10 Install Hestia Control Panel
While logged in as root, copy and paste the following commands:
apt-get update
apt-get upgrade
Then open a browser and go to the Hestia control panel home page.
Step 3 on the Hestia Home page shows the normal install command:
wget https://raw.githubusercontent.com/hestiacp/hestiacp/release/install/hst-install.sh
Copy paste this into the ssh root terminal and press Enter. The above command is normally followed by bash hst-install.sh
However, we do not want clamav because it does very little and uses way too much ram. To avoid installing clamav, we will use this for the second command: bash hst-install.sh --clamav no
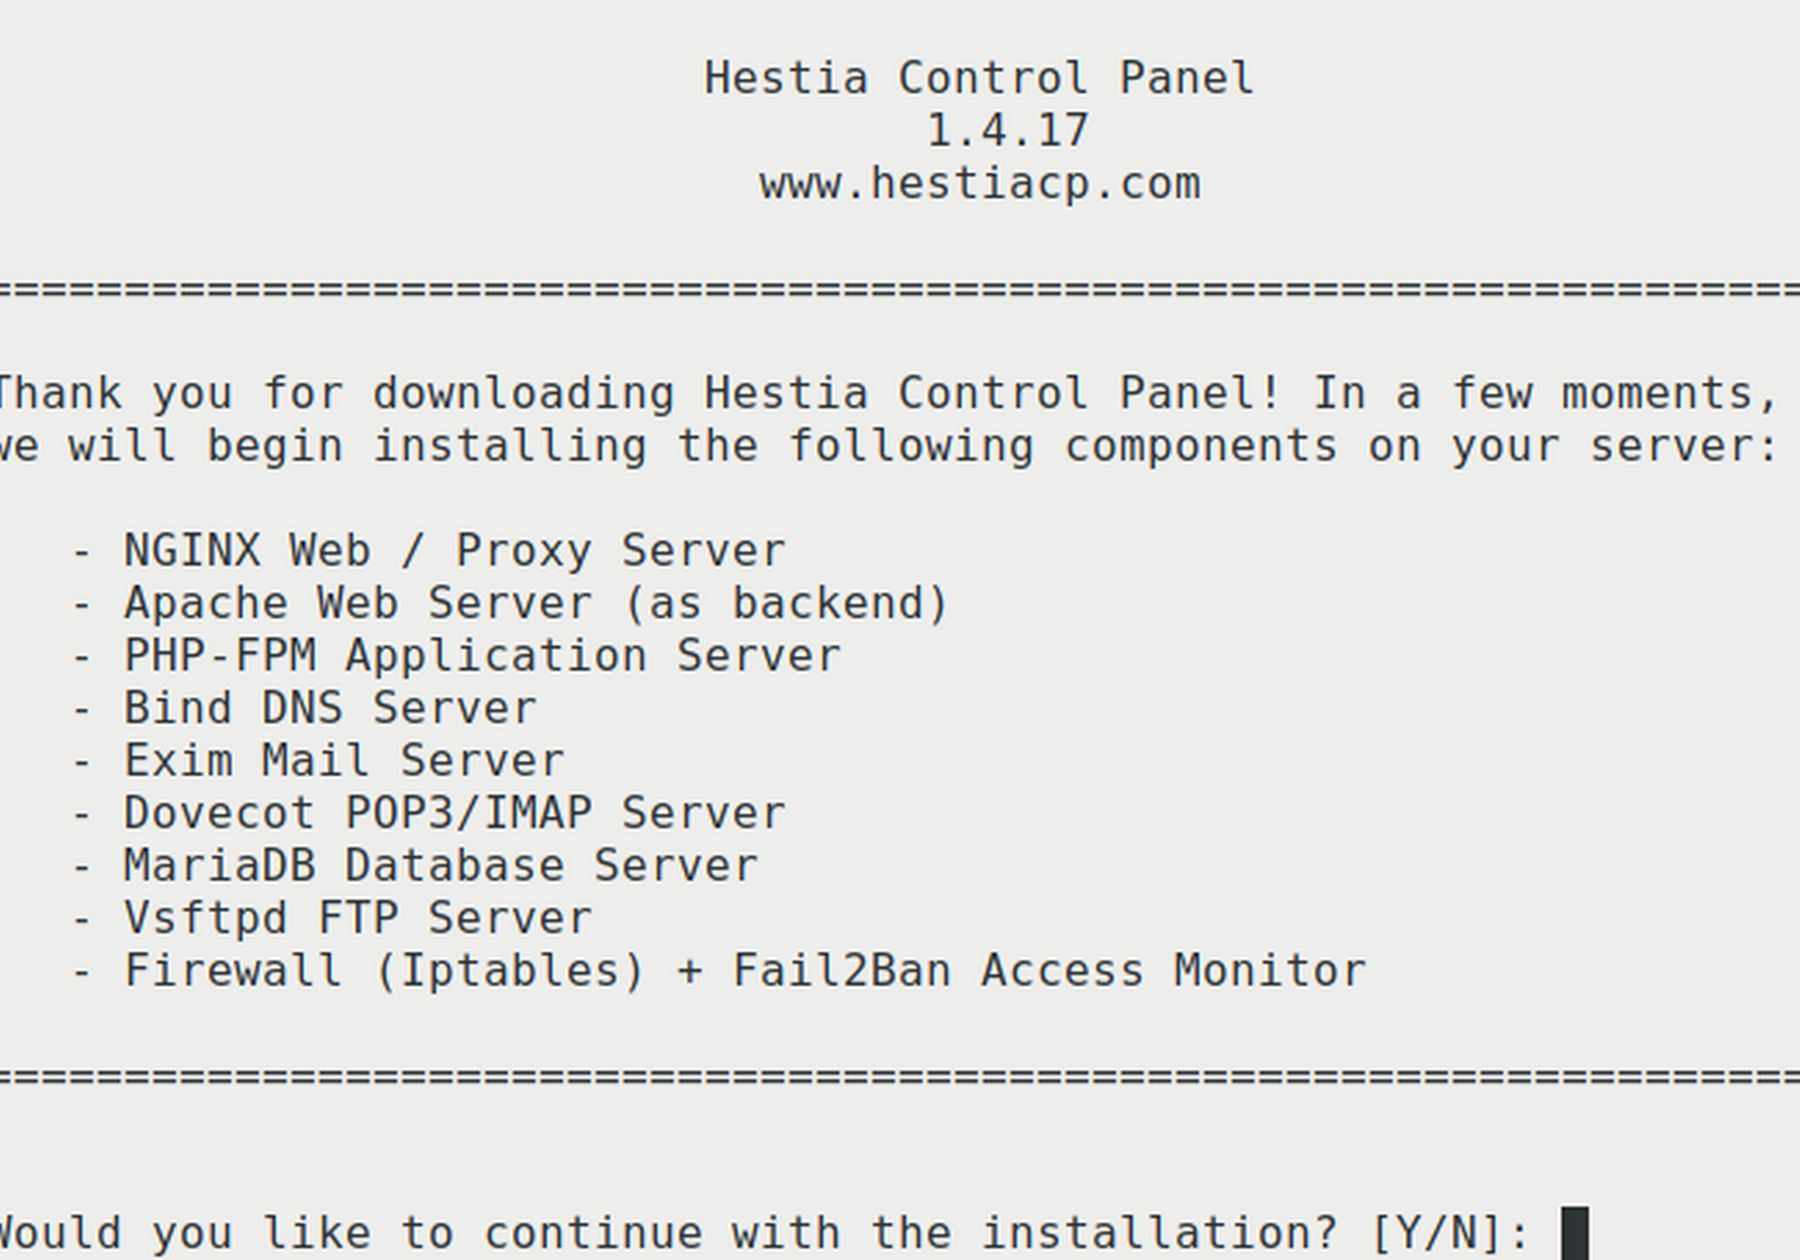
Then type Y. Then type your email and FQDN:

Then press Enter.
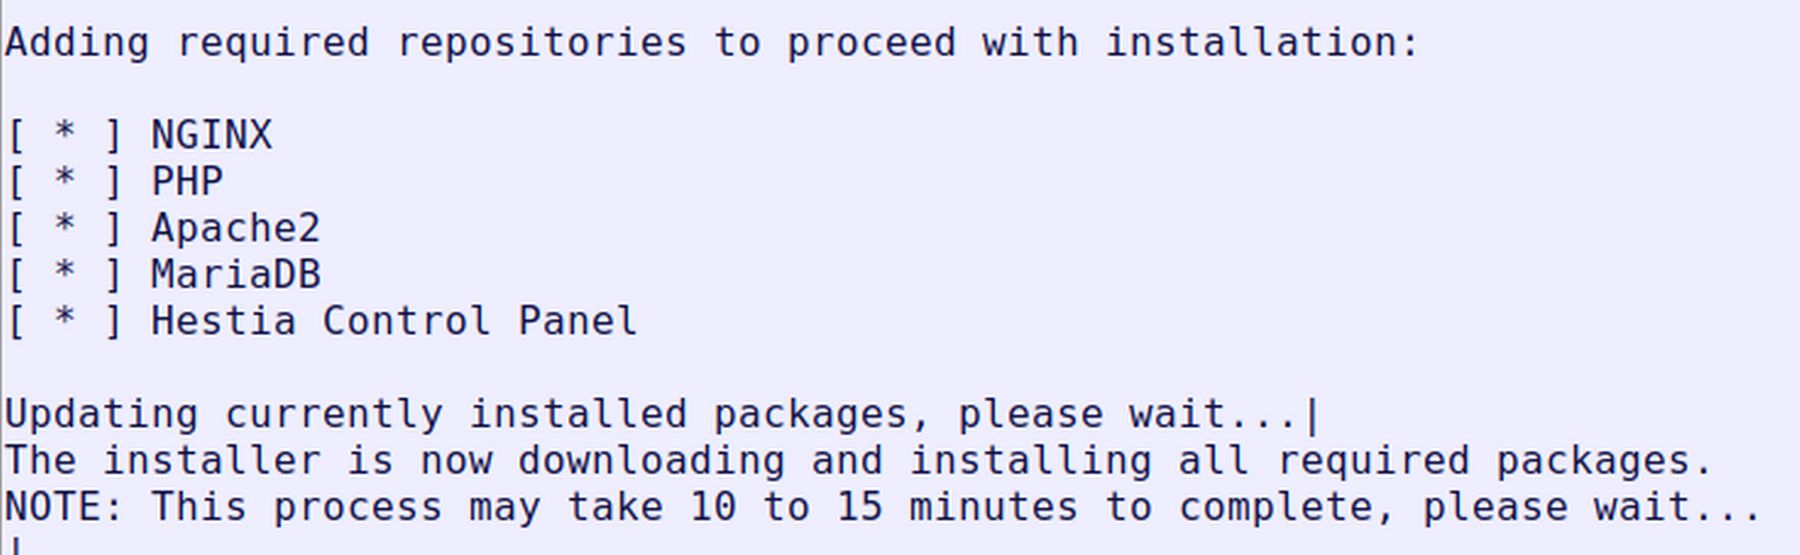
After the installer finishes, it will end with Press any key to continue.
Do not press any key! First, scroll up the page and copy paste the Hestia URL and password!!!
Admin URL: https://76.28.214.202:8083
Username: admin
Password: ImQwmOHv1rg1Yi9g
Then scroll back down the page and press Enter. Then close the terminal. The server will restart. You do not need to log into the server. Instead, open a browser and copy paste the Hestia URL: https://76.28.214.202:8083
This is my public URL. Firefox will respond with: Firefox can’t establish a connection to the server. The correct Hestia Control Panel Log in page is at your local Static IP address URL followed by the 8083 port.
192.168.0.105:8083
You can also log in with the domain name:port number
ns01.dev.test:8083
Either way, Firefox will state: Warning: Potential Security Risk Ahead. Click Advanced. Then click Accept Risk and Continue.The Hestia Control Panel Log in screen will appear:
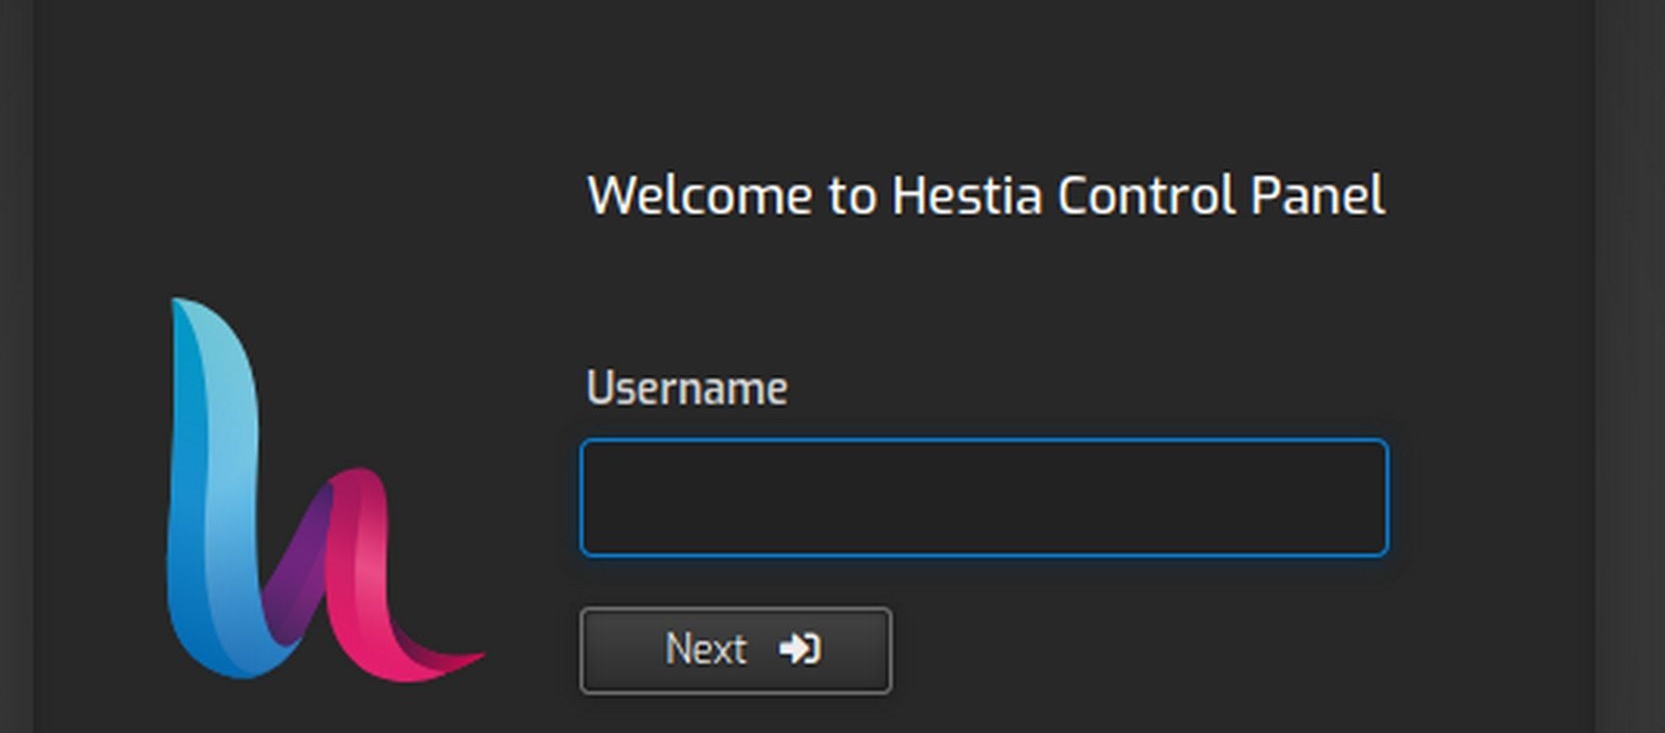
For username, type admin. Then click Next. For password, copy and paste the complex password:
Password: ImQwmOHv1rg1Yi9g
Hestia Control Panel First Steps
There are some important steps we should take soon after logging into the Hestia Control Panel.
1 Change the Background Color of the Panel
The dark panel is hard to read and hard to see on screenshots. Therefore, our first task is to change the background color of the panel to a lighter color. Click on the Settings wheel in the upper right corner. Then click Configure on the left side of the screen.
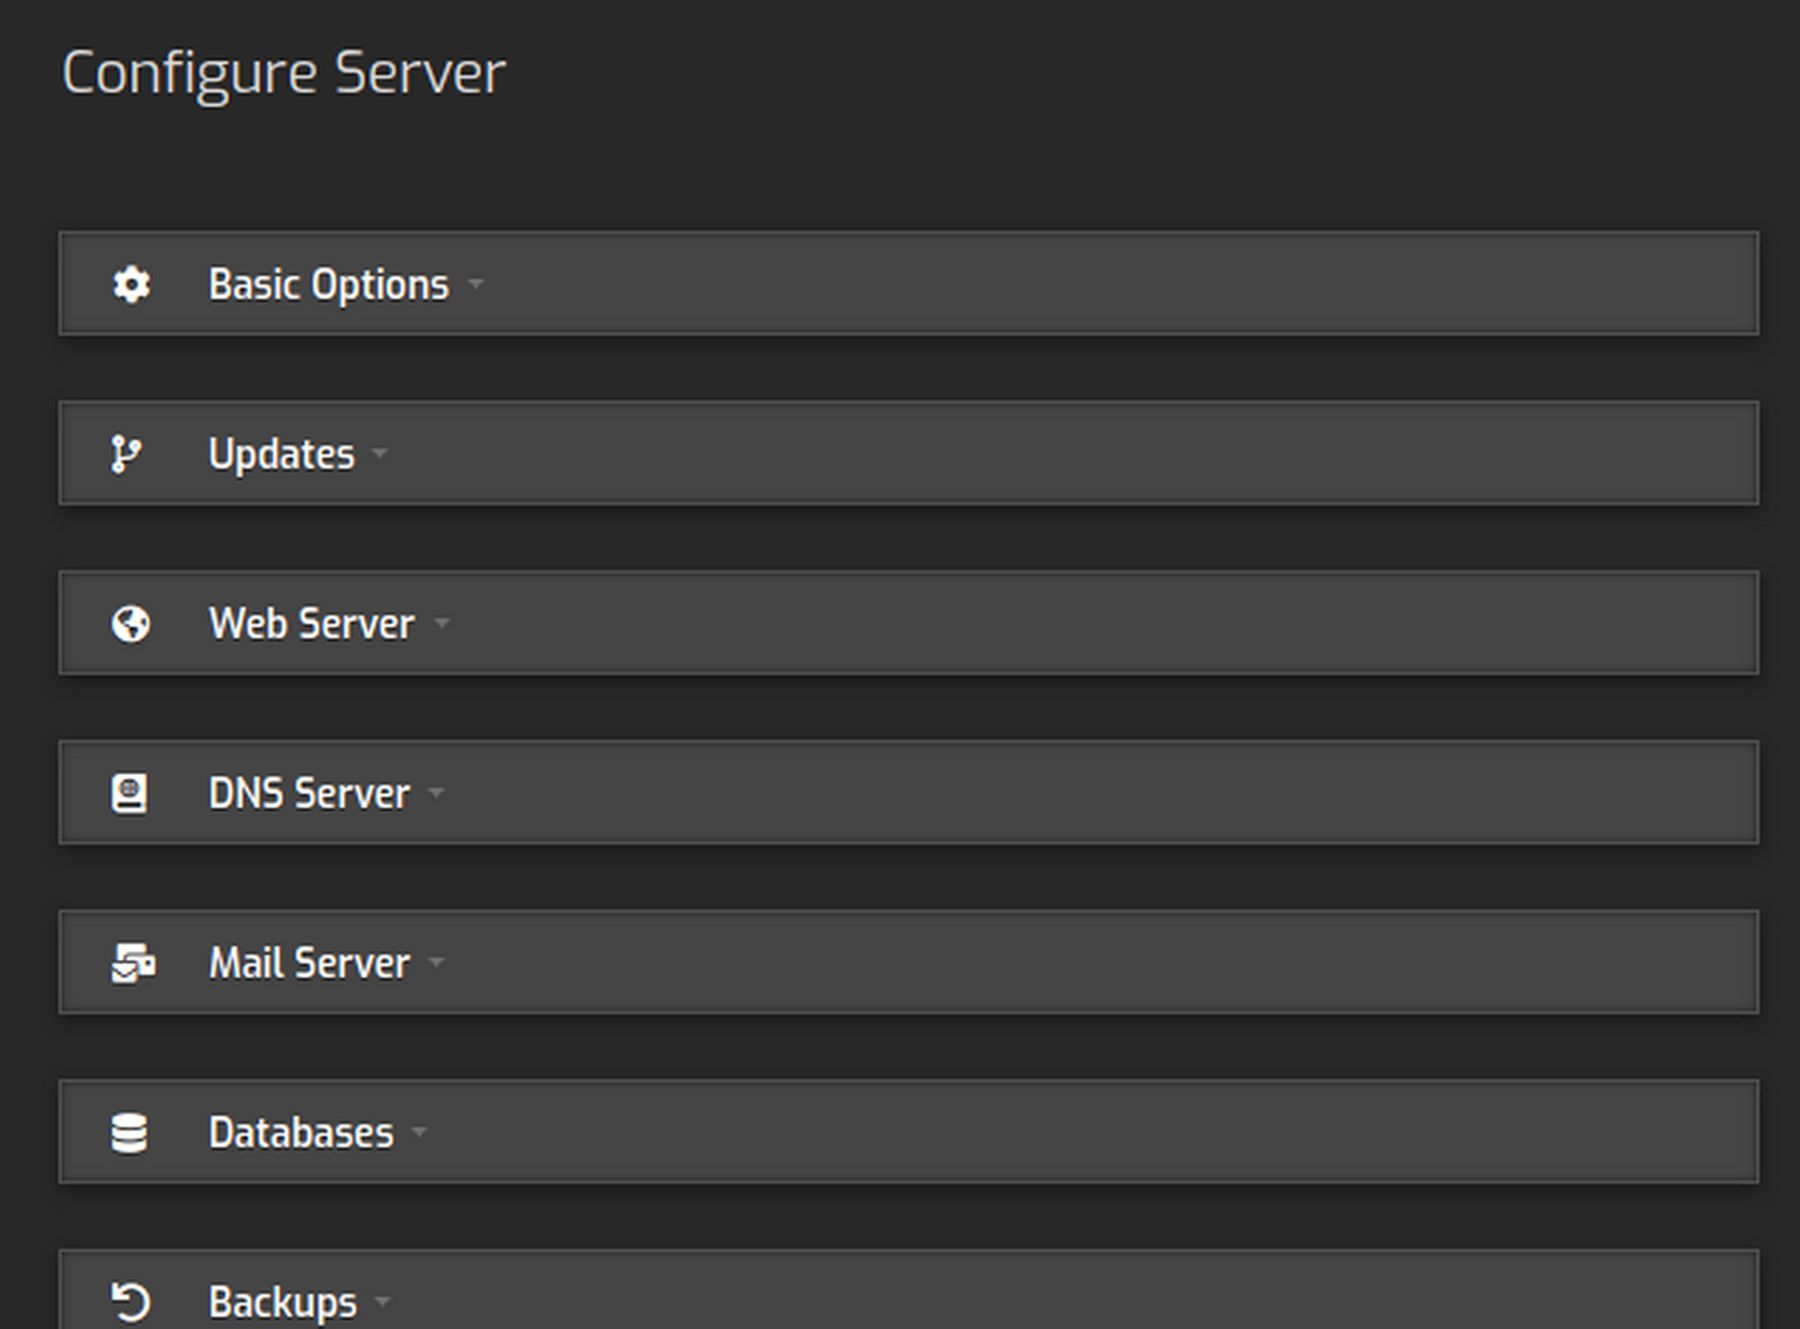
Then click Basic Options
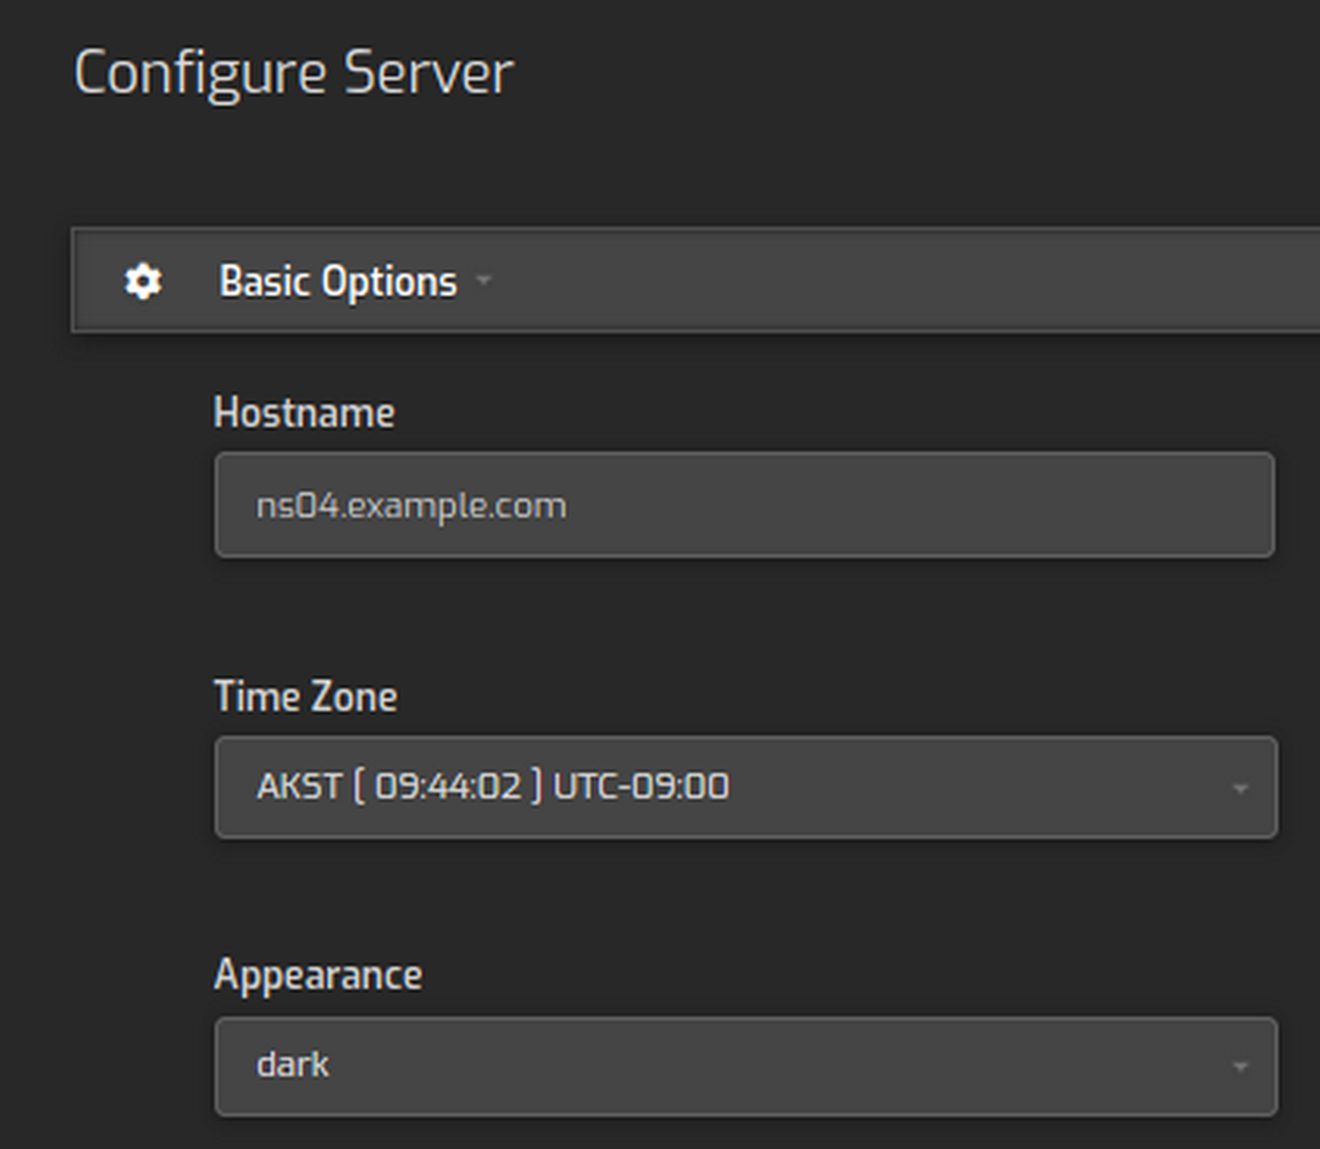
Then use the Appearance drop down arrow to change from dark to default and click Save. Then click on the word Back to return to the main panel Settings screen.
2 Make sure that the Apache and Nginx servers are running
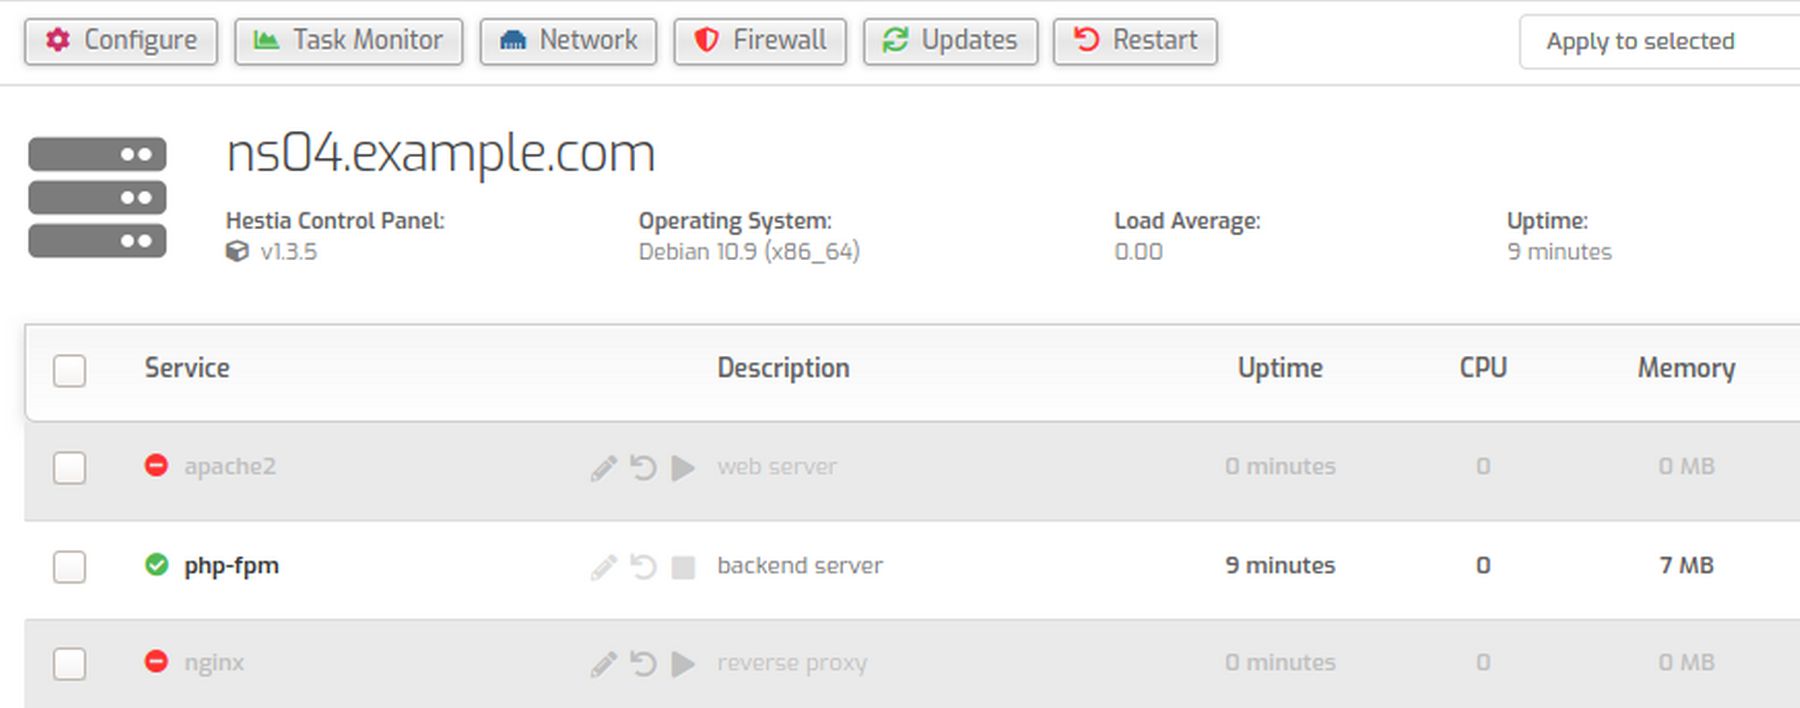
The Apache and nginx servers may not be running. This is likely because we are using pretend servers rather than real ones. To turn them on, select them and click Restart.

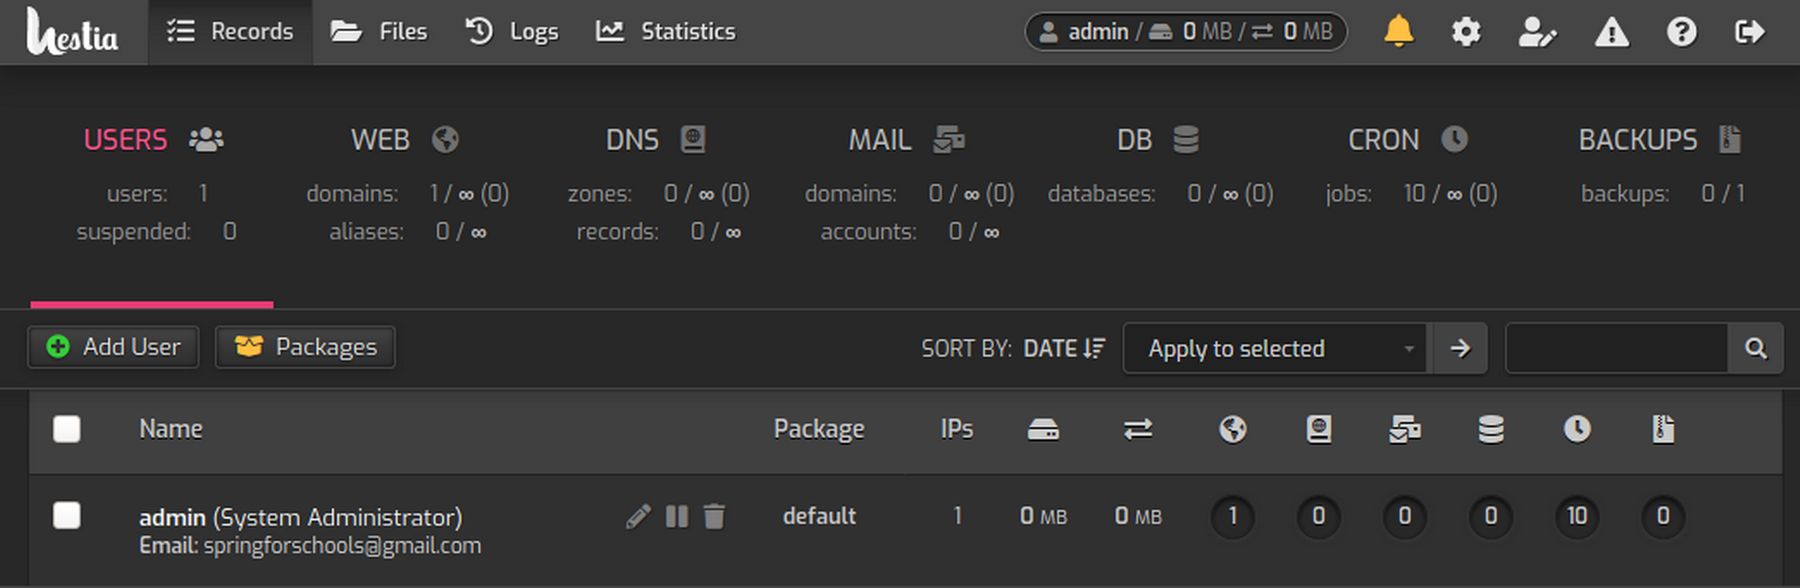
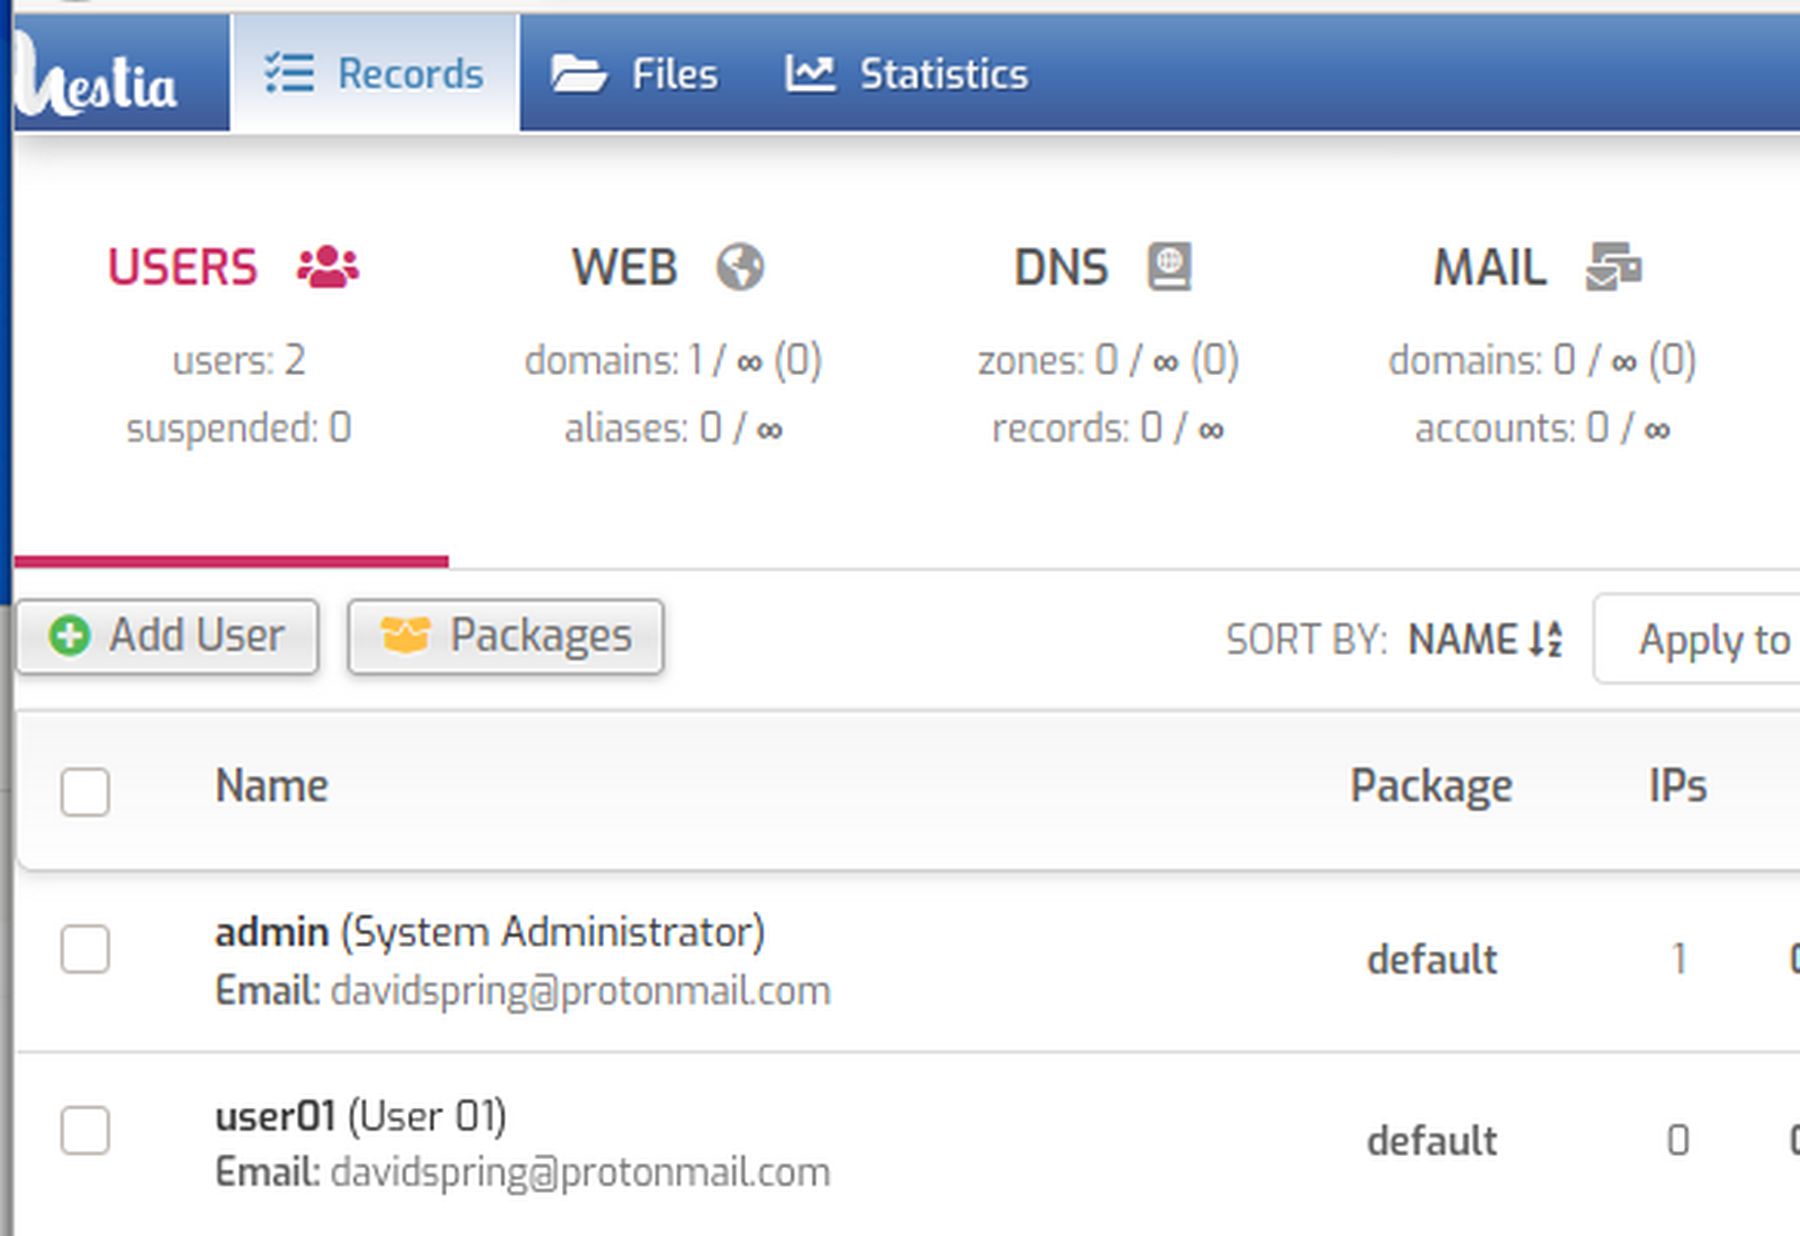
3 Change the Admin Password
Click on Users in the top menu.
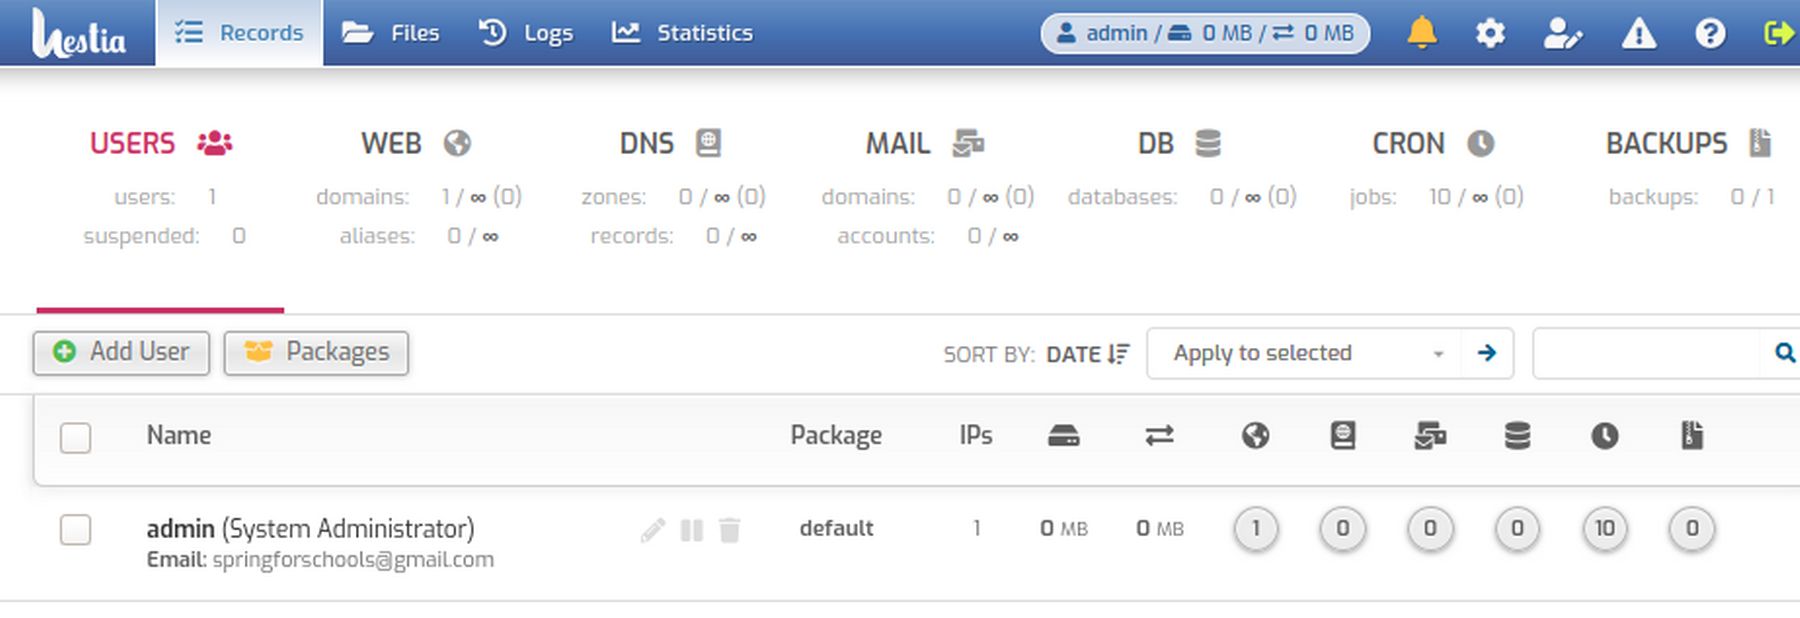
Then select the Admin User and click the Edit pencil.
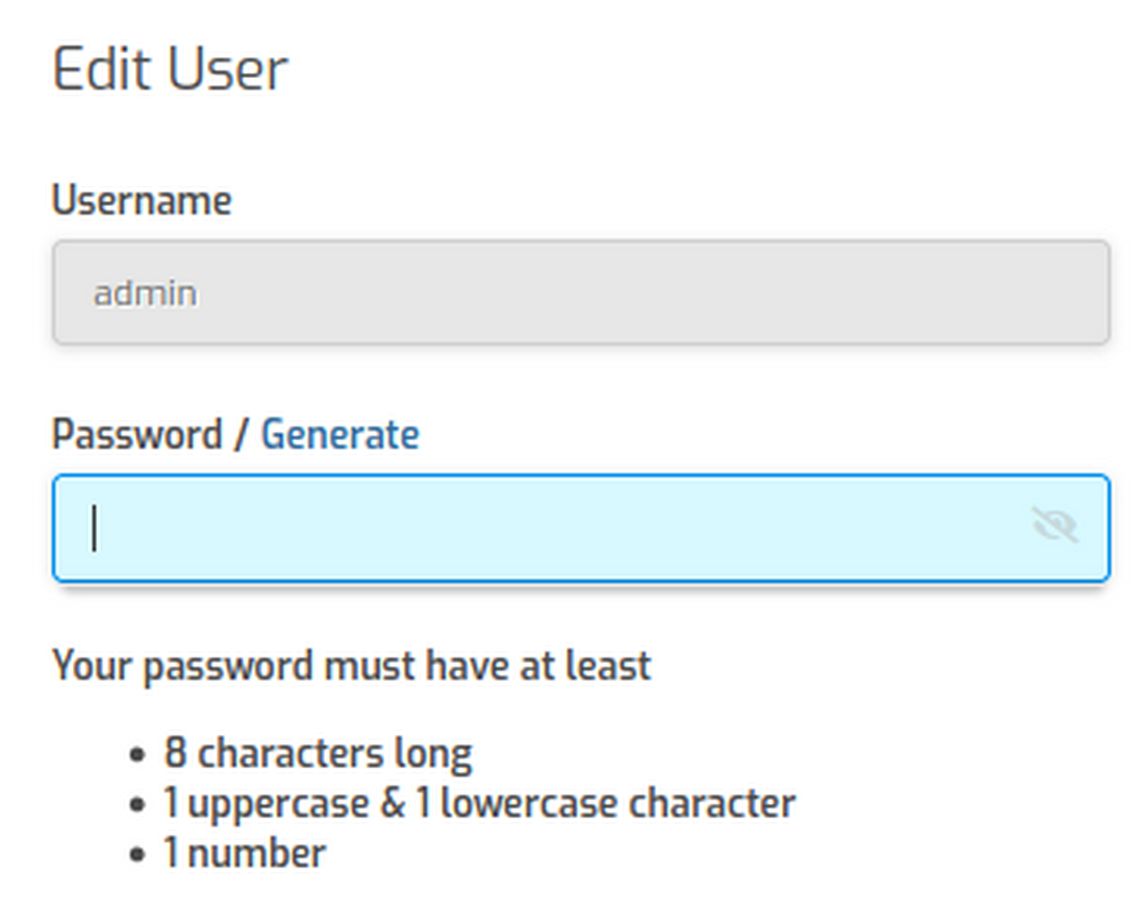
Type in an easier to remember password. Each Hestia password must be at least 8 characters long with 1 uppercase & 1 lowercase character and 1 number. Then click Save and Back to go back to the User screen.
4 Change the Server IP address from the Public to Private IP
Click Settings, Configure Network
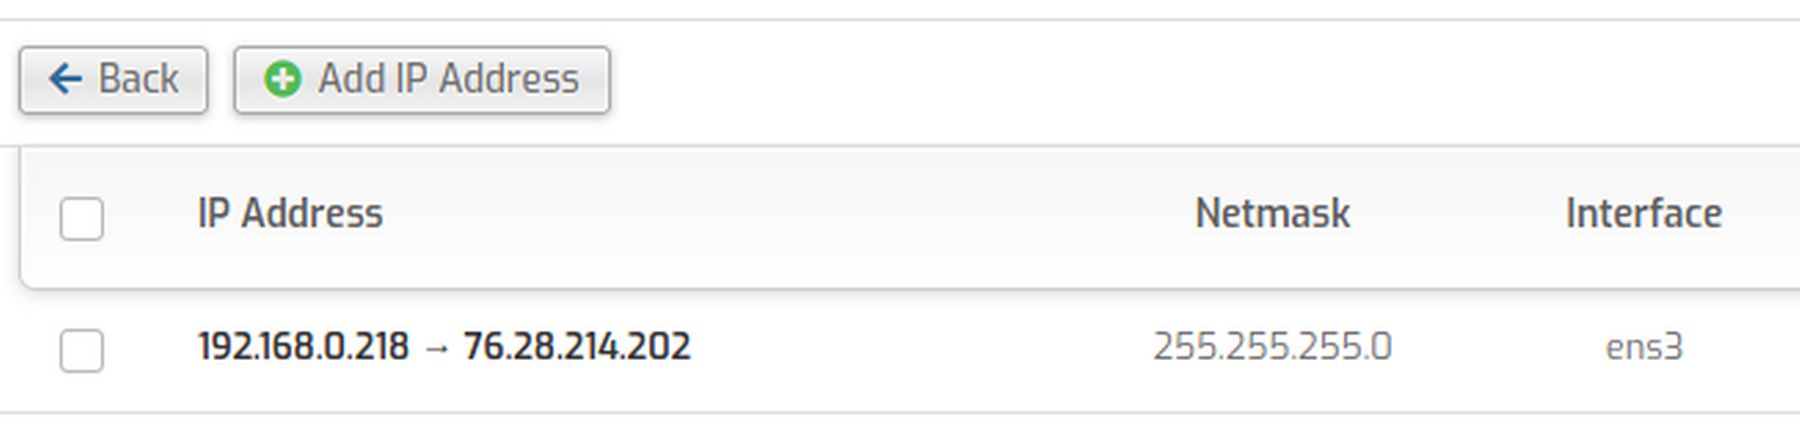
This shows the local IP and the public IP. Click the Edit pencil.

Delete the public IP in the NAT association box since we have a bridge connection and do not need NAT. We have already set up the etc hosts file to 192.168.0.105. Then click Save and Back.
5 Add a New User
It is very important to create a new user for the admin as this will create a wall for hackers preventing them from reaching the Admin Control Panel should they ever manage to break into an individual user account or website. In short, all websites should be created by Hestia users and not by Hestia administrators. Click Add User.
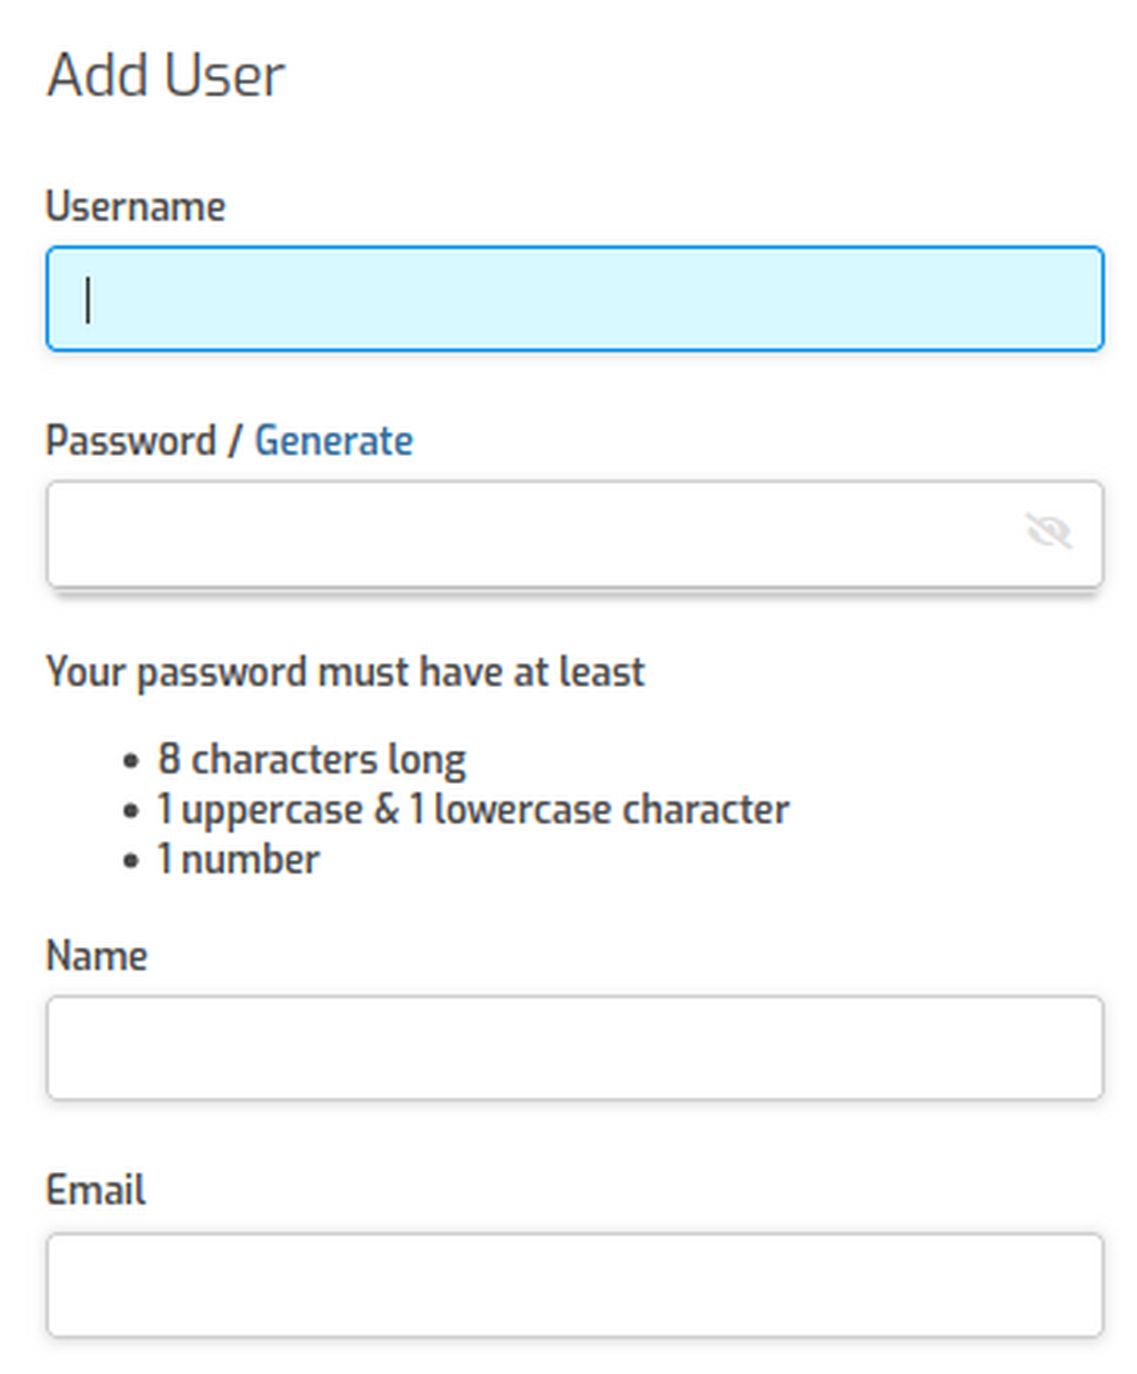
Type in an easy to remember username and easy to remember password. Then type in the User Name and email address. Check Send Welcome Email to see what that looks like. Click Save and Back to return to the Users screen:
6 Log in as a User
The Hestia User screen has fewer items that the Hestia Admin screen. The main areas we will use are Add Web Address, DB - to create databases for Joomla websites and Files - to add files for Joomla websites.
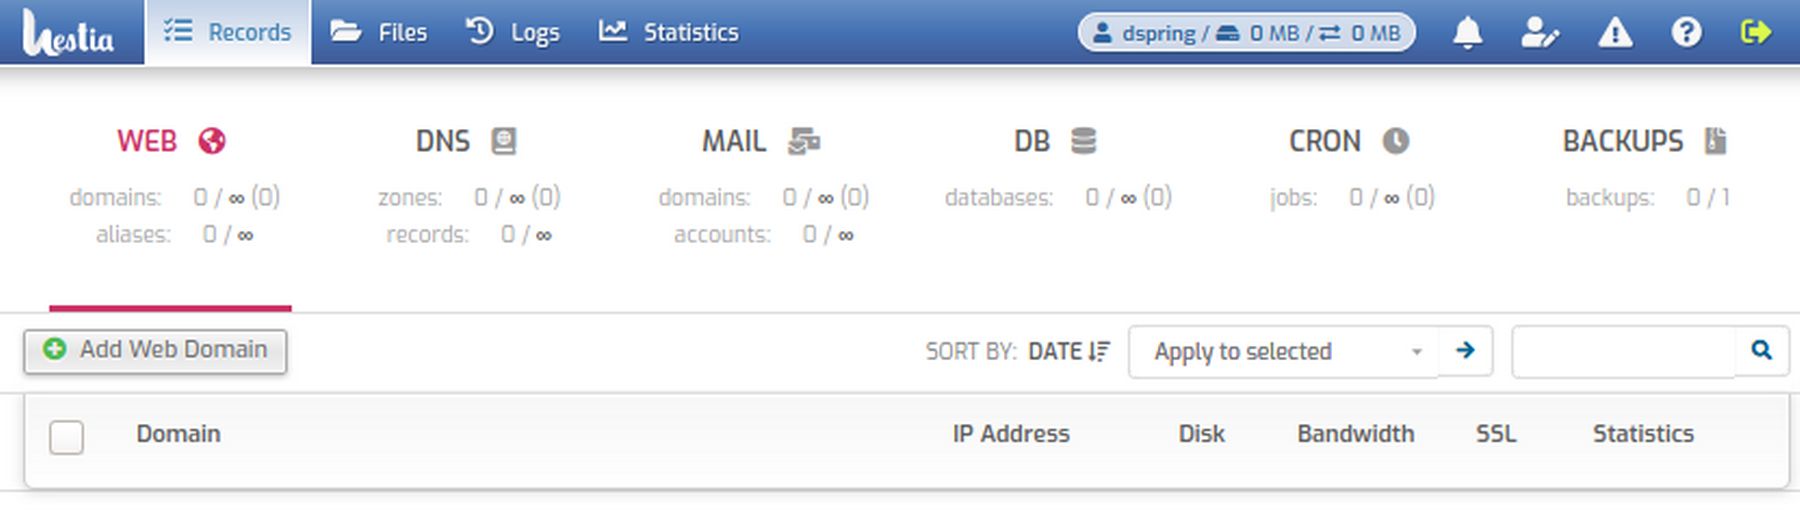
7 Add a New Website
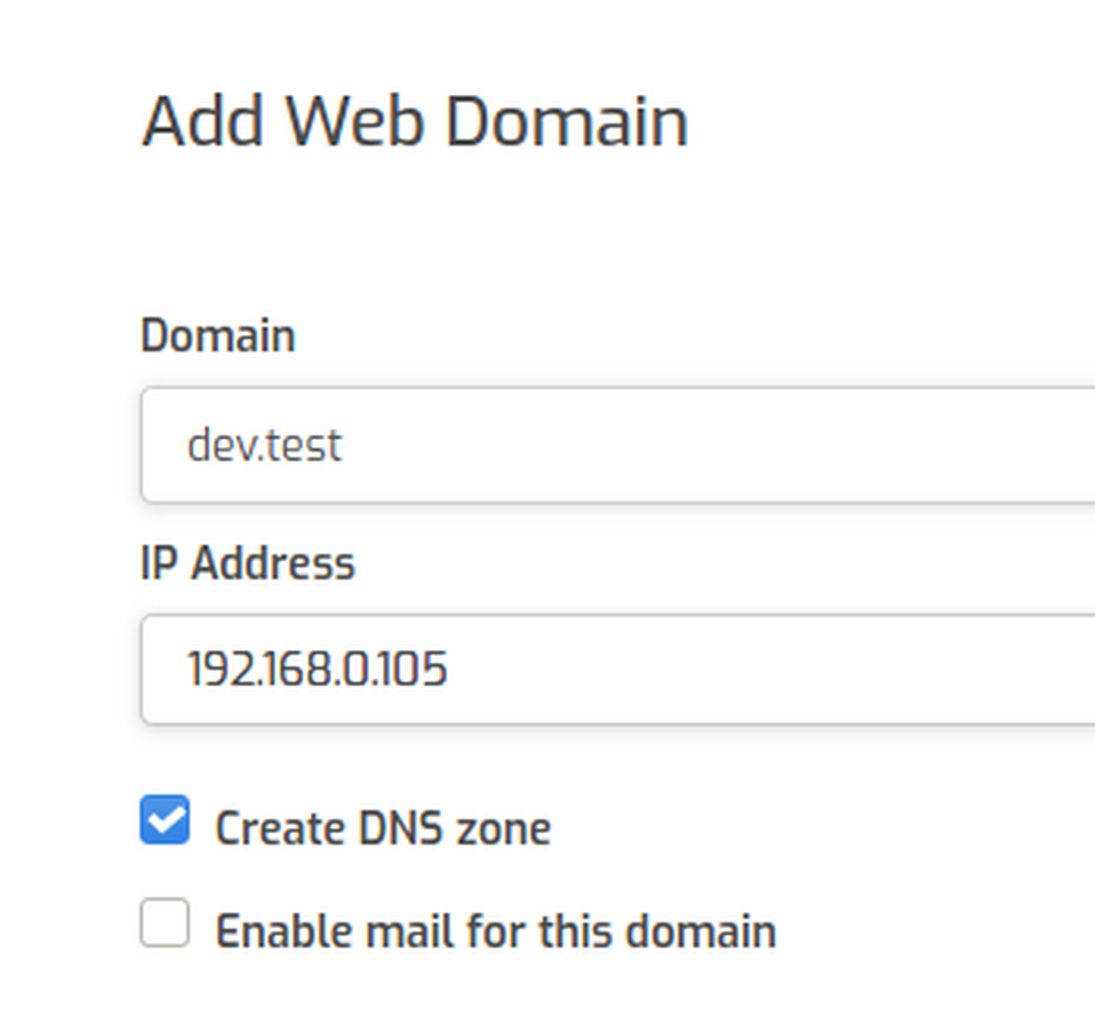
Click Add Web Domain to add a new web domain. Call it dev.test.
The only IP address option is the private IP address. Also check Create a DNS zone.
Click Save and Back and select the domain name and click on the up arrow to go to the new website.
ns01.dev.test It has the same result. But we will not use the FQDN as a website. Open a new browser tab and type the local IP address 192.168.0.105
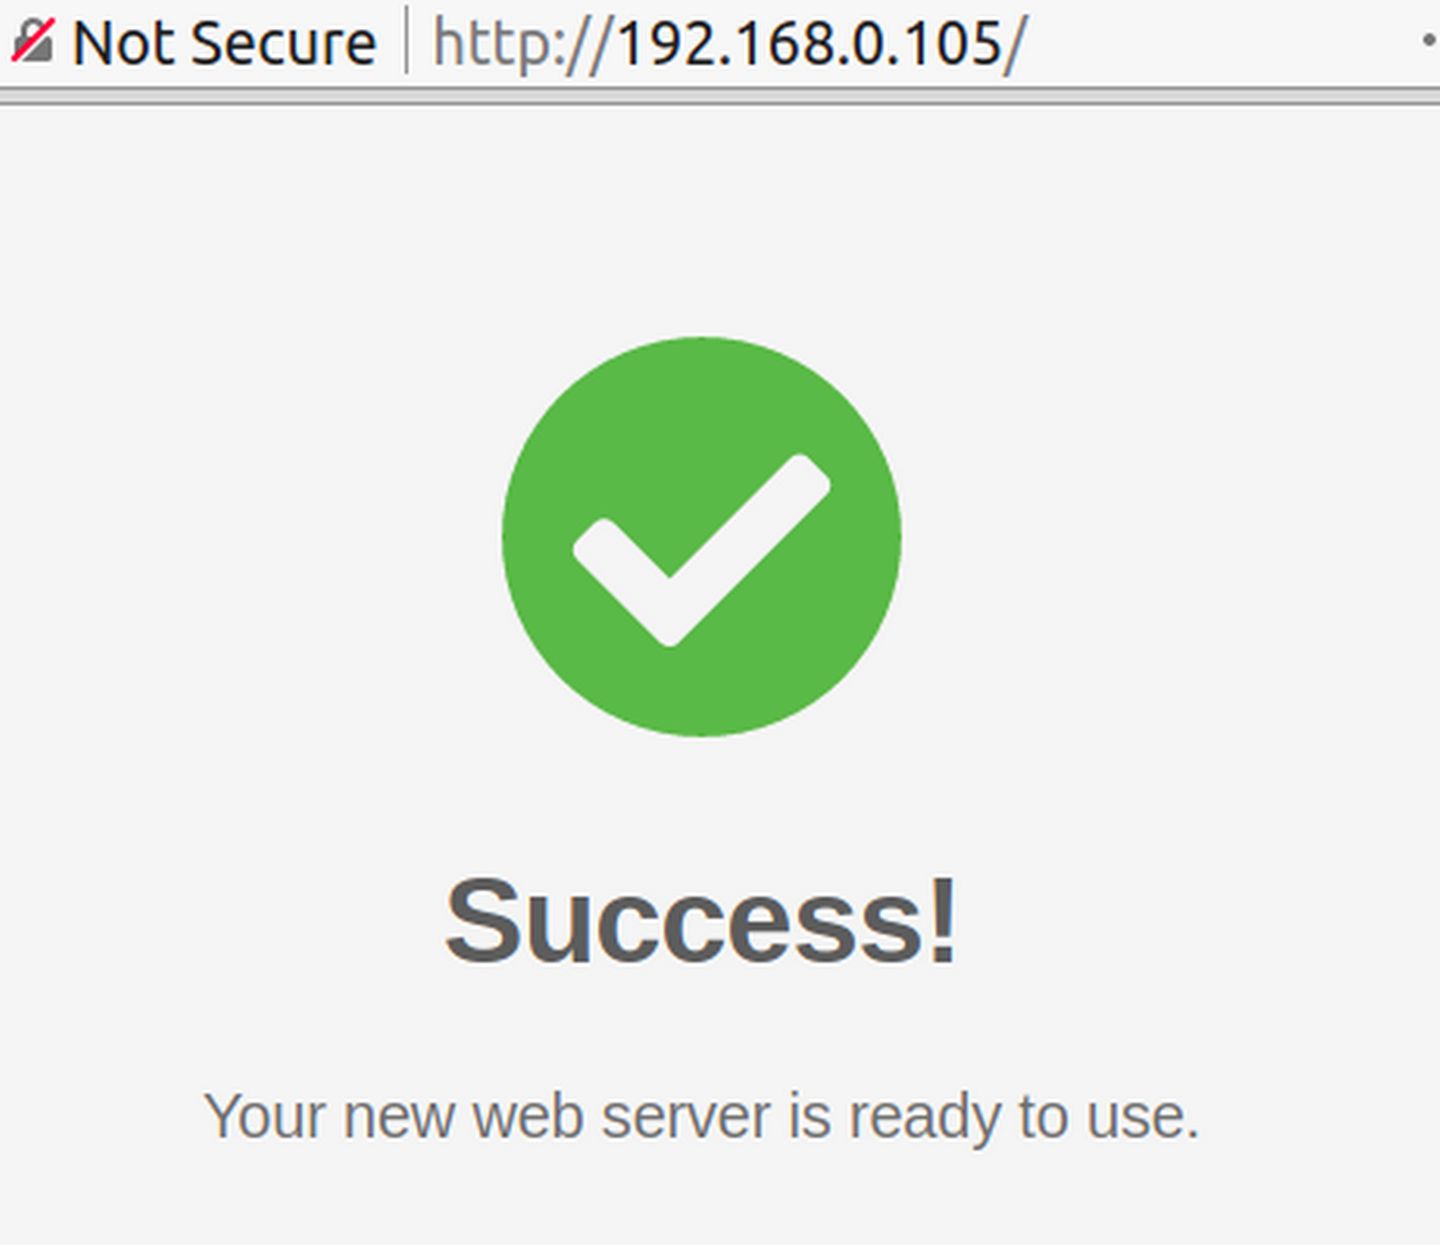
This confirms that our local IP address is being used for our web server. Then close the Success tab but do not close the Hestia Control Panel tab.
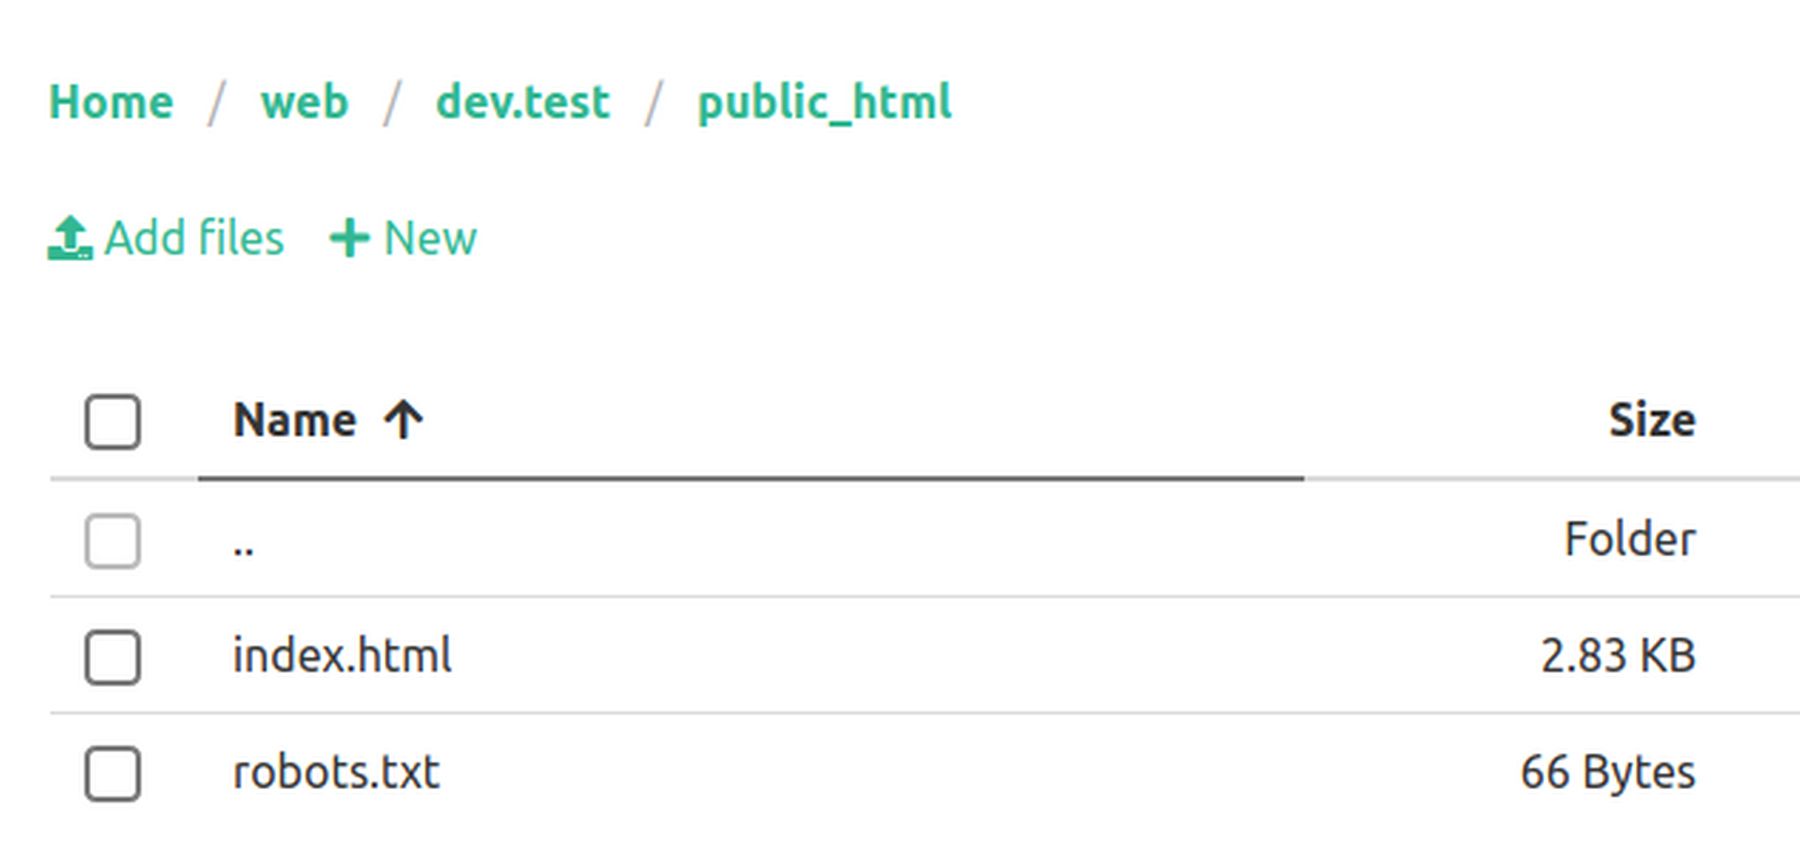
8 View our new website files
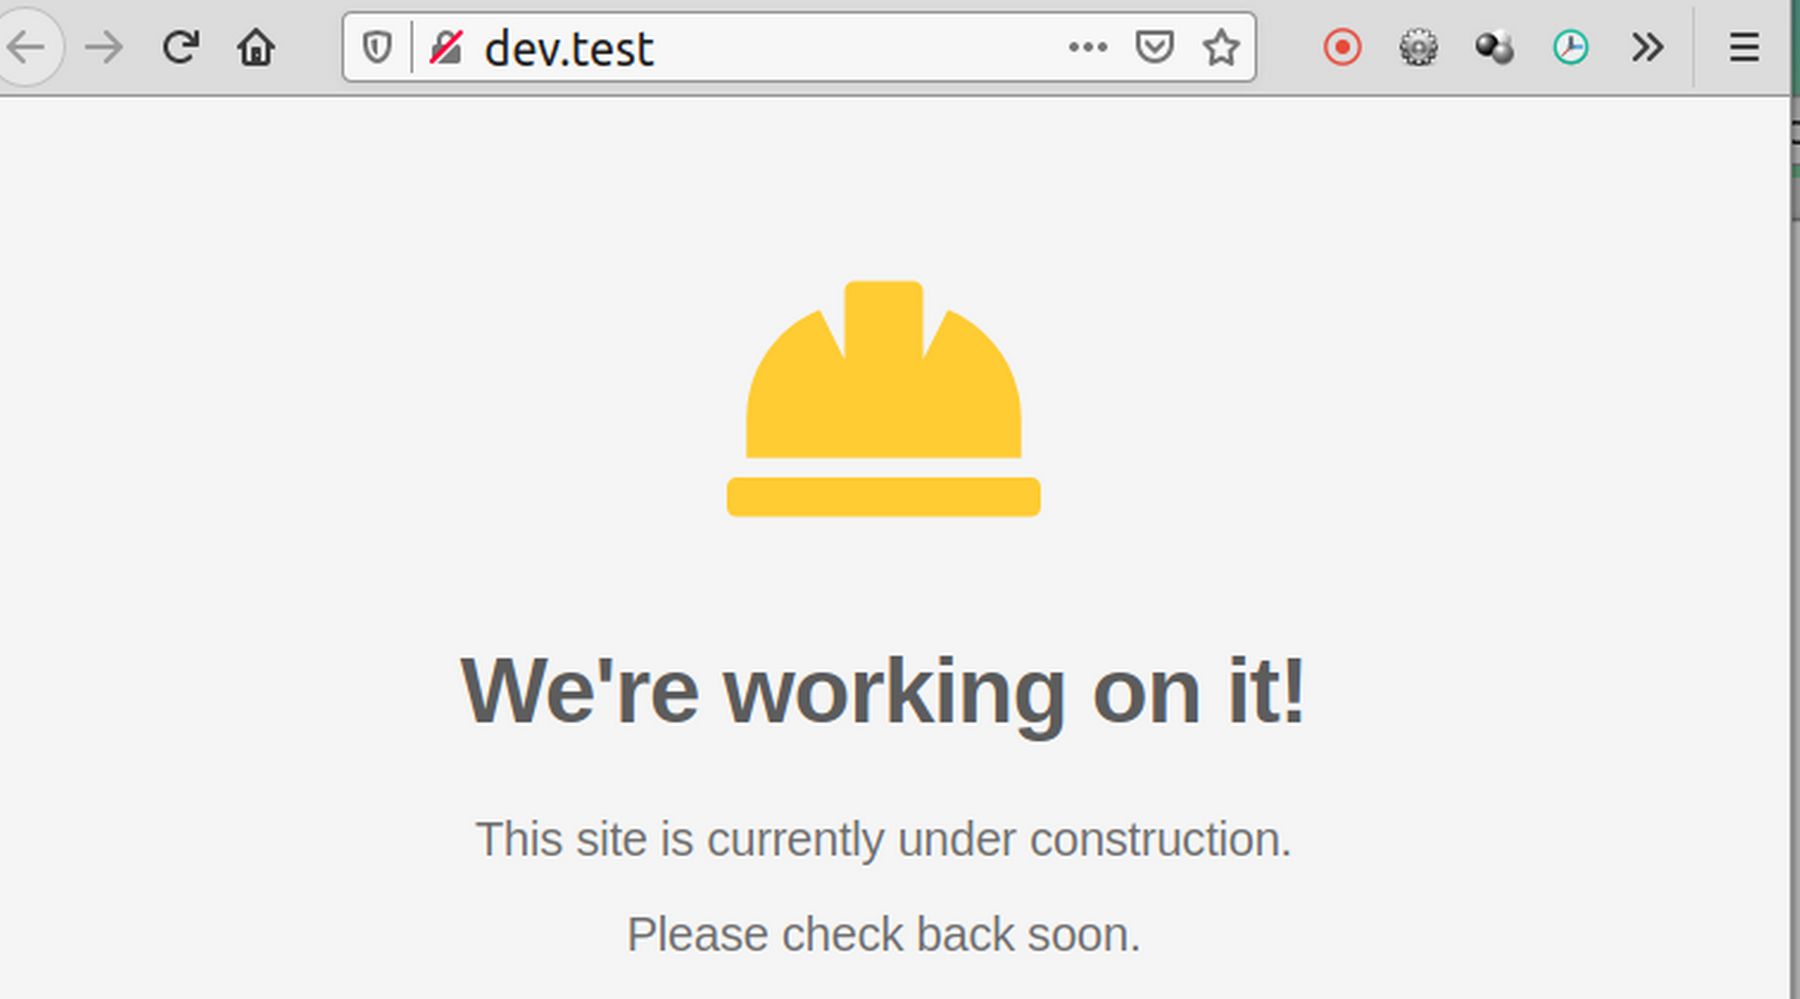
In the User screen, click Files, web, dev.test, public_html
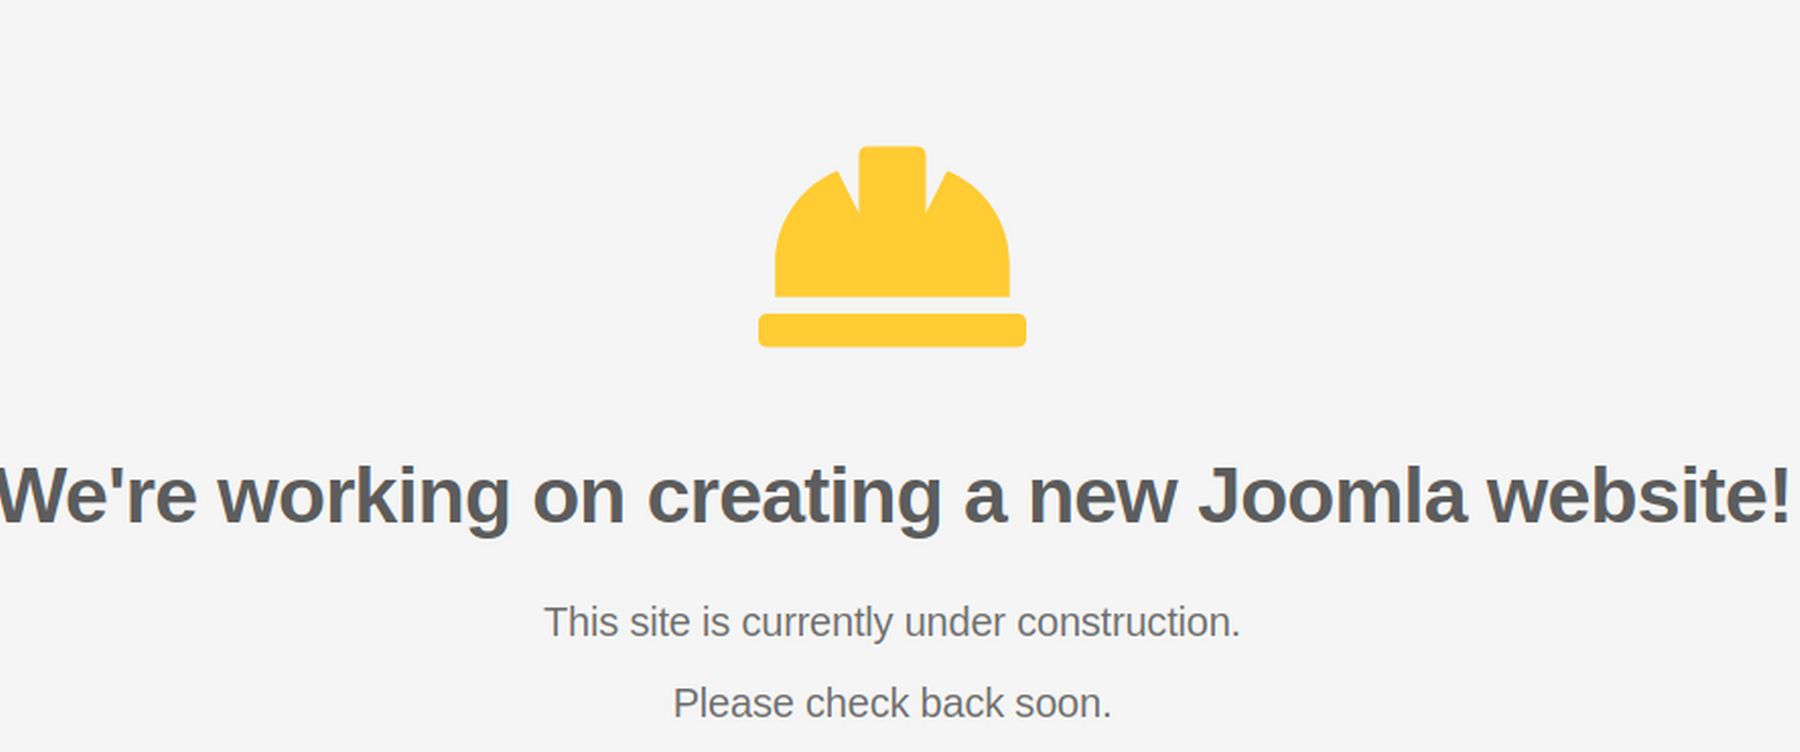
Click on index.html to open it. Scroll down to line 103 and change it from We’re working on it. To We’re working on creating a new Joomla website! Then scroll to the bottom of the page and click Save. Then click Exit to Control Panel. Then select and visit the site again:
Exit the Hestia File Manager and log out of the User Control Panel. Then click on the small arrow in the upper right corner to log out. Then close the browser. Then close the VPS. Then close VMM.
What's Next?
Right now, we have a simple HTML web page for a website. In the next chapter, we will review how to add a Joomla website and database.