
In this article, we will use Virtual Machine Manager to install our first basic Virtual Private Machine.
Pre-VPS Creation Checklist
#1 Is your laptop connected to your router with an Ethernet cable?
#2 Have you downloaded your Debian Net ISO to your Downloads folder?
https://www.debian.org/distrib/
#3 Have you installed Virtual Machine Manager from the Debian Software Manager?
#4 Do you really want to create your own practice Virtual Private Server?
If you answer yes to all oof these questions, then go to the Debian Menu and click on Administration Virtual Machine Manager to open VMM
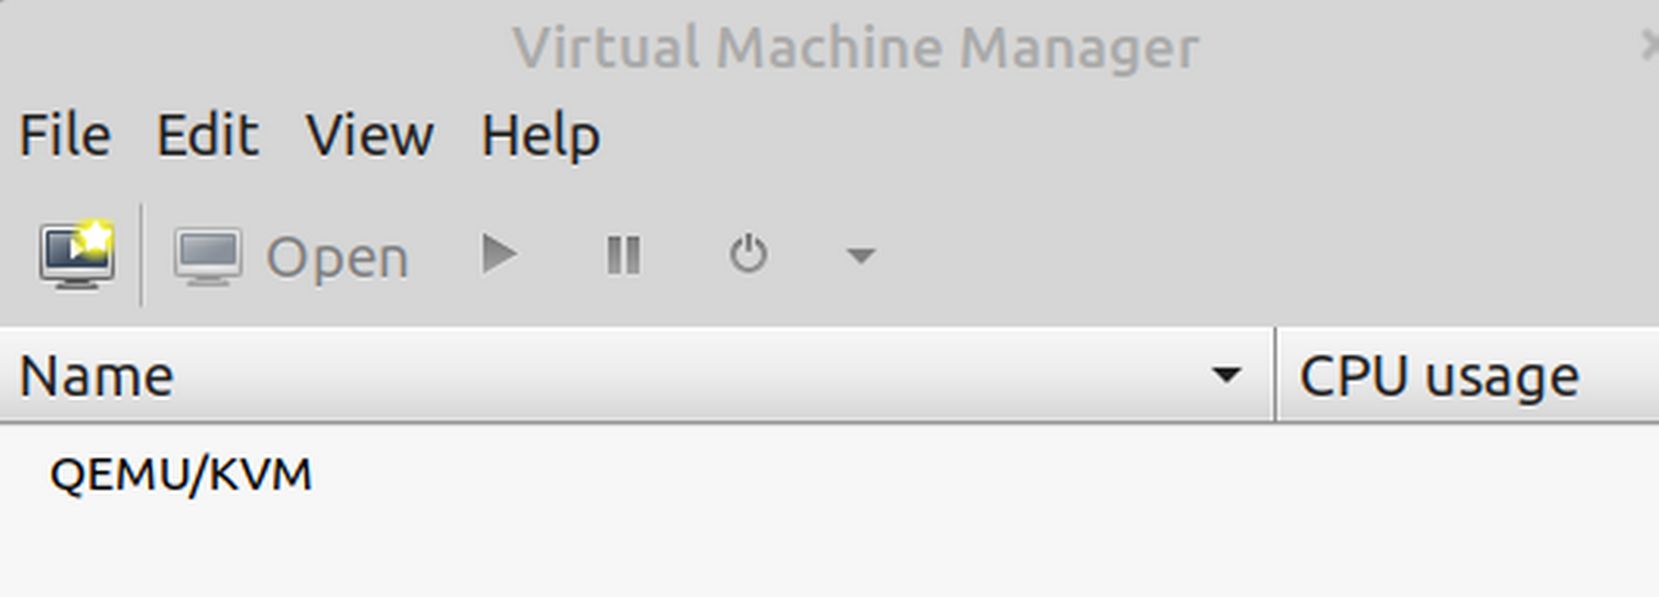
Click File, New Virtual Machine or click on the yellow start icon to create a new virtual machine. Is is the first of five screens:
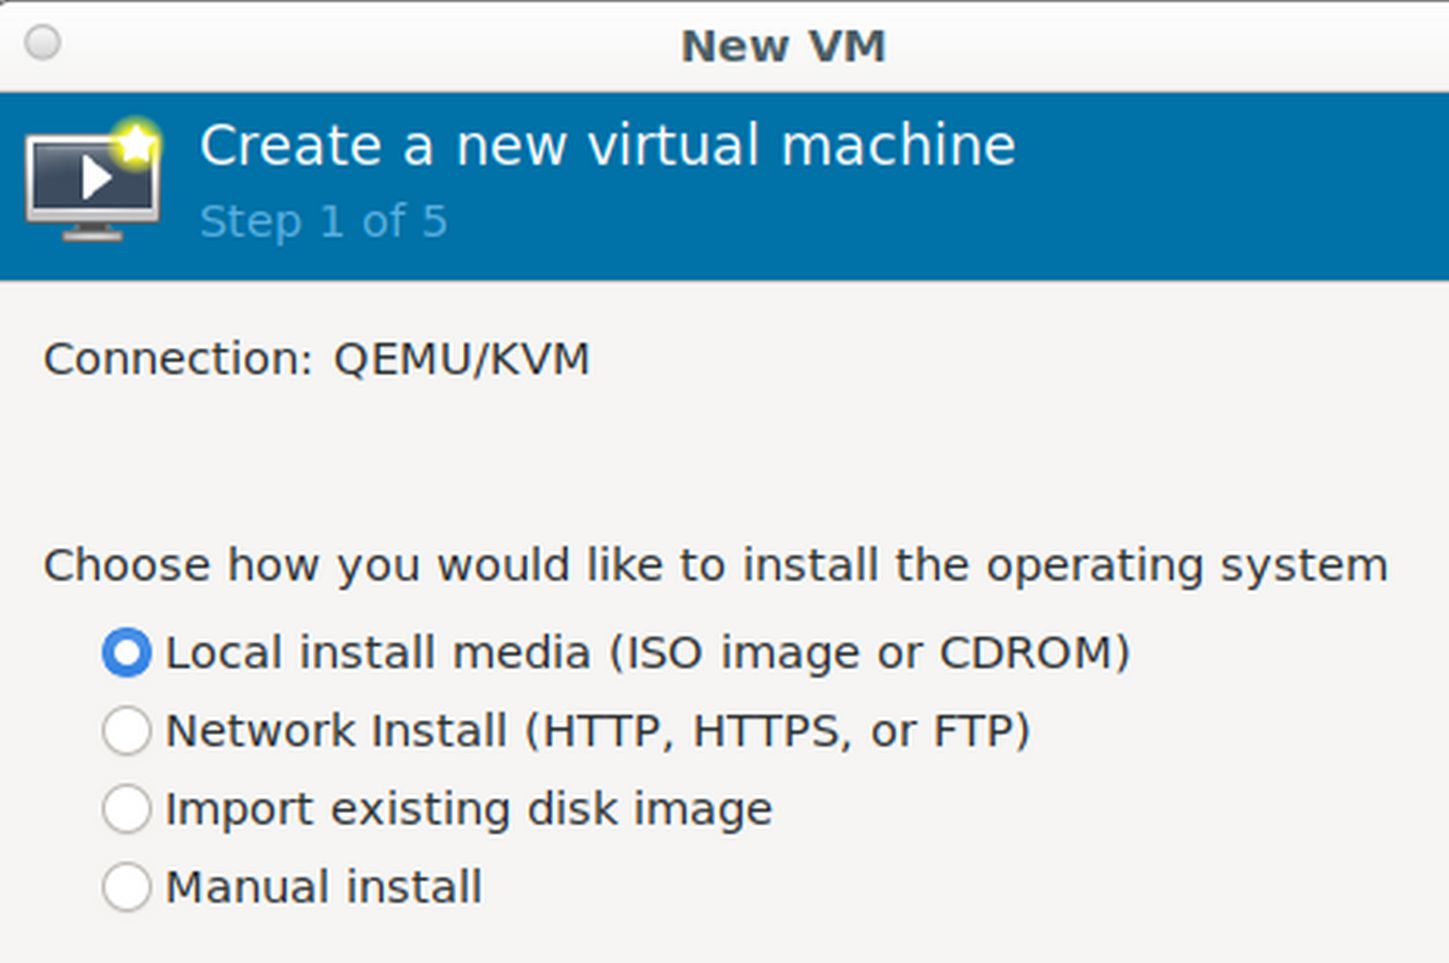
We will do a local install. Click Forward.
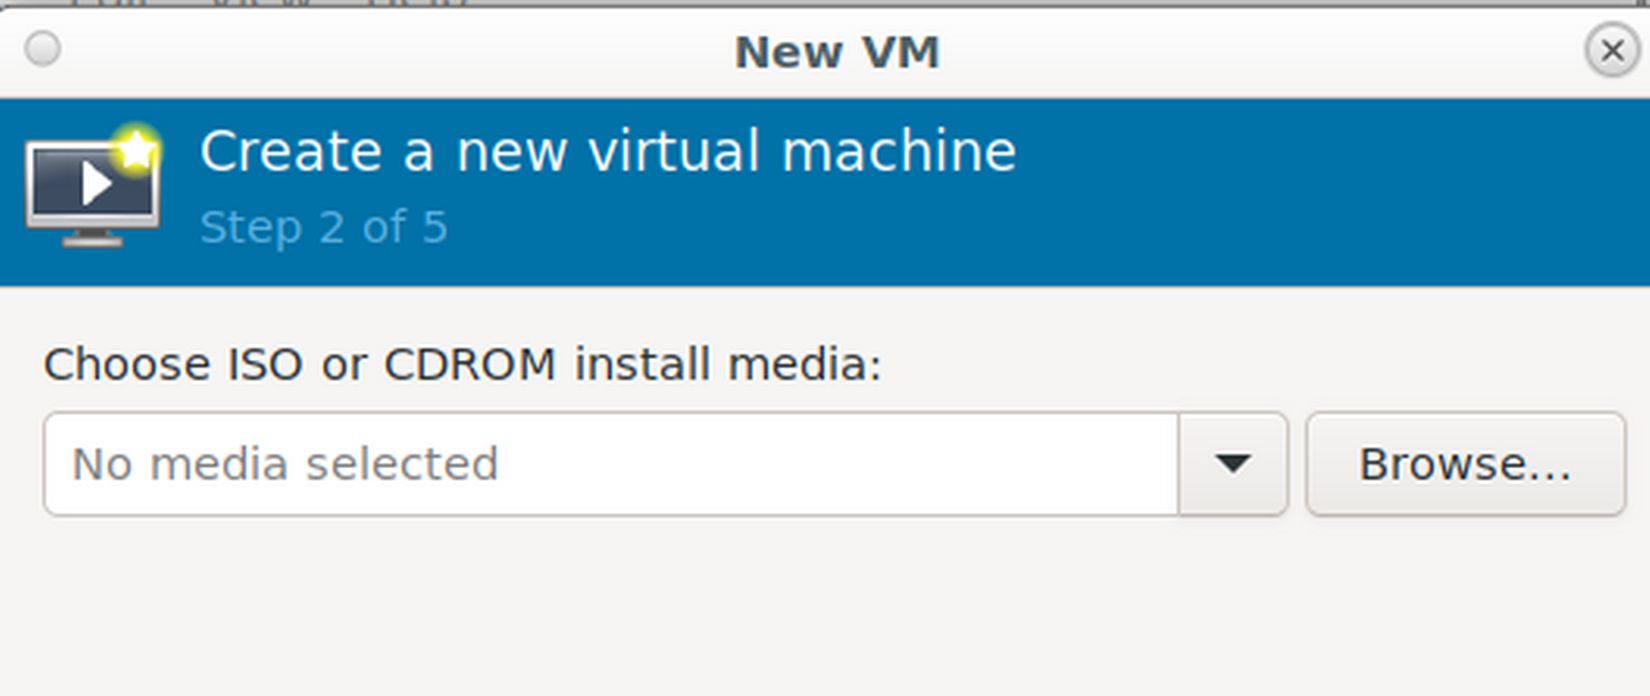
Click Browse. Then click Browse Local at the base of the next screen.
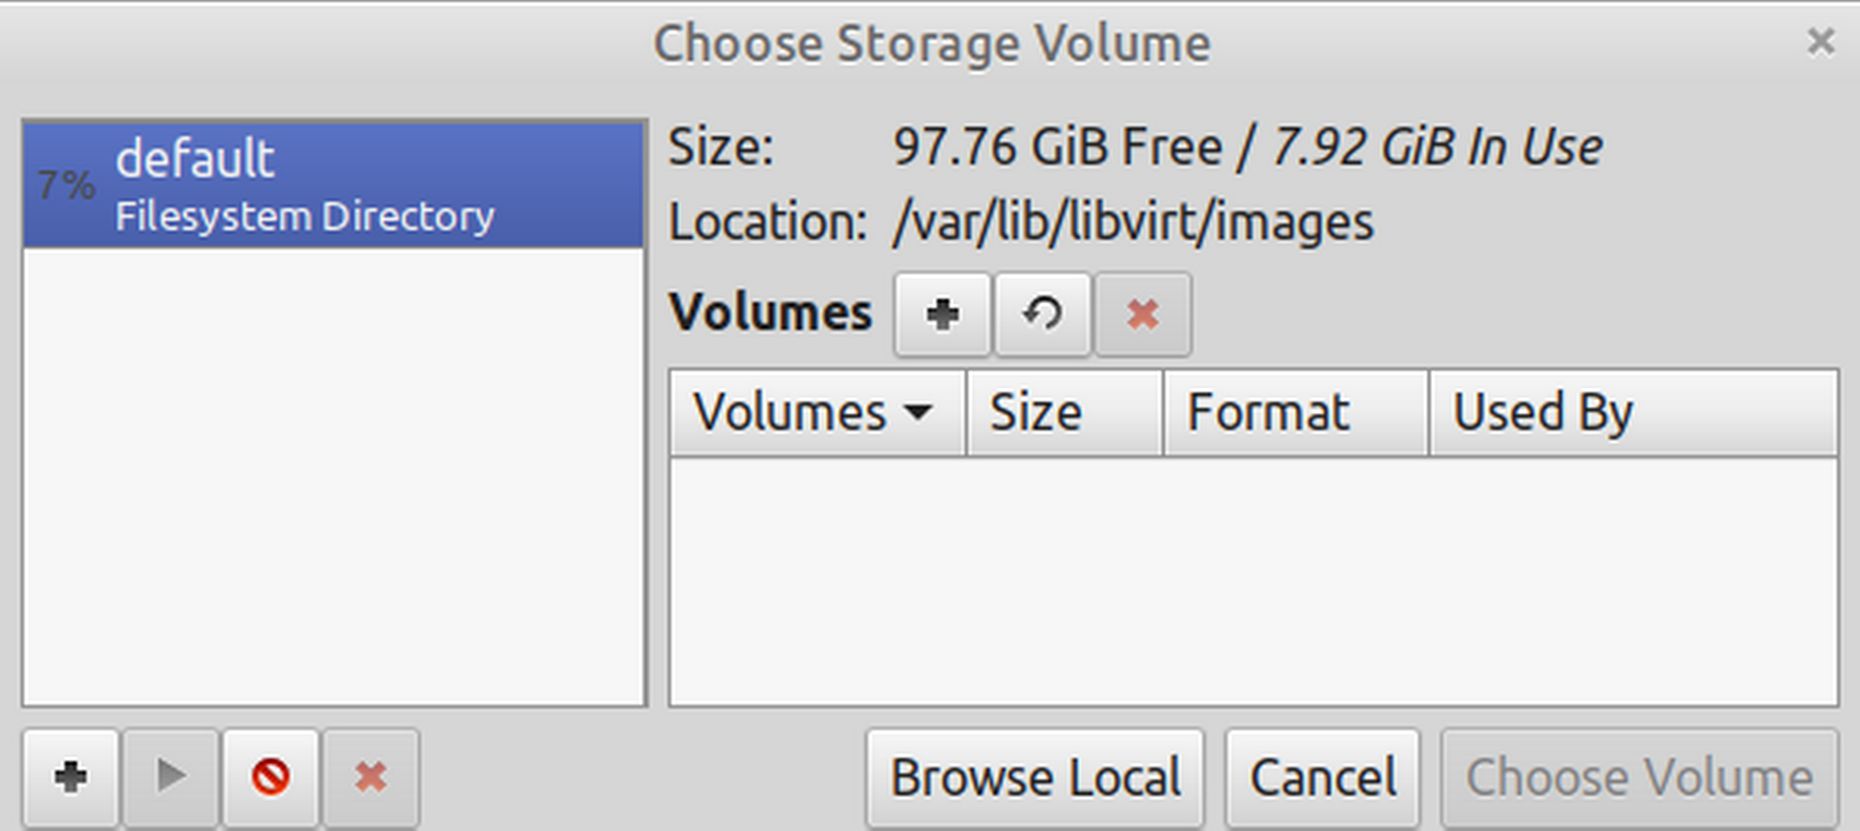
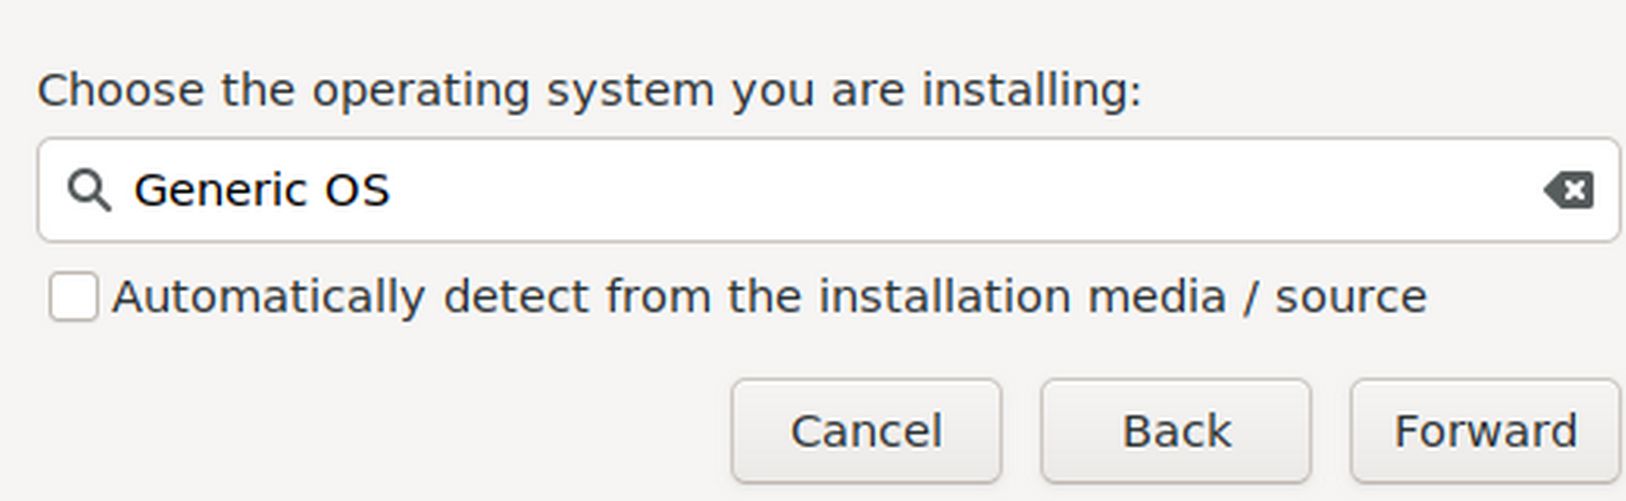
Then click on your Downloads folder and select the Debian 11 ISO. Then at the bottom of the Step 2 screen 2, uncheck the automatically detect OS box and select Debian 10 or Generic OS as the OS
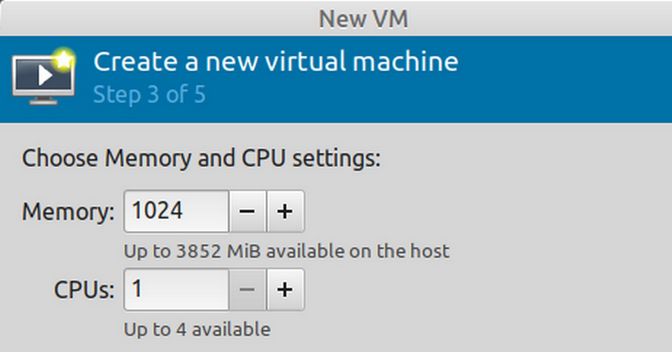
Then click Forward. In the next window, Step 3, specify the RAM and CPU for the VM. Leave at Default Memory at 1024 and leave the CPUs at 1:
Click Forward. In the next window, Step 4, leave the Disc Storage size at 20 GB and click Forward. In the next window, Step 5, change the name of the VPS from debian10 or vm1 to ns01. For our first virtual machine, we will not do any custom configuration before the install. We will also not select a network. Leave the Network Selection at the default which is NAT.
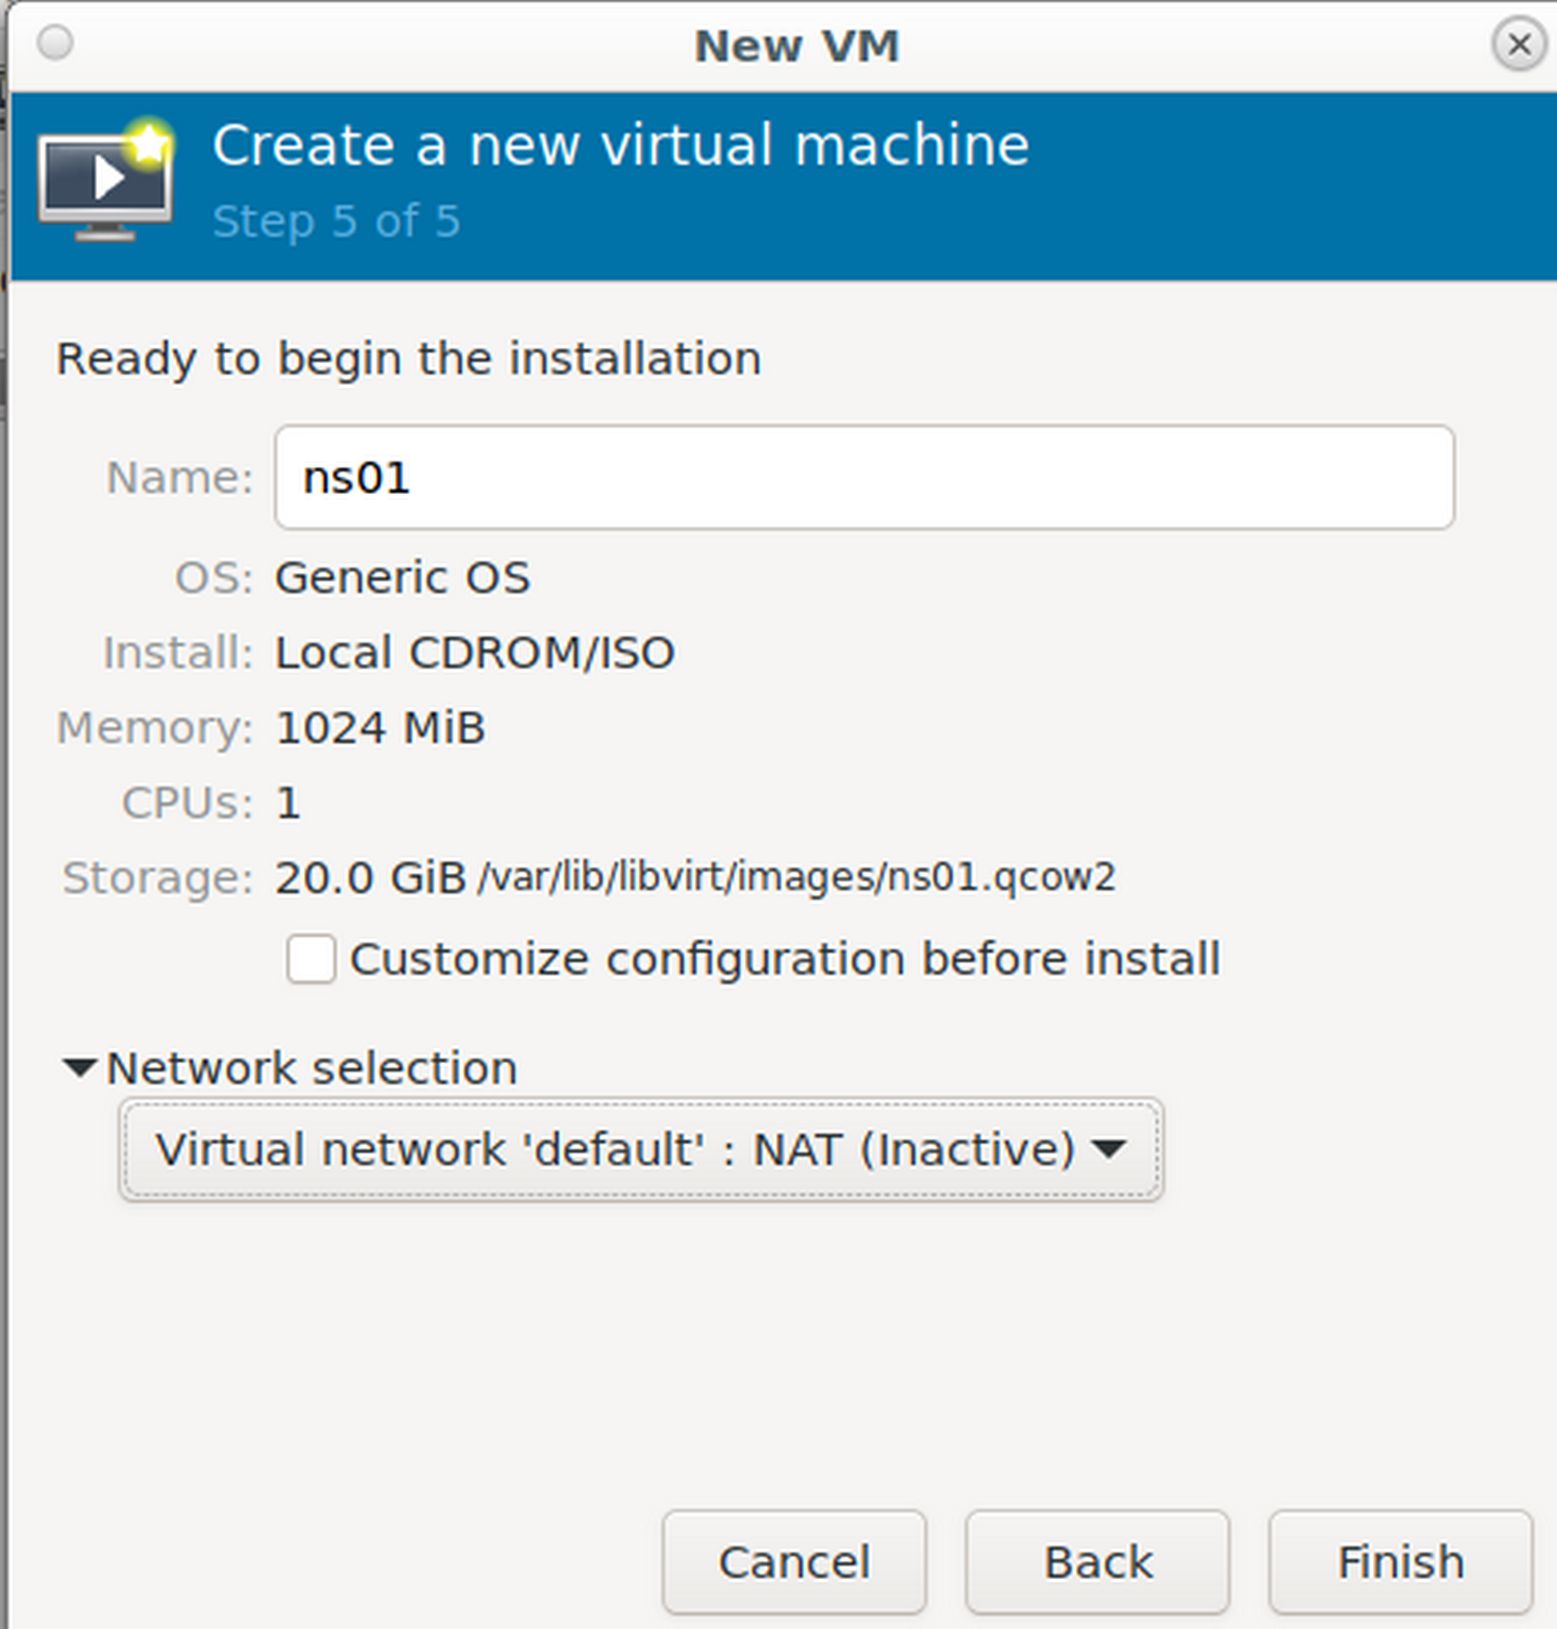
Click Finish. This screen will appear:
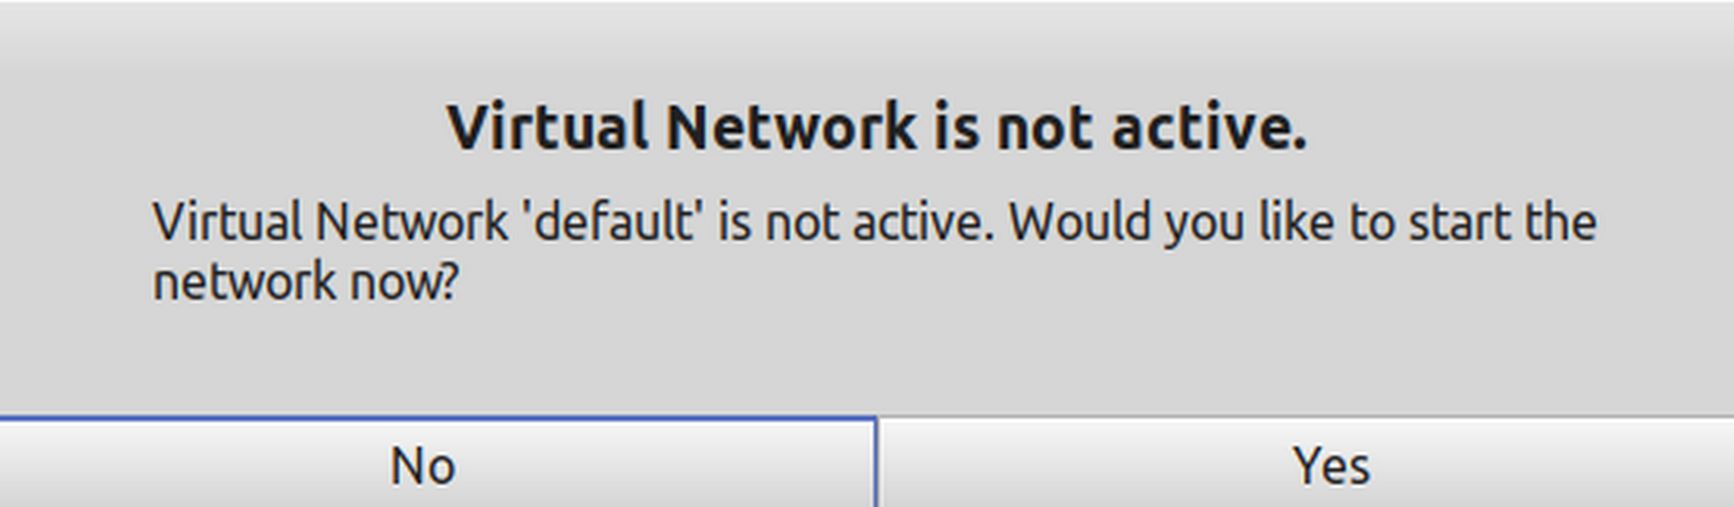
Click Yes to start the virtual network. Then the first Debian install screen will appear inside of a QEMU/KVM window:
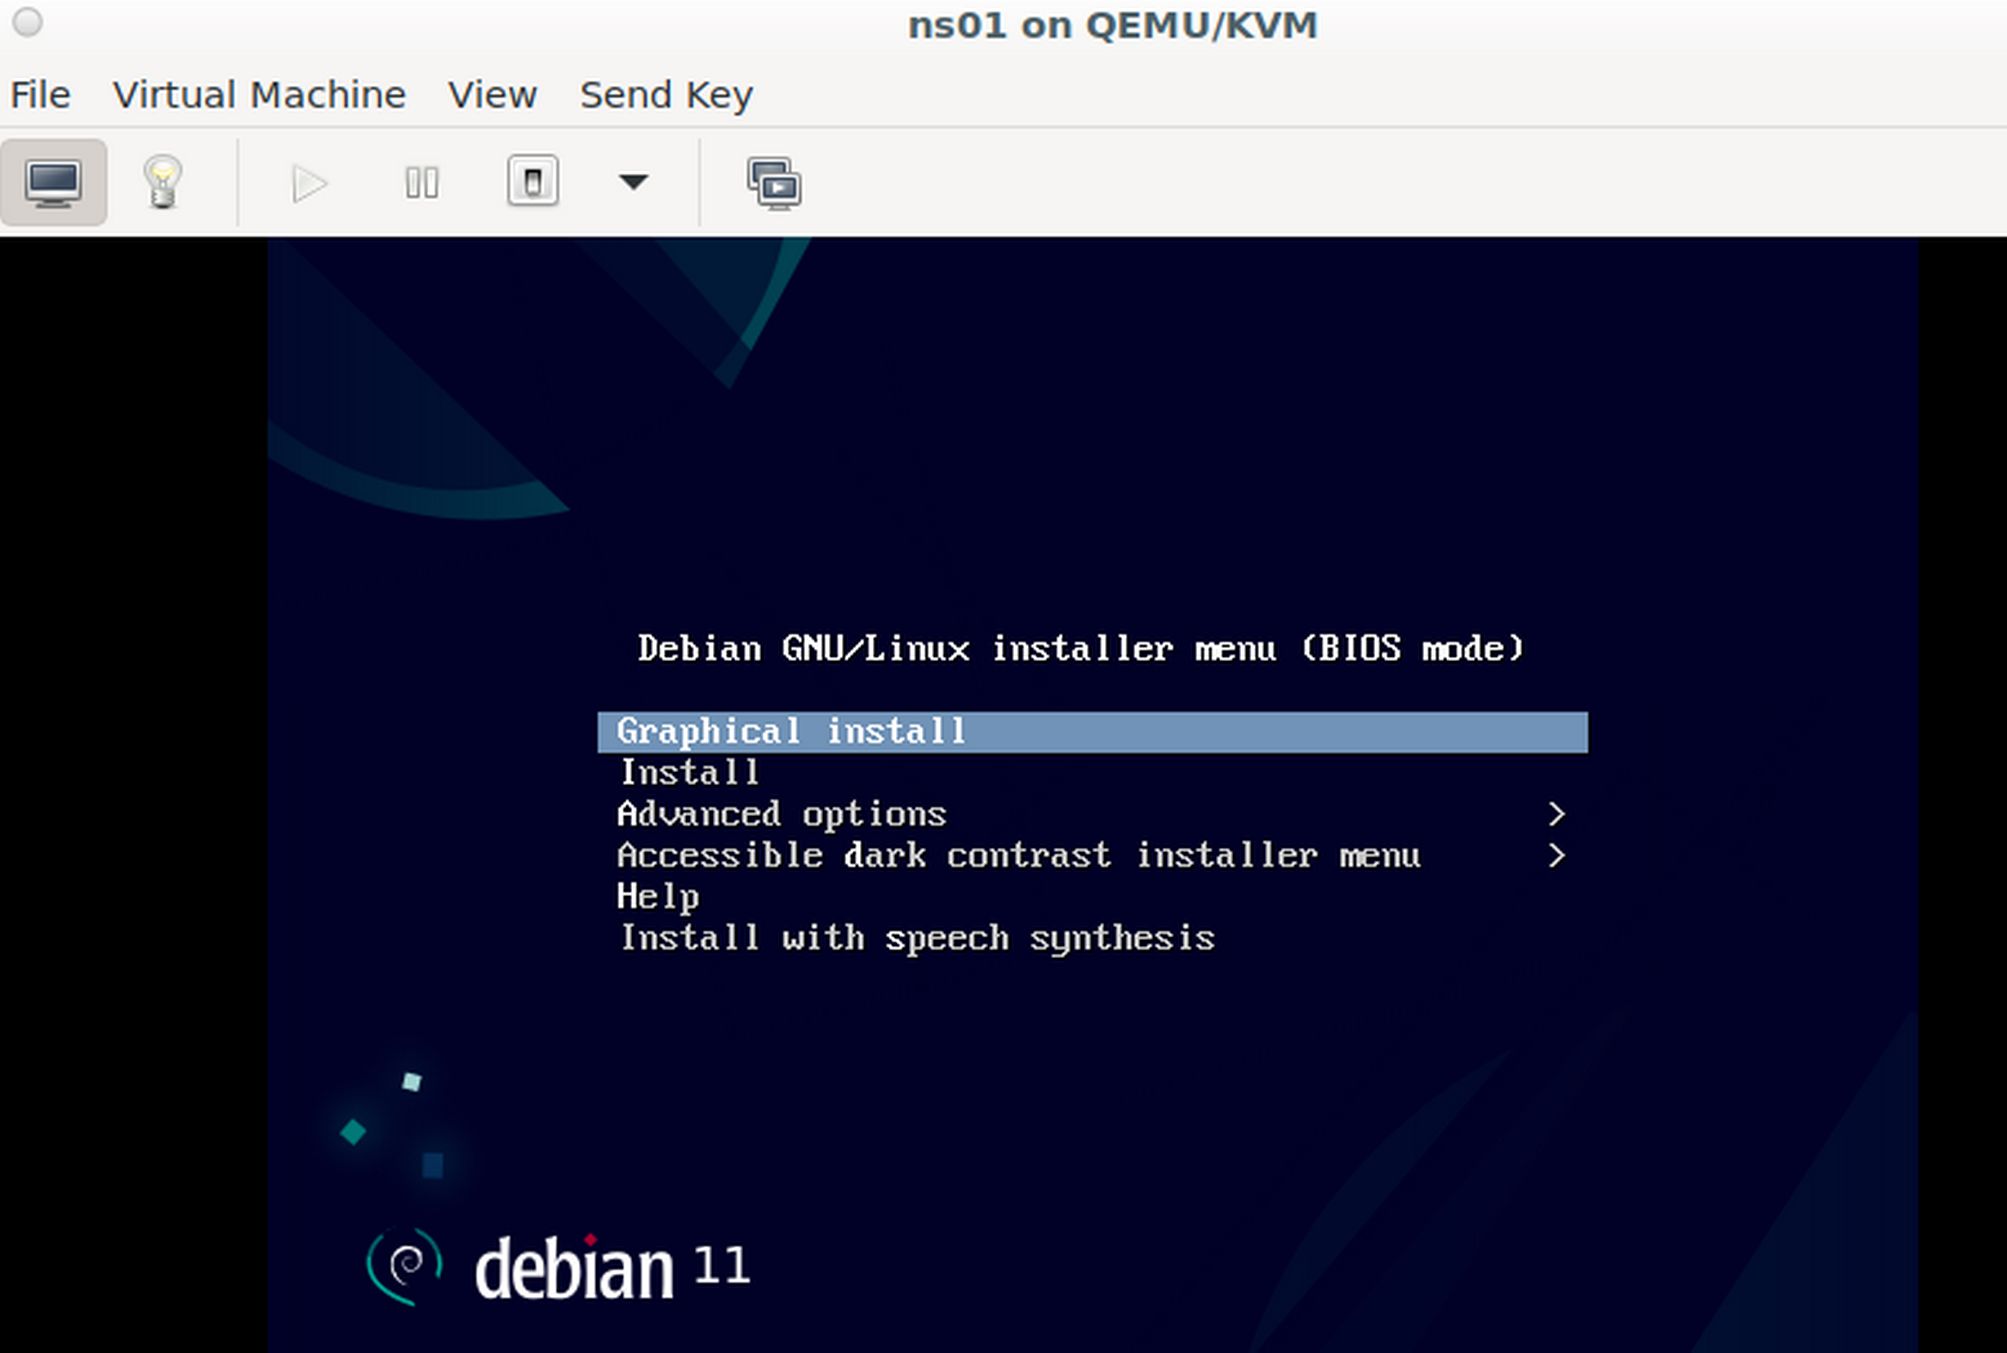
At the Debian installer first screen, leave it as the default Graphical Install option. This way you can use your mouse to select items instead of just the keyboard. Press Enter on your keyboard to get to the next screen where you can use your mouse again. Expand the bottom of the screen to see the Continue button. For Language, choose English. Then click Continue. For Location, choose US. Then Continue. For Keyboard, choose American English and click Continue. Debian 11 will then load.
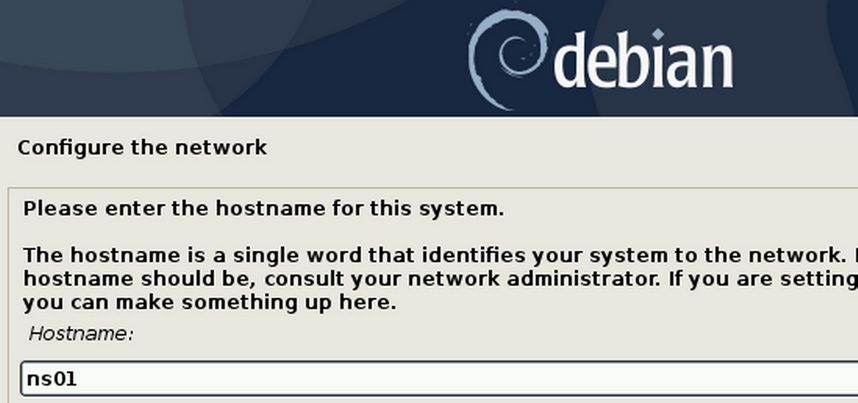
The next screen is called Configure the Network. We are asked to enter a Hostname with the default option being the word debian.
What does Debian mean by a hostname?
The hostname is what a device or computer is called on a network. On a local network, such as you may set up in your home, the hostname is used to distinguish one device from another device within your local network. In addition, we can use a tool called Secure Shell or SSH to access one device such as a VPS from another device, such as your home computer by using the hostname of the VPS. To determine the host name for your home computer, open a terminal and type hostname. Then press Enter. Note that the hostname is part of the terminal prompt:
Hostnames are also used on the internet as part of the fully qualified domain name. For example, if your company has the domain name mybusiness.com, you can set up a VPS called mail.mybusiness.com to use for the server that handles your email accounts. A particular kind of server that handles lots of domains is called a Name Server. The first and perhaps only VPS server you will set up will be a name server.
For example, if your company has the domain name, mybusiness.com, you can and should call the main server for your company ns01.mybusiness.com as this will be the first name server for your company. A host name followed by a domain name is called a Fully Qualified Domain Name or FQDN. Hestia requires that you provide a Fully Qualified Domain Name when installing the Hestia Control Panel. Many VPS hosting companies will also require that your provide them with a FQDN to set up your VPS account. Because we are practicing how to set up a real server, we will change the host name from debian to ns01.
Then click Continue. The next screen is called Domain Name.
What does the Debian Installer mean by a domain name and why we should use dev.test for the domain name for our practice ns01 VPS
When we installed Debian 11 on our home computer, we may have used the domain name example.com. However, example.com has its own IP address and we want to assign our own IP address to our practice domain name. We will therefore use a “special use” domain called dev dot test. This special domain name will not be recognized on the Internet and you can not get an SSL certificate for it. If this were a real VPS, you would use a domain name controlled by your company.

So our Fully Qualified Domain Name (FQDN) for this server will be ns01@dev.test
Skip the root password we will add a root user later. Click Continue.
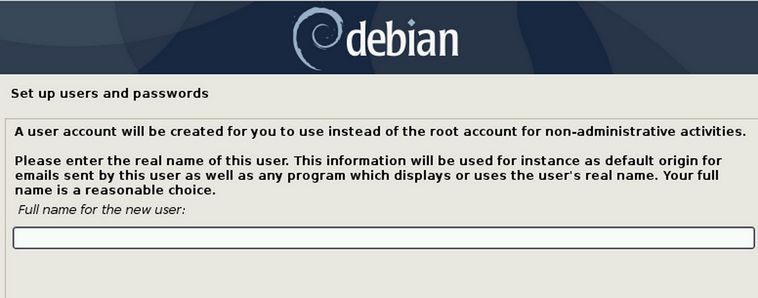
Enter the name debian for the user account. Then click Continue. The next screen allows you to enter a user name which is shorter with lower case letters and no spaces. For our practice server, use the name debian. You will need this username later to log into your server. Click Continue. Enter your password twice. For our practice server, use the password freedom.
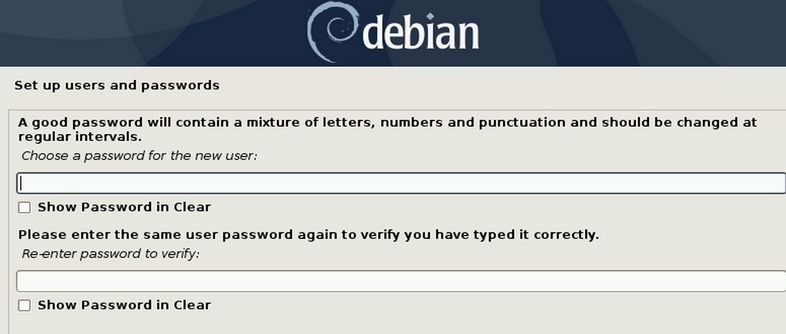
Note that this will also be the password for executing sudo commands. These are commands that run with root privileges. On a real server, you should use a longer password. But for our practice server, choose a short password that you can easily remember. Then click Continue. Then select your time zone and click Continue.
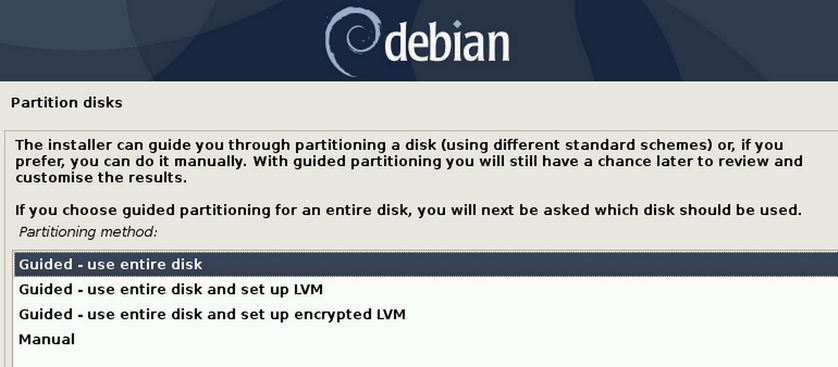
For our practice server, it is best to use the default hard disk (Guided - use entire disk). This creates one EXT4 partition for storing all files and another partition for the swap. When your server consumed all available RAM it will place RAM data in the swap. Think of it as a low speed emergency RAM. Just click Continue. The next screen will let you know that it is going to create space for the Vbox Hard Disc. This will not affect the rest of your computer and can be deleted when you are done practicing. So just click Continue.
The next screen allows you to create a separate Home partition or separate home var and temp folder partitions. For our practice server, we will put everything in one partition. Click Continue.
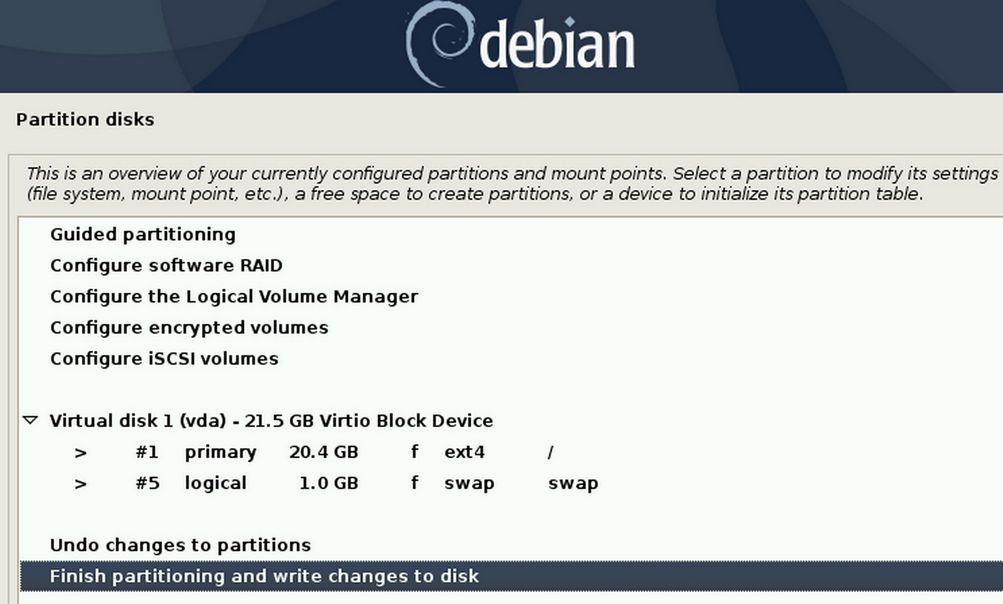
The next screen shows the Partition table. Just click Continue. On the next screen, for Write the changes to the disk, change the select from No to Yes and click Continue.
The base system will then be installed. The next screen will ask if you have additional discs you want to add. The correct answer is No. Then click Continue. Then choose the US Package Manager and click Continue. Then choose deb.debian.org. Then click Continue. Leave the next screen (Proxy Package Manager) blank and click Continue. For the popularity contest, leave it at no and click Continue.
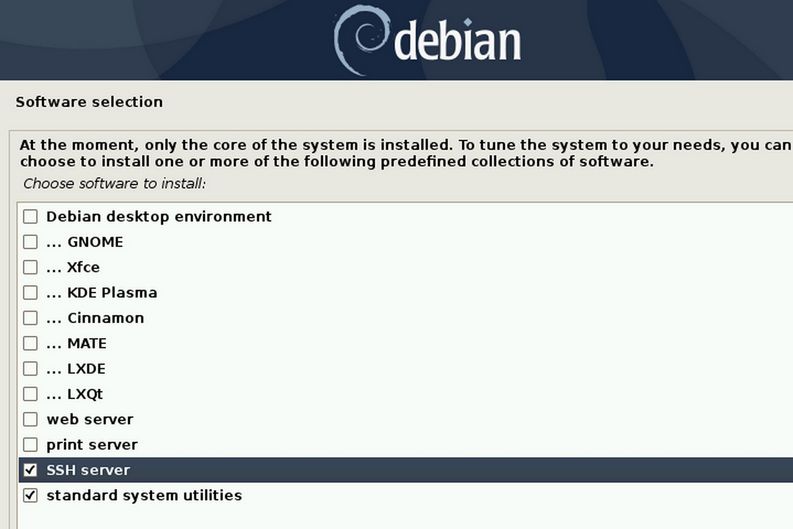
Then on the next screen, uncheck the Debian Desktop environment as we will be making a server and not a desktop. Also uncheck the print server. Then check the SSH server and standard system utilities. Do not check the web server as we will install that later when we install our custom Control Panel. Check the SSH server box. SSH stands for Secure Shell and offers functionality to remotely login to your server from your host PC. After checking this SSH Server box, click Continue.
Leave Install the Grub Boot loader set to Yes. It is needed to start the server. Then click Continue. Then on the next screen, change the value from Enter Device manually to dev/vda as that is where Grub should be to start our practice server. Then click Continue. The next screen lets you know that your Debian server installation is now complete. Click the Continue to start your new Debian server. It will first boot into a blue GRUB screen. Wait a few seconds for the screen to change back to black.
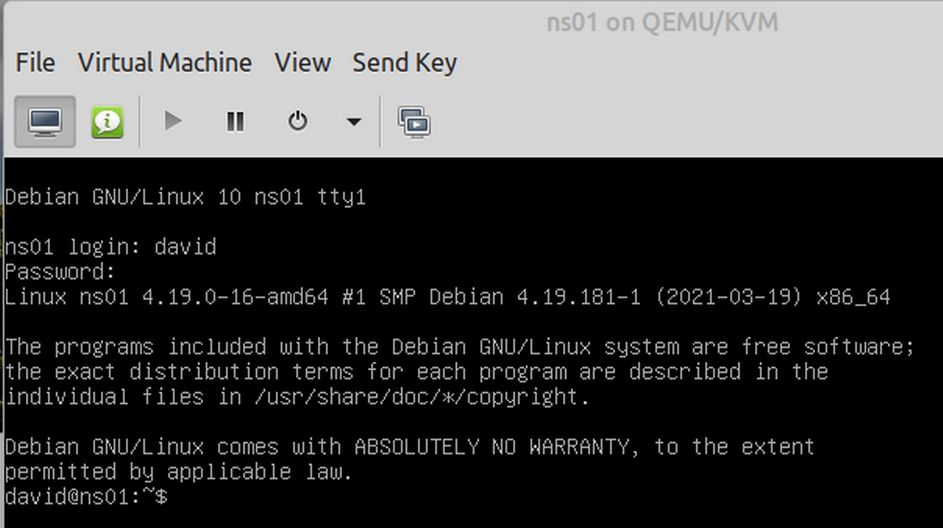
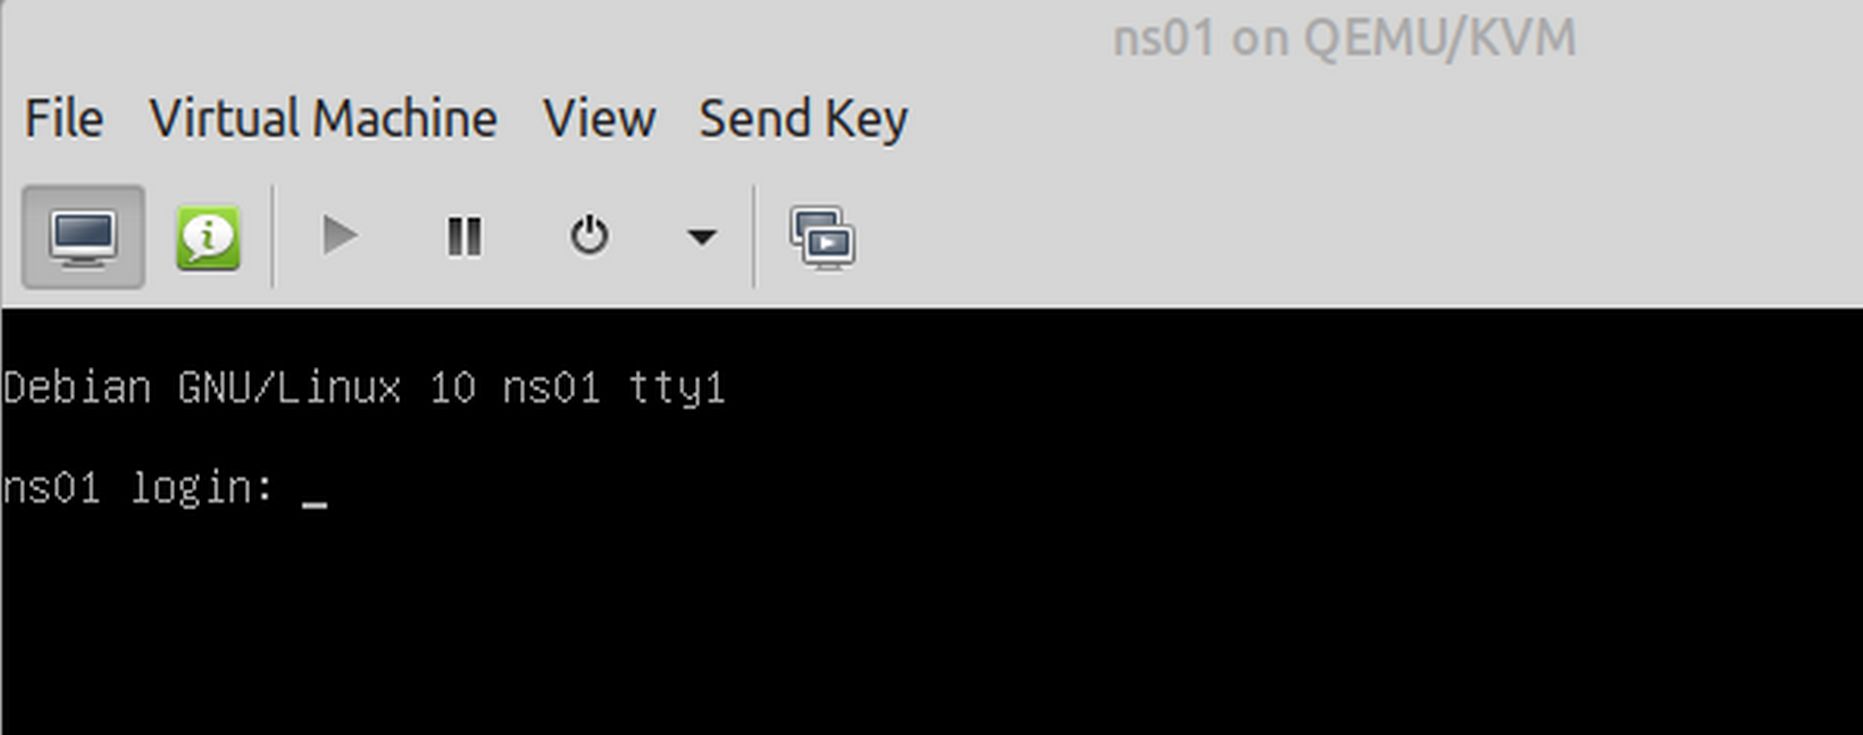
Here is the login terminal screen that should appear:
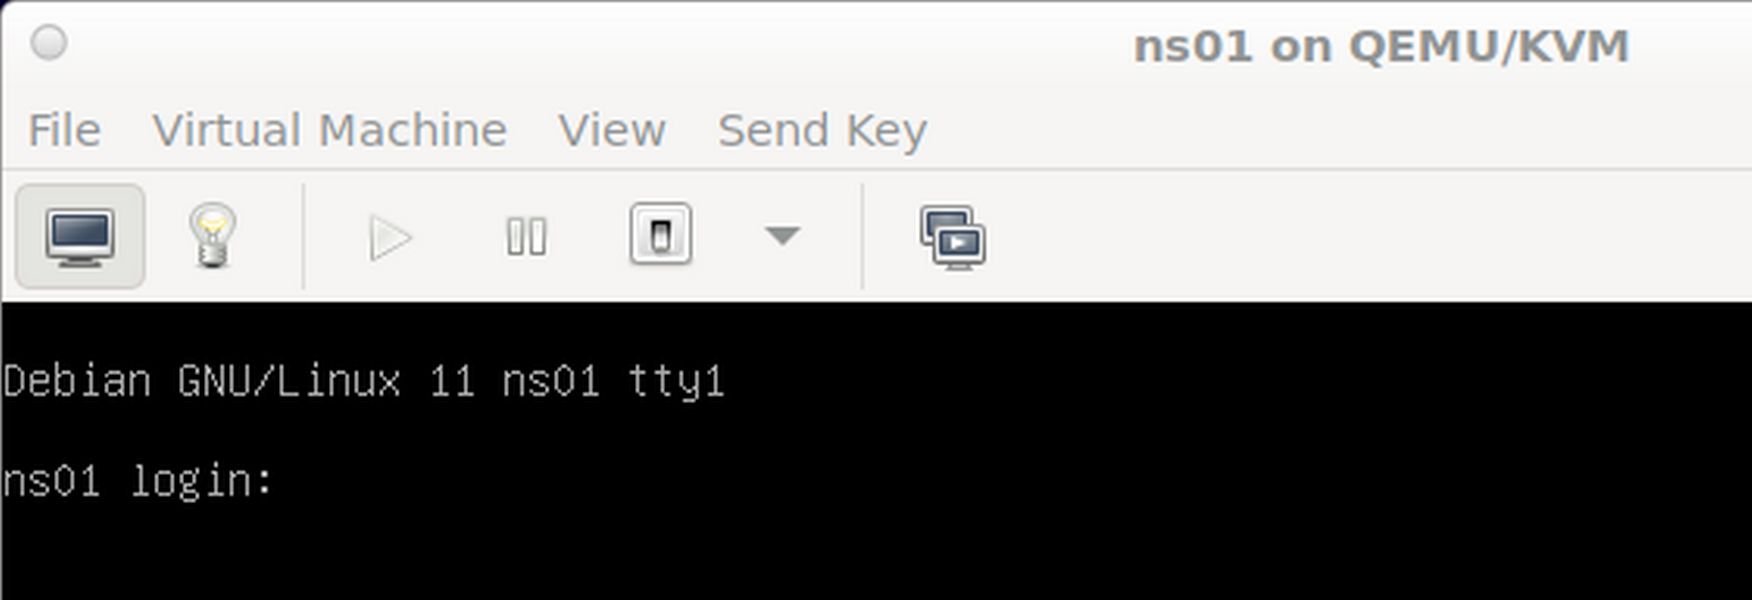
Login to the server by entering the username you specified in the install process. Type the password and hit enter. Note that the terminal will not show any indication of typing for security purposes. Once your logged in, you should see a screen like the following:
Type in the command: ip addr
Then Press Enter. Note the are two ip addresses. 127.0.0.1 is for local host and the other 192.168.122.36 is for a network connection called enp1s0. Your IP address may be different. For example, 192.168.122.162. Write this second IP address down as we will need it later to set up our SSH connection.
Update your server
Type sudo apt update. Then press Enter.
Then type sudo apt upgrade. Then press Enter.
Install Midnight Commander
Type sudo apt install mc. Then press Enter. At the prompt, type a capital Y and press Enter. When the installation is complete, type mc. Then press Enter to start Midnight Commander.
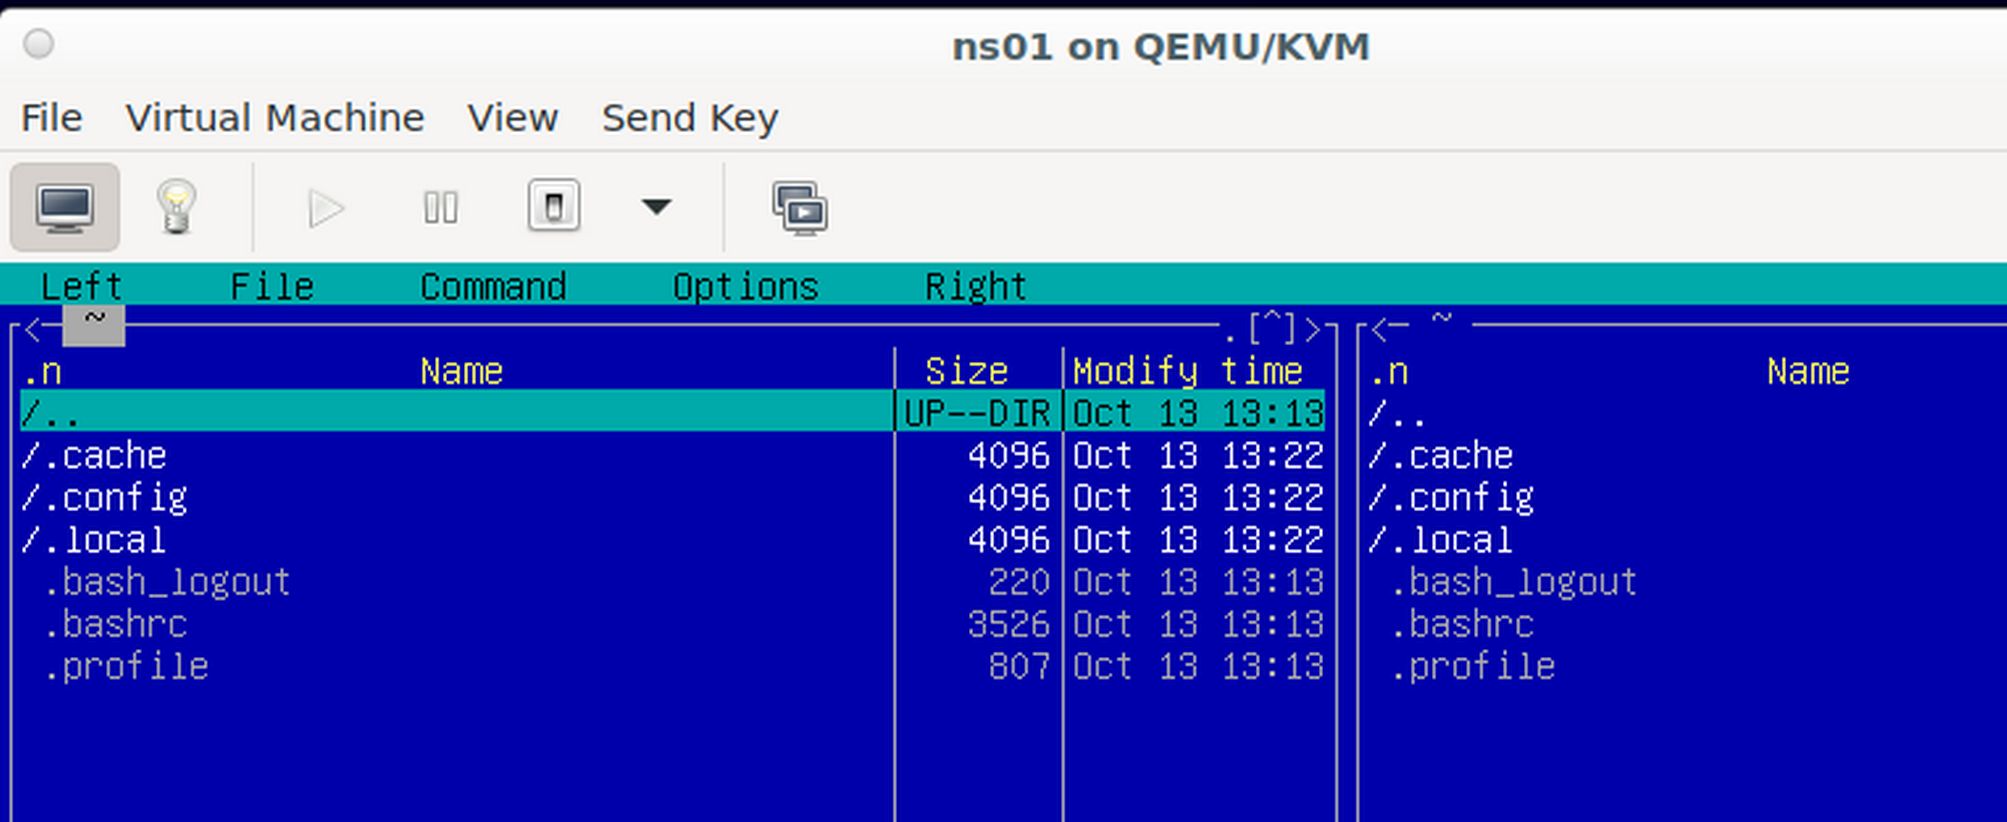
The MC Start screen has /.. highlighted. Press Enter. This will display a folder with your username. Press on the up arrow to highlight /.. again. Then press Enter again.

This will bring up a screen that looks exactly like the file system of your host Debian computer File Manager. Use your mouse to example the bottom of the window. You will see a black line with the terminal. Type exit. Then press Enter. This will close Midnight Commander and return you to the VPS terminal. Then type sudo poweroff. Enter your password if needed and press Enter. This will close your VPS and return to this screen.
Click on File, View Manager
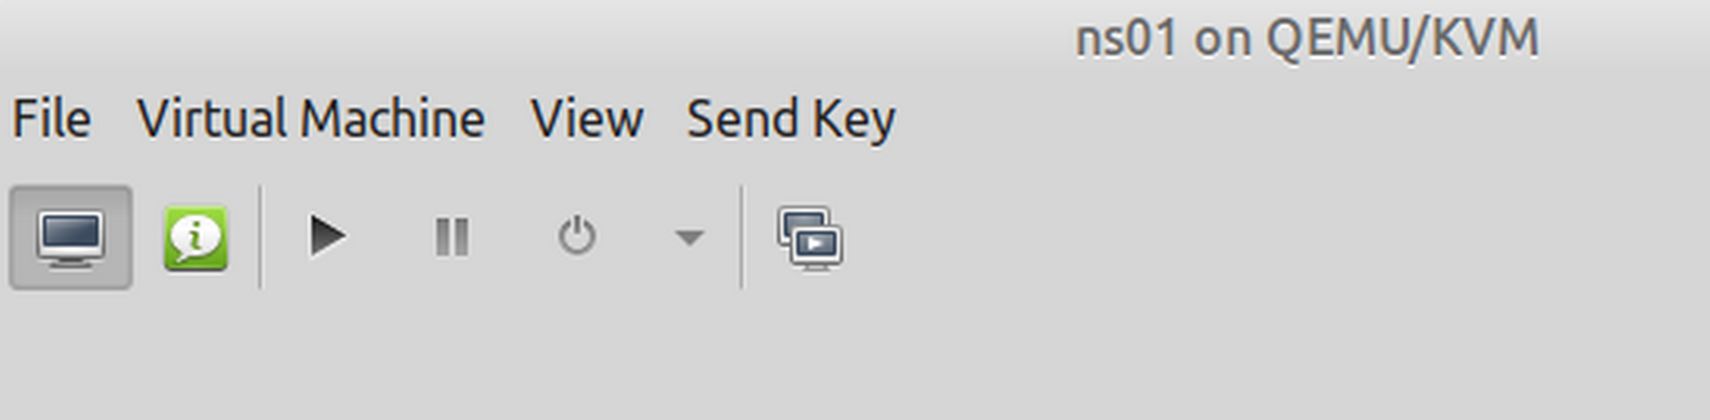
One of the confusing aspects of VMM is that there are two screens. One is called Virtual Machine Manager and the other screen is linked to the actual virtual machine which in this case is called ns01. If you have more than one virtual machine, all of them will appear in the in the Virtual Machine Manager. But only the most recent active virtual machine will appear in the Virtual Machine screen, which is called Virtual Machine Details.
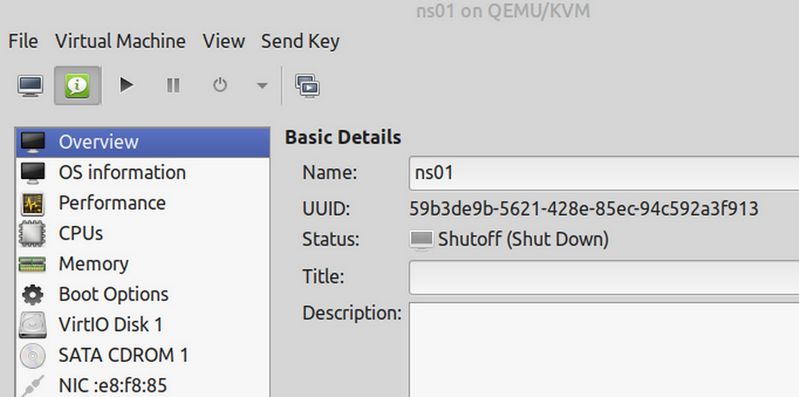
On the Virtual Machine Details screen, click the Information icon to Show the Virtual Hardware Details. You can also reach this screen from the Virtual Machine Details screen by clicking on View, Details.
Click on NIC in the side menu to see the controller screen
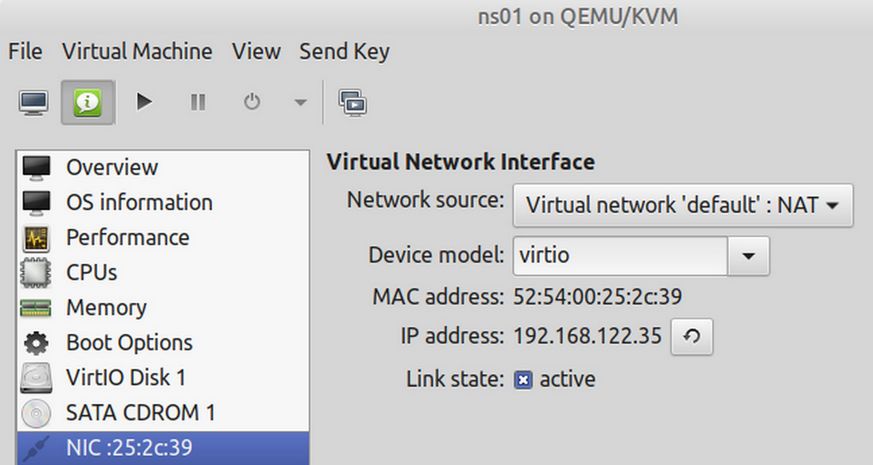
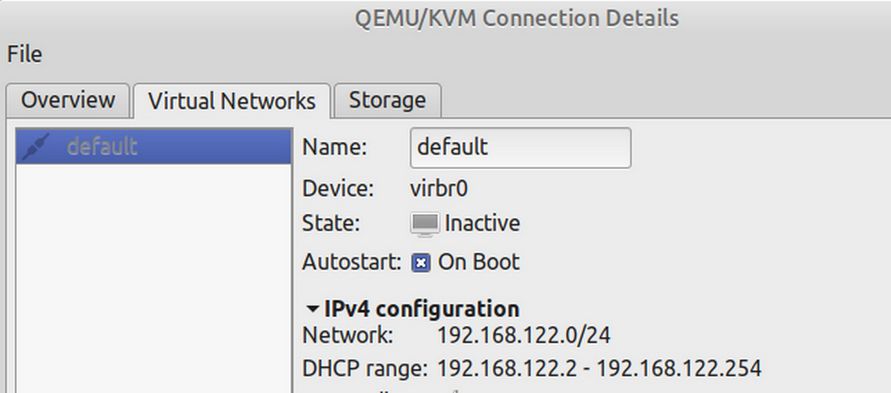
Note that the Network IP address is different from (one number less than) the Guest IP address of your virtual machine, for example, 192.168.122.35 instead of 192.168.122.36. Also the Device model may be e1000 instead of virtio. Close the Details screen by clicking on File, Close. This should still leave the VMM screen open. Click on Edit Connection Details. Then click on the Virtual Network Tab:
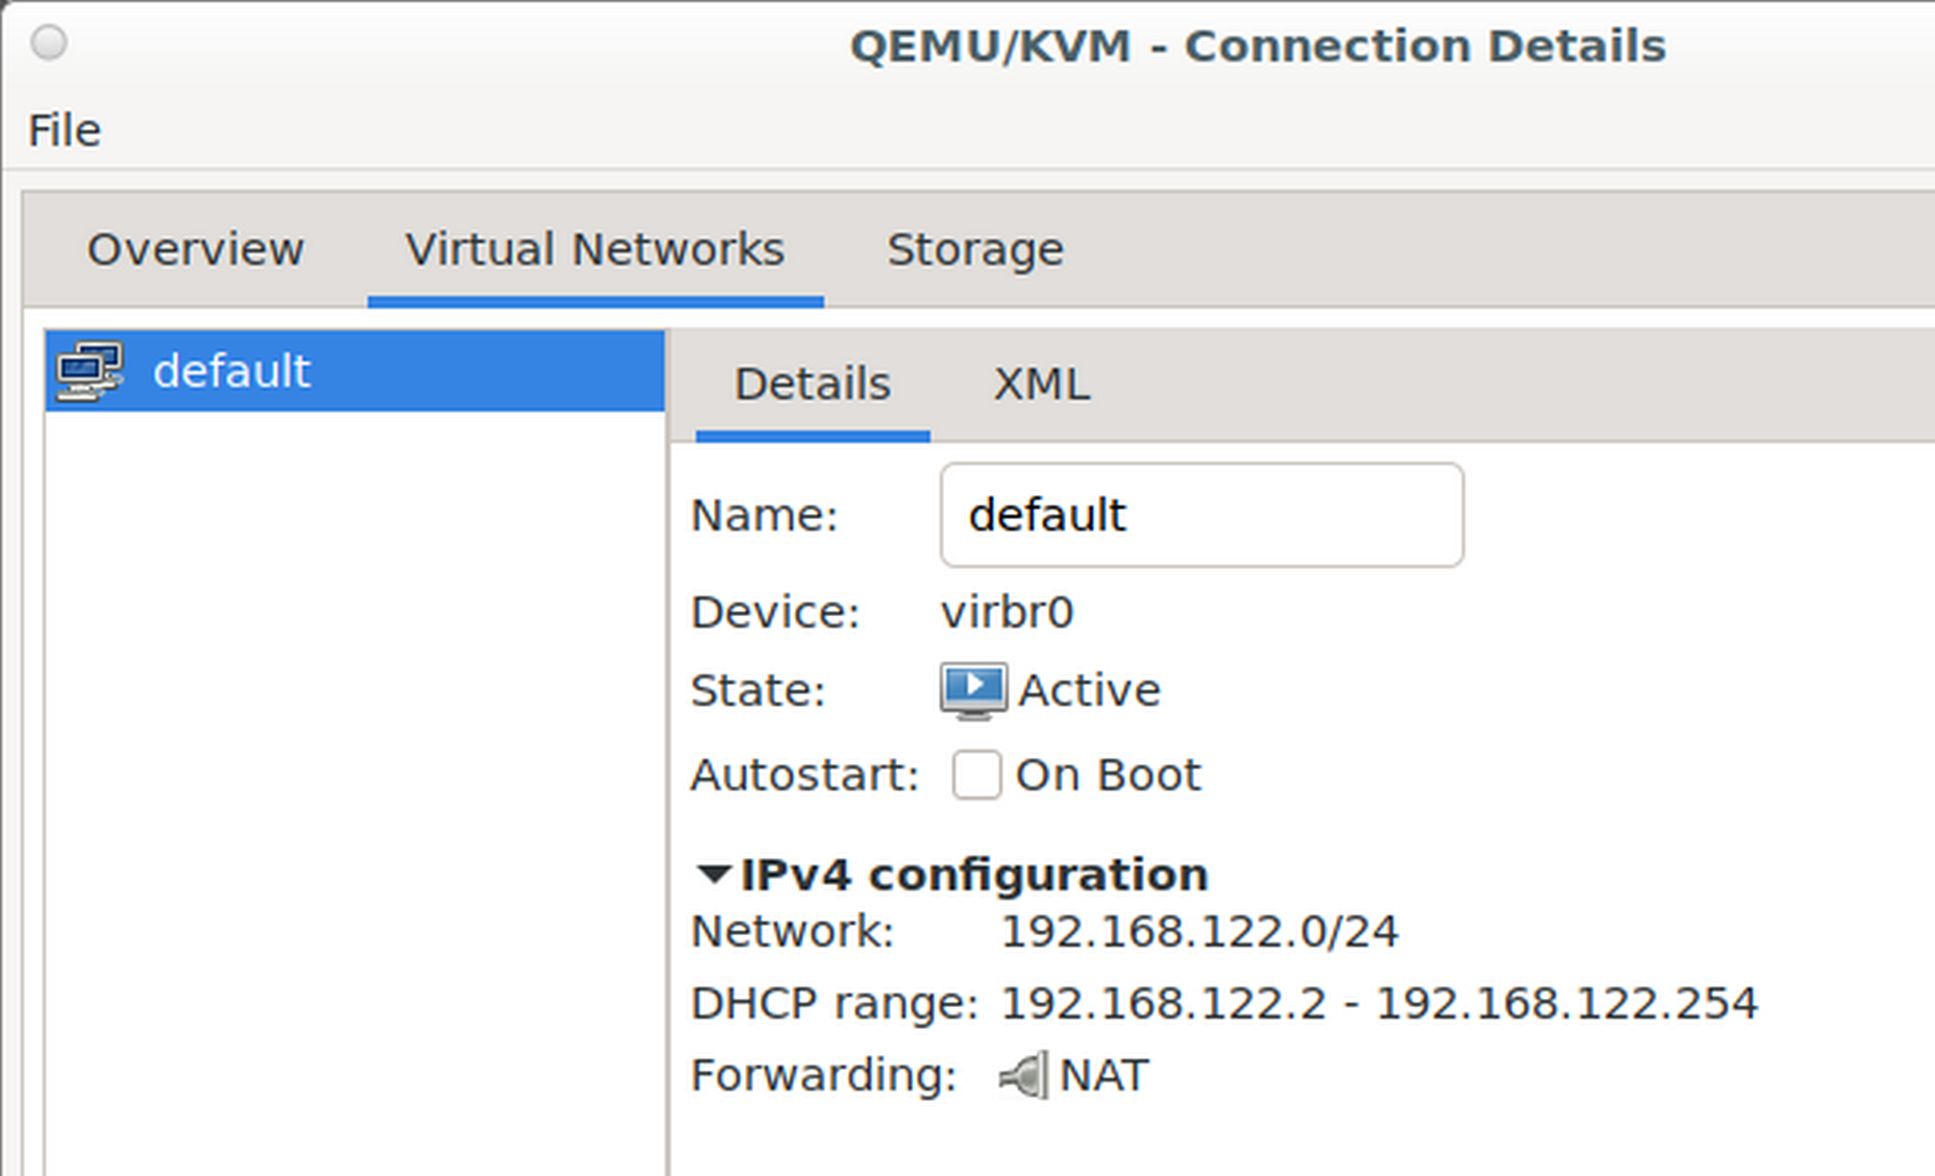
Note that the default network uses the device virbr0 which one might think would stand for Virtual Bridge 0. However, it is actually a NAT network connection. Note that the DHCP range for IP addresses is 192.168.122.2 to point 254. Each VPS we create will be assigned a unique IP address in this range. Check the box Autostart On Boot. Then click Apply. Then close the connection screen. Then close VMM.
Then click the Debian Start Menu, Advanced Network Connections:
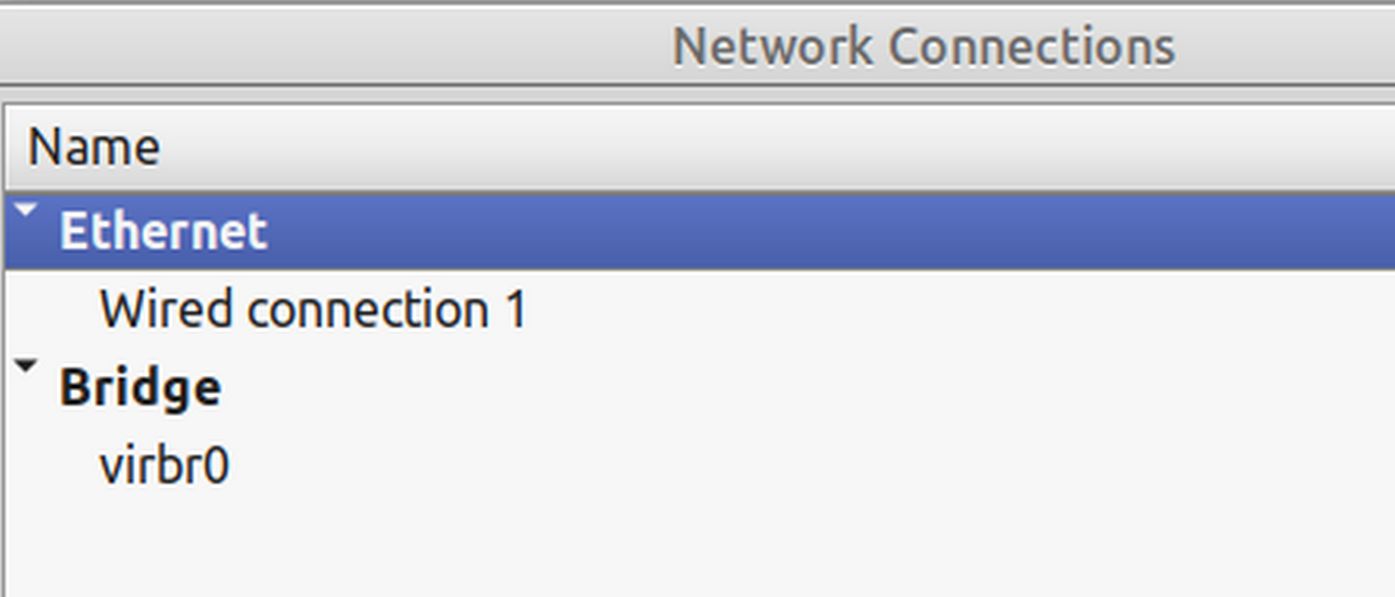
Note that while the Network source in VMM is listed as NAT, but Network Connections indicates that the new connection, virbr0, is actually a Bridged connection. We will review the differences shortly. Select virbro0. Then click on the Bridge tab:
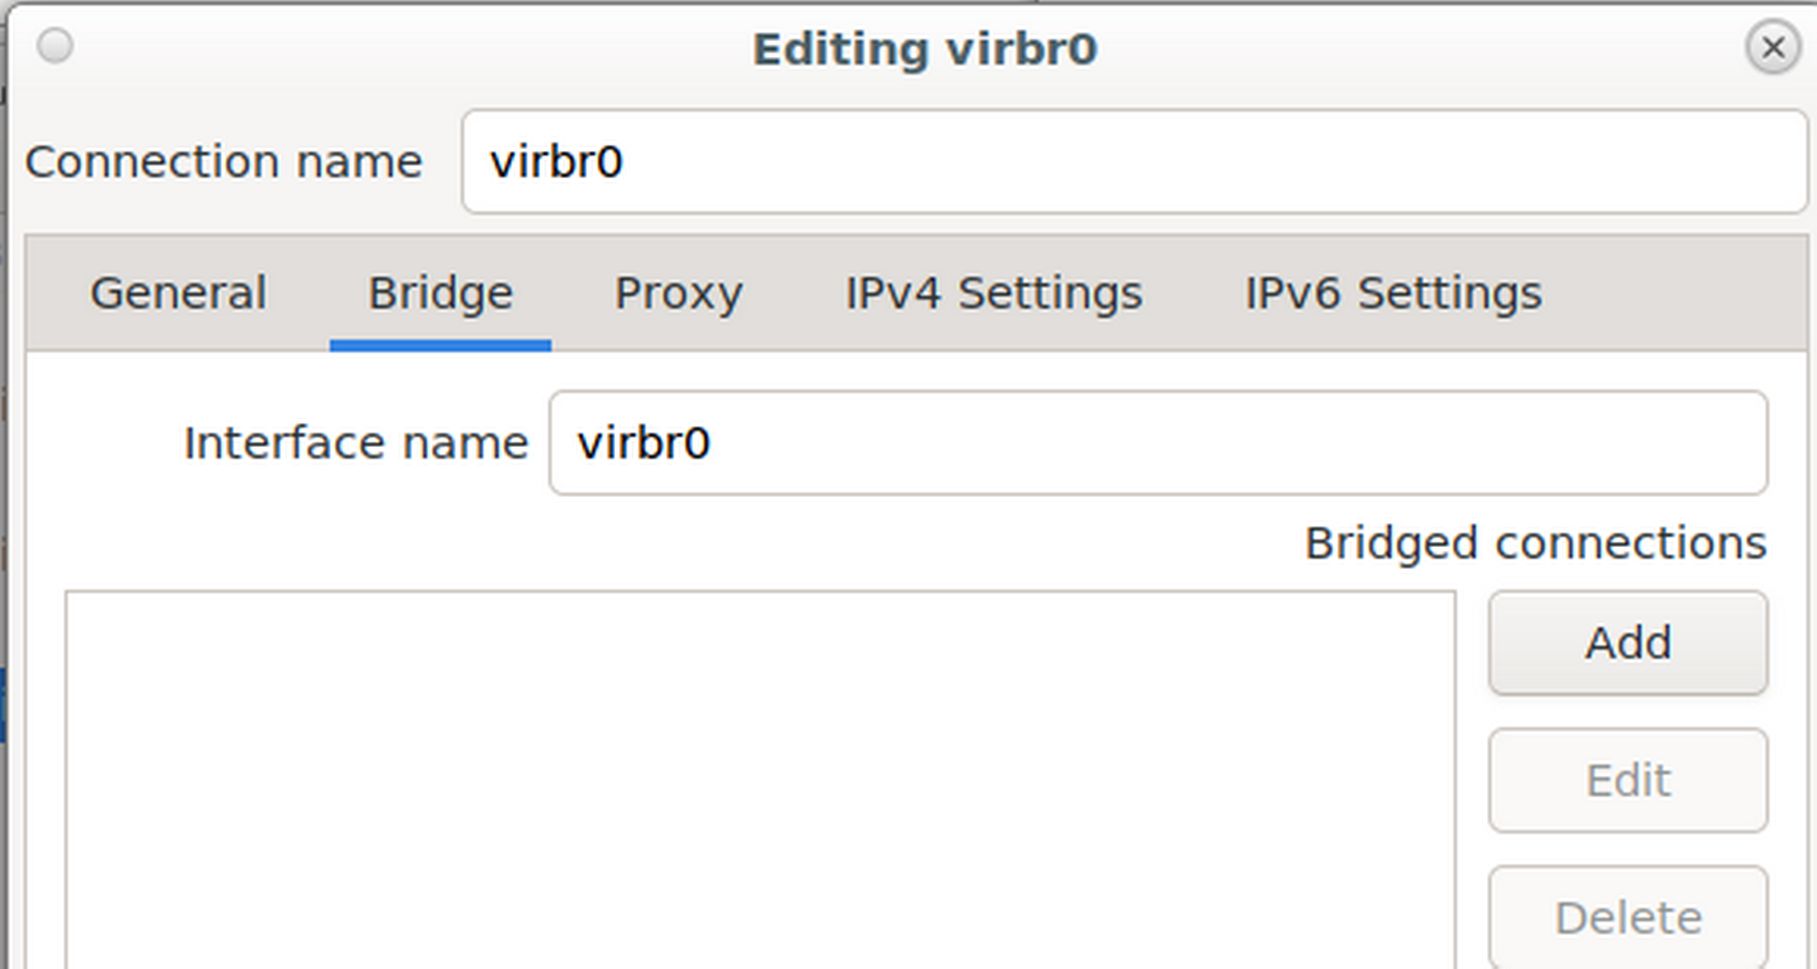
If virbr0 was a real bridge connection, there would be an additional connection added to this box. But the box is empty. Click on the IPv4 tab:
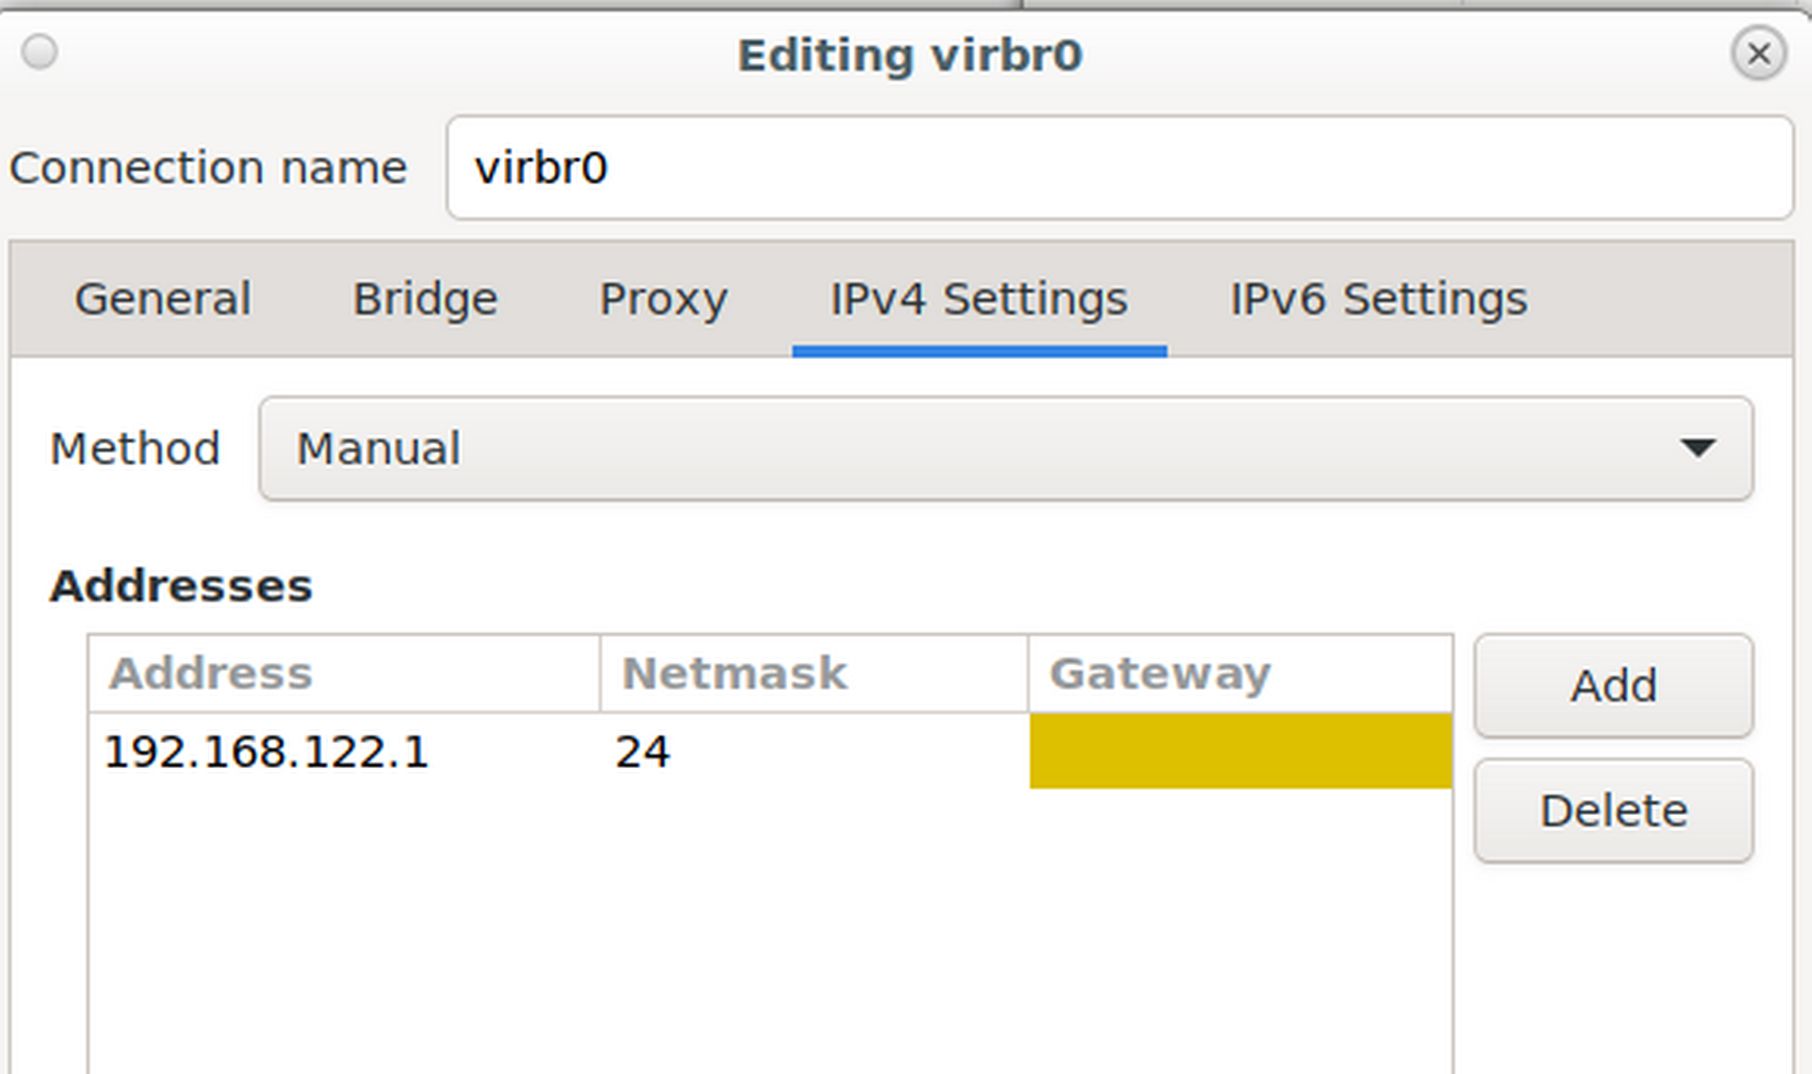
Note that the primary IP address for virbr0 is 192.168.122.1 and the method is set for Manual. Close the virbr0 edit screen. Then select Wired Connection 1 and click Edit. Then click on the Ipv4 tab. Note that our Wired 1 connextion is set for Automatic DHCP. Close the Wired Connection 1 Edit screen and close Network Connections. Then open a terminal on your home computer and type ip addr. Then press Enter. Your first network connection is called lo which stands for local host and has an Ip address of 127.0.0.1. Your second network connection is your Ethernet connection which may be 192.168.0.216 (or ending in some other number). The key thing to understand is that your home computer has a different IP address than your VPS.
Getting the VPS terminal window (also called the virtual machine consol) to appear
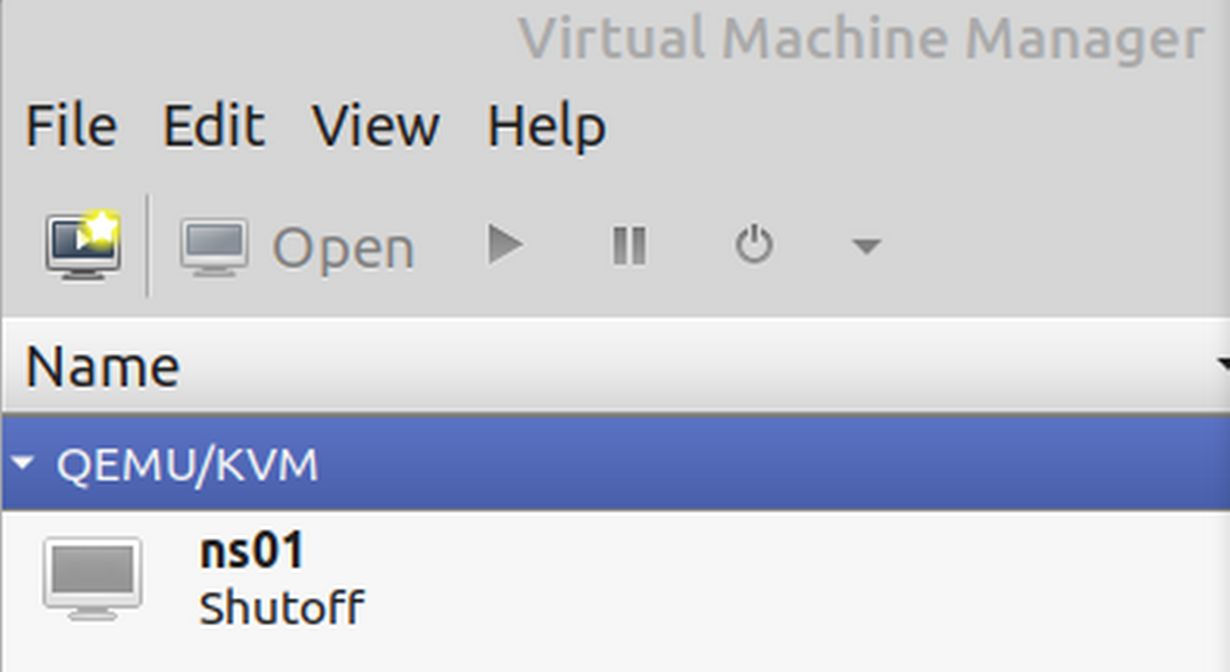
Close your Home terminal. Turn on VMM again and right click on ns01 and click Run.
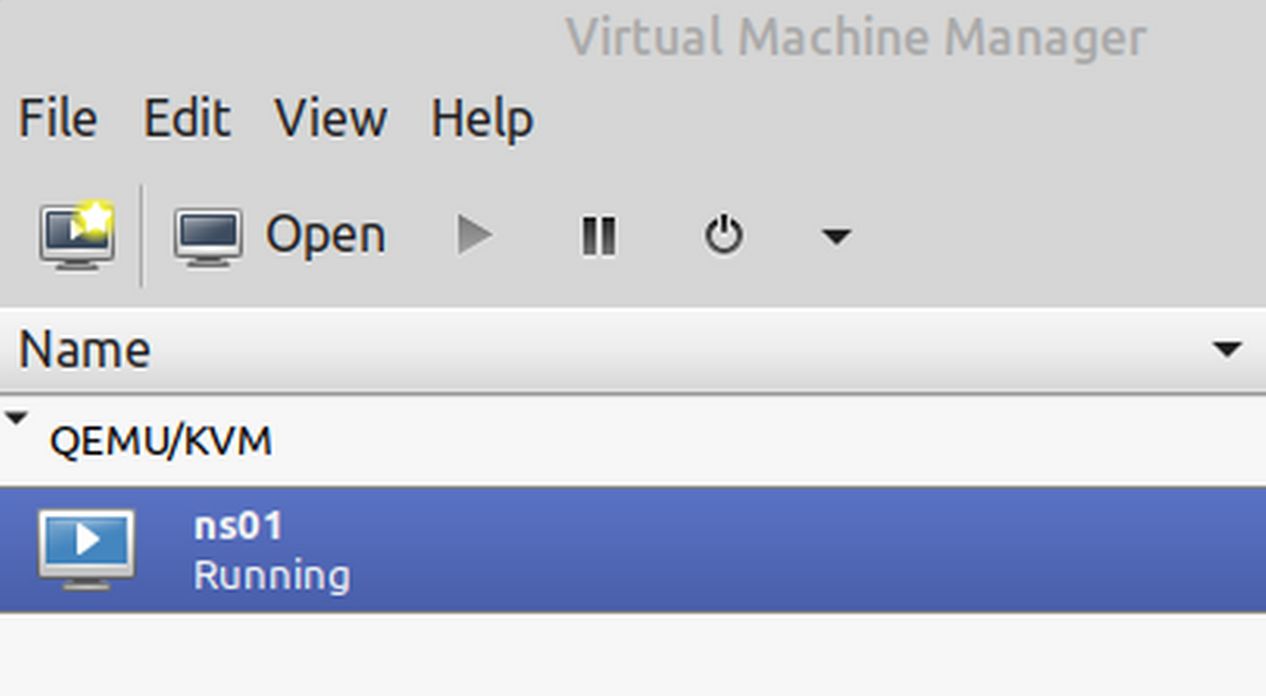
Note that the virtual machine terminal, also known as the console, does not automatically appear. Click on Open to display the virtual machine terminal:
Click on View and note that the Virtual Machine View is set for Console. Change the view to Details. Then click View again and change the View to back to the Console. You can turn off the Virtual Machine without logging in by clicking on Shut Down icon or clicking on File Close. Then at the VMM screen, right click on the virtual machine and click Shut Down. Then close VMM.
Getting the Virtual Network to start after a reboot
Turn off your laptop. Then turn your laptop back on and restart Virtual Machine Manager. Then select you ns01 virtual machine, right click and click Run. You will likely get this error:
“Error starting domain: Requested operation is not valid: network default is not active.”
With ns01 still selected, in the VMM top menu, click Edit, Connection Details, Virtual Networks tab. There should be only one connection, called Default. Check Autostart on boot.
Then click Apply. Then close the Connection Details screen. Then close VMM and restart your laptop. Open VMM and right click on ns01 and click Run. Then click Open to bring up the ns01 terminal log in screen. Then shut down the virtual machine by clicking on the shut down icon. Close the Virtual Machine Details screen and close the VMM screen.
What’s Next?
In our next article, we will explain how to set up an SSH connection so that you can access your VPS from your Home computer terminal. Using SSH will allow us to copy paste commands into the terminal – something which can not be done inside of the VMM VPS window.