
In the last article, we changed the SSH Port number to improve SSH security. In this article, we will replace our easy to crack password with a harder to crack set of SSH keys to greatly improve the security of our SSH connection from our home computer to our remote server.
How SSH Key Pairs work
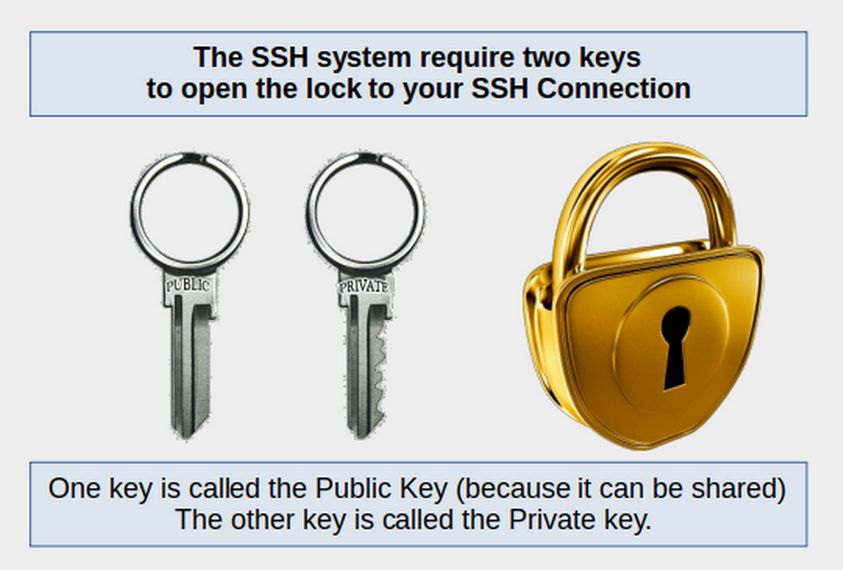
SSH keys are used as login credentials in place of easy to remember but insecure text passwords. SSH keys work in pairs: there is always a public key and a private key. The private key must remain on the local computer: it is used to decrypt information and it must never be shared. The public key must be copied on the remote server (its content is copied in the ~/.ssh/authorized_keys file in the $HOME directory of the user we login as on the server) aka Hestia. When you start an SSH session, the SSH program will use this private and public key pair combination to establish a more secure connection.
Step 1 Generate an SSH Key Pair
Open your home or host computer terminal. Then copy paste
ssh-keygen

Press Enter to accept the default location. Then press Enter.
The terminal will reply with Enter passphrase. The passphrase is not the same as your server password or your home computer password. It is a special passphrase you need to remember which will be associated with your key pair. A passphrase made up of three or four unconnected words, strung together will make a very strong passphrase. For example, MomDogCat1960* Enter a key pair passphrase you can remember. Then Enter the passphrase again.
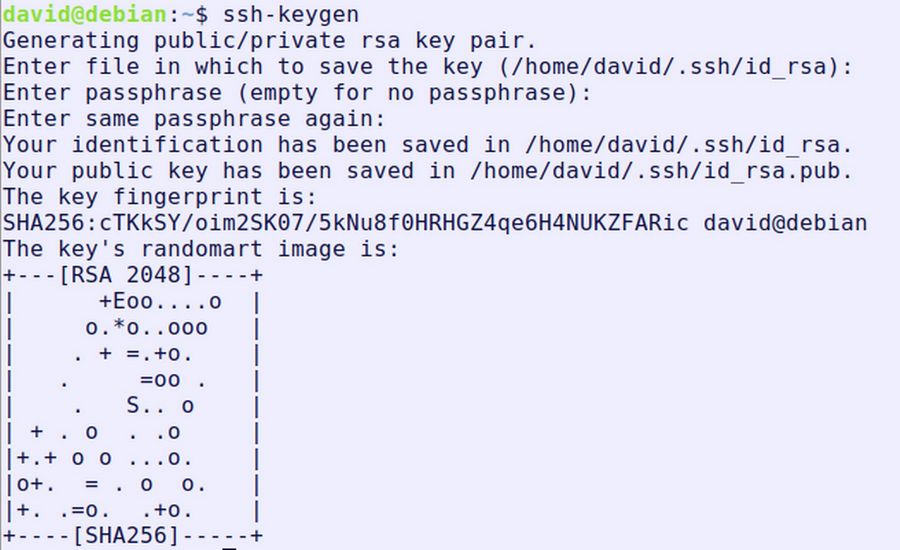
Your identification has been saved in /home/david/.ssh/id_rsa.
Your public key has been saved in /home/david/.ssh/id_rsa.pub.
Step 2 Change your Server sshd_config file
The ability to use ssh-keys as login credentials must be allowed server-side by the system administrator, by setting the PubkeyAuthentication option to yes in the /etc/ssh/sshd_config file by deleting the hash sign in front of this option. Both text passwords and public keys can be allowed as authentication methods at the same time, or only allow access only via public keys.
First turn on your server with VMM. View the server start up process:
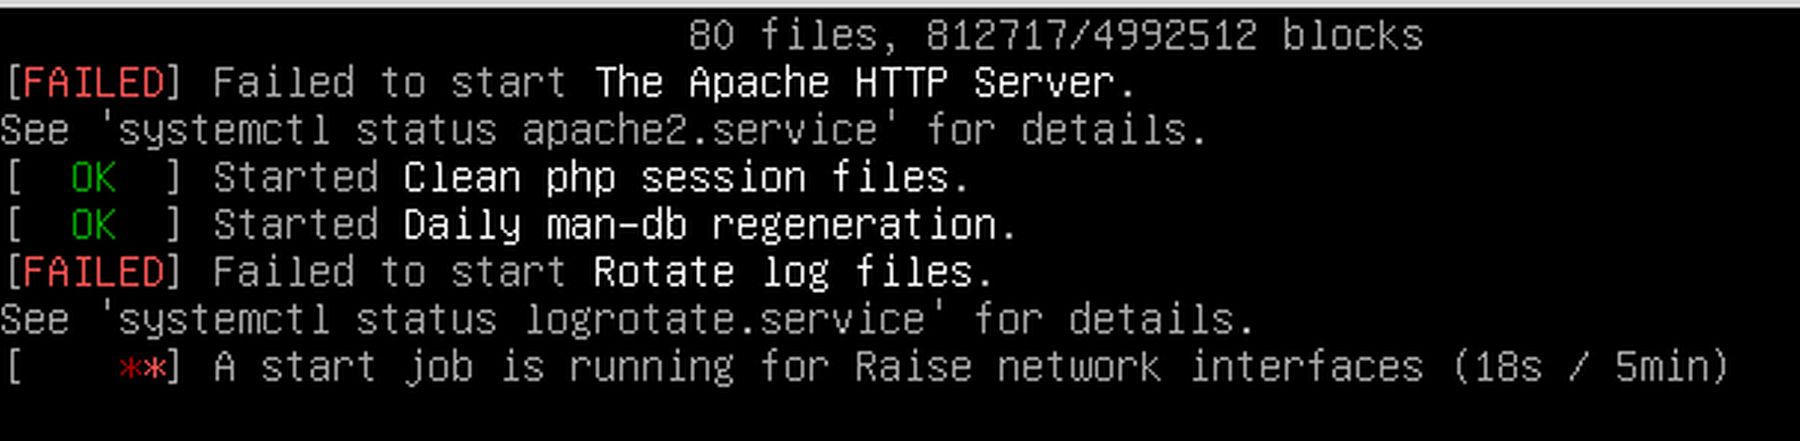
The server terminal indicated that Apache had not been turned on.
See if the Apache Server is on by logging into Hestia via ns04:9999 and clicking on Settings. Apache was not turned on.
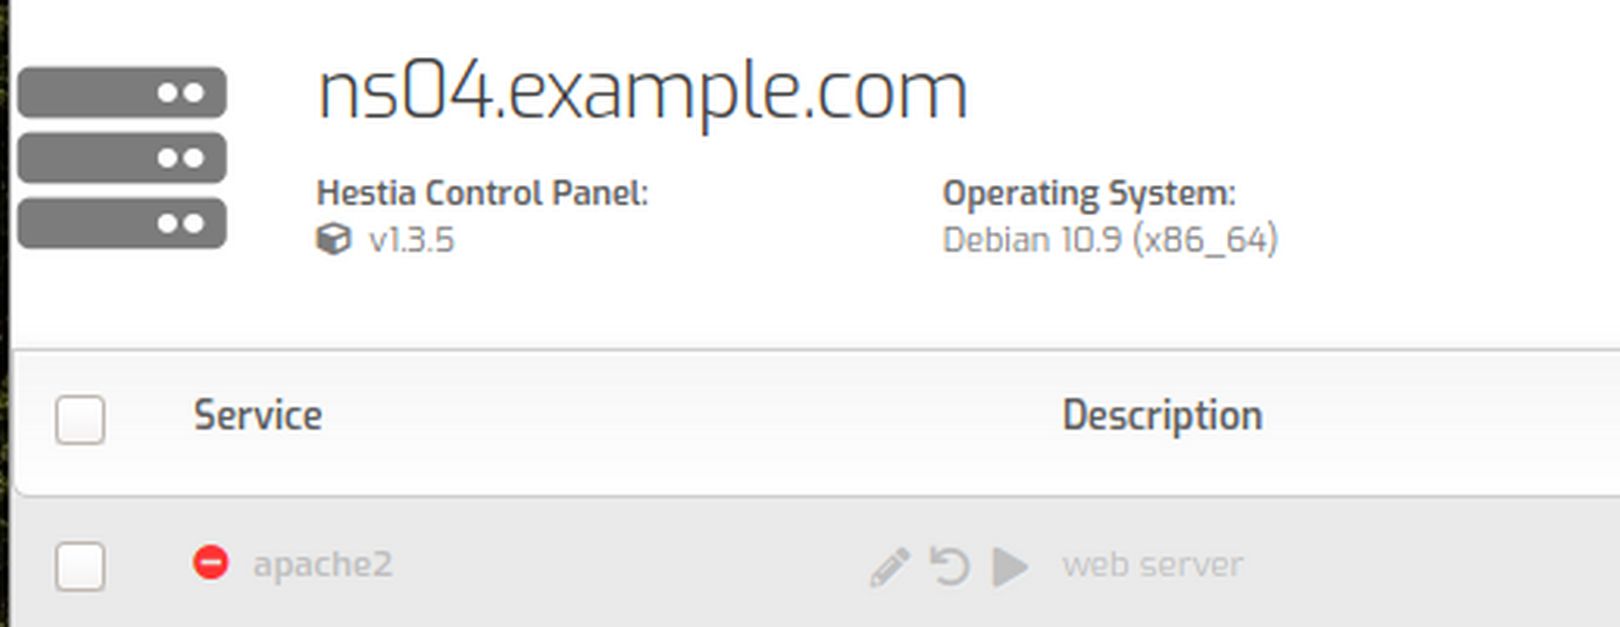
Select Apache2. Then click the Start icon. Then log out of Hestia and close the browser.
Start an SSH session as root
Recall from our last article that we changed our SSH connection so we could log in as root to Port 7777 with the following simple words:
ssh myvps
Then copy paste the following into the terminal:
sudo nano /etc/ssh/sshd_config
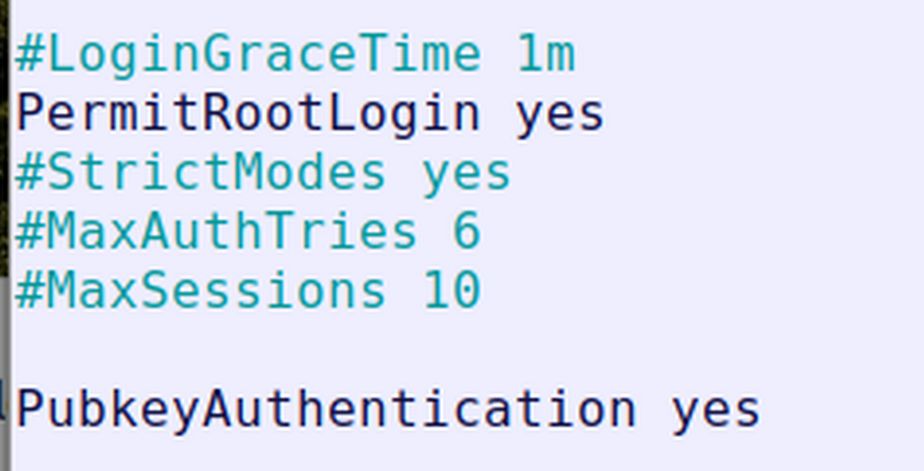
Scroll down the file with the down arrow and make these two changes:
PermitRootLogin yes
PubkeyAuthentication yes
Then press Control plus o then Enter to save the file. Then Control plus x to close the file. Then restart ssh with this command:
systemctl restart sshd
Then end the SSH session by typing exit then press Enter.
Step 3 Load the SSH Public Key to your Server
To be able to use the SSH keys we generated as authentication method on a remote server, we need to upload our public key on it.
Open a terminal on your home computer (without logging into an SSH session) and copy paste:
ssh-copy-id -i ~/.ssh/id_rsa.pub
Where root is the user and XXX is the IP of the server. Enter server password at the prompt.
Reply was: Number of key(s) added: 1
Now try logging into the machine, with:
ssh myvps
This caused terminal to open this ssh passphrase popup
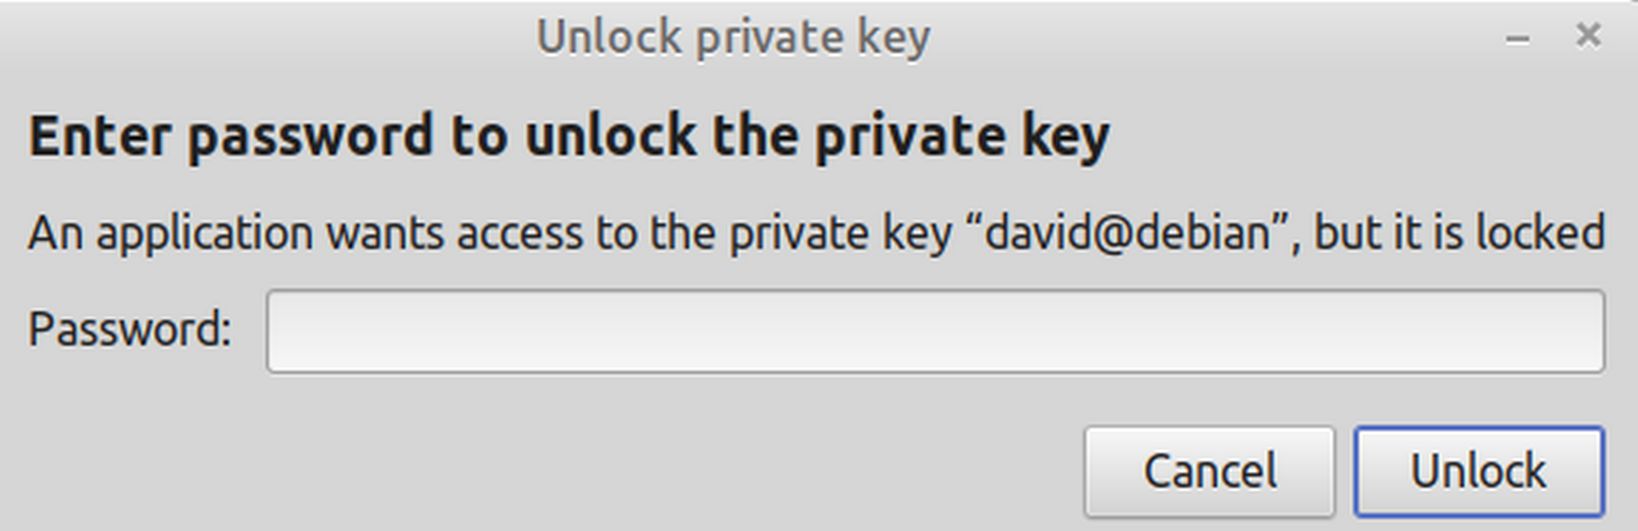
Enter the SSH passphrase. Then click Unlock. The terminal prompt should change to root@nd04. Type exit to end the SSH session.
Then log back in again with ssh myvps This time you should be able to open an SSH session without typing in either the root password or the SSH passphrase. Type exit to close the SSH session. Then close the terminal. But leave the server running.
Add the SSH public key to Hestia Control Panel
Open a browser and log into Hestia using ns04:9999
Select the Admin user and click Edit. Then at the top of the Edit page, click Manage SSH Keys. Then click Add SSH Key. Copy and paste the public key into the box. Then click Save and back. Then click Settings. There is a restart ssh icon below the restart Apache server icon.
Now that we have installed our SSH keys, let's look at how to connect to your VPS with SFTP instead of SSH. Think of SFTP as SSH on steroids.
Connect to your VPS with SFTP
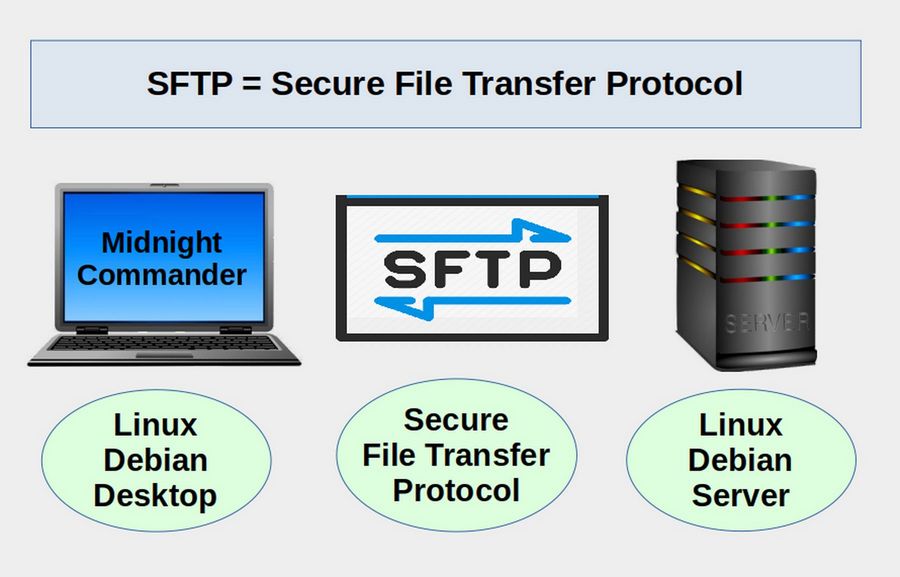
A big part of working with a VPS is transferring files to/from your VPS server. There are different ways of transferring files. Some of them, such as FileZilla and FTP are not secure. Others require altering your VPS. The most secure option is called SFTP (aka Secure File Transfer Protocol). The makers of Hestia Control Panel recognize this fact. They therefore require SFTP to work with the Hestia File Manager. We will therefore review how to install and use SFTP on your home computer to transfer files to and from your VPS.
SFTP also stands for SSH File Transfer Protocol. This is because SFTP uses SSH and works with SSH (aka Secure Shell) to transfer files. SFTP is the most secure way to transfer files over SSH from our local computer to a remote server. A big advantage of SFTP is that we do not need to install any additional software on our VPS or Debian 10 server. All that is needed is to install an SFTP capable program on our LMDE laptop. The best Linux SFTP capable file manager is called Midnight Commander. We have already installed Midnight Commander. Here we will review how to use MC with SFTP to transfer files from our Debian home computer to our Debian VPS.
Review of how to use Midnight Commander
To start Midnight Commander, open your terminal and type mc. Midnight Commander uses two side by side windows to transfer files. These windows are called Left and Right. Initially, Midnight Commander displays the HOME view of your File Manager with the hidden (dot) files at the top. Scroll down the screen with the down arrow on your keyboard to see the rest of your file manager folders.
When used in a terminal while on a LMDE desktop, Midnight Commander is mouse-aware. Clicking on a file will select it, clicking on a menu item or a function key button will launch that menu or function. Give it a try!
You can also navigate between folders by clicking on the small up arrow in the upper right corner of the Left panel - which will pop up a window with your most recent locations (when you are in File View mode).
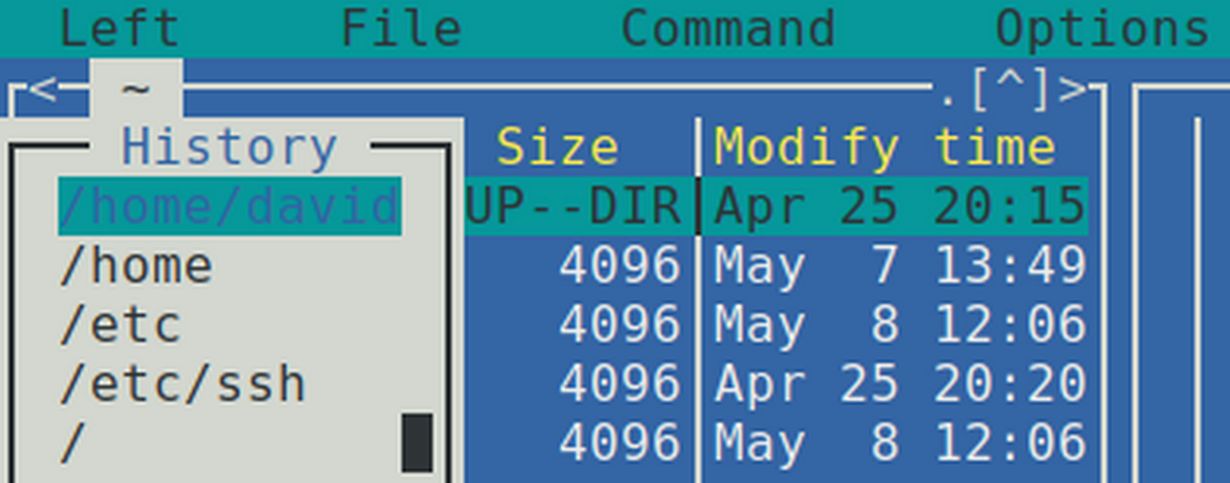
Click ESC twice to close the popup.
You can also navigate to the parent folder of any folder by selecting the double dots in the upper left corner of the panel and pressing Enter on your keyboard. You can switch from the Left panel to the Right panel by clicking on the menu items at the top of the screen. But you can also move quickly from the currently active panel to the other panel by pressing on the TAB key on your keyboard.
Viewing TXT files
Midnight Commander allows us to easily view text files. Select the TXT file and press the F3 key.
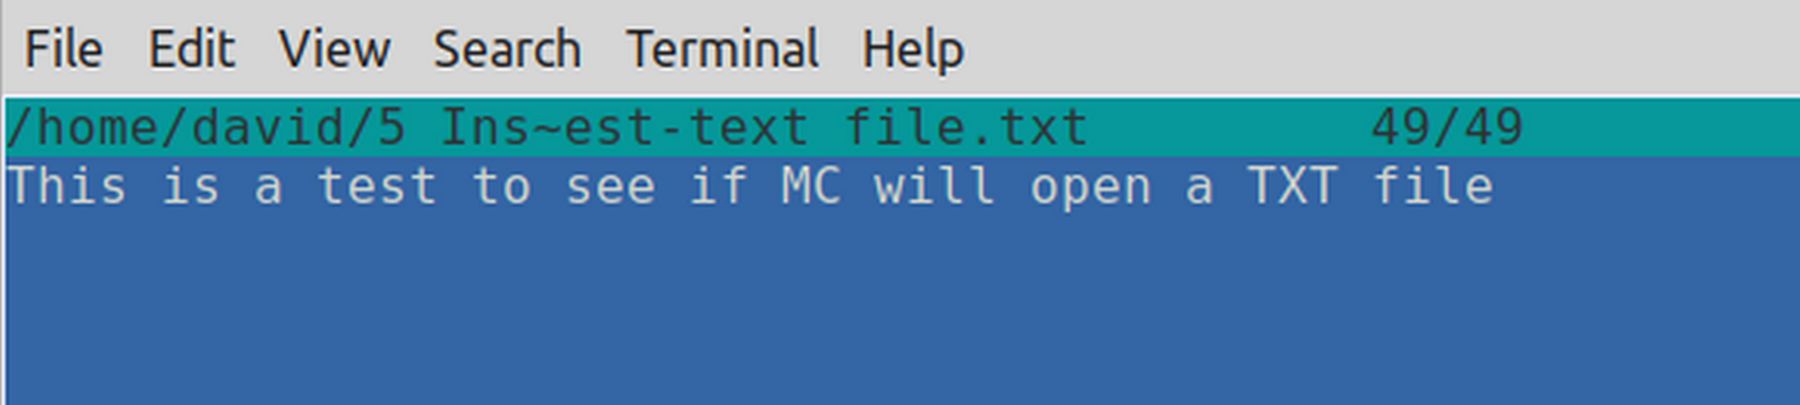
Use the up and down arrow keys to scroll long files. You can also use the Home and End keys to jump to the top or bottom of a long directory or file. To close the file, click on the F3 key again or click on the ESC key twice. You can also edit a TXT file by selecting it and pressing the F4 key. Then click 1, then press Enter to open the file with the Nano editor. Make your changes. Then click Control plus o, then Enter to save the file. Then press Control plus x to close the file. You can also view an HTML file by selecting it and clicking on it, which will open it in a browser.
View Contents of a Zipped File
Midnight Commander can display the contents of various types of archive files like zip or tar files. Select the zipped file and press the Enter key. Midnight Commander shows the contents of the archive. You can navigate through the folder structure of the zipped file (also called an Archive). You can even open text files and scripts to view their content.
Using the Midnight Commander Command Line
At the bottom of the Midnight Commander screen is the Function Key Line. Above this is the Hint Line with a lighter color background. Between these two lines is the Midnight Commander command line.

The command line shows that I am currently in the /Downloads folder. To change to the etc folder, type cd /etc and press Enter. To display the root folder, type cd / and press Enter. If you need to use sudo with a command, MC will return you to the terminal to type in your password. Then relaunch mc as root. To go back to the normal sudo user rather than the root user, type ctl-o.
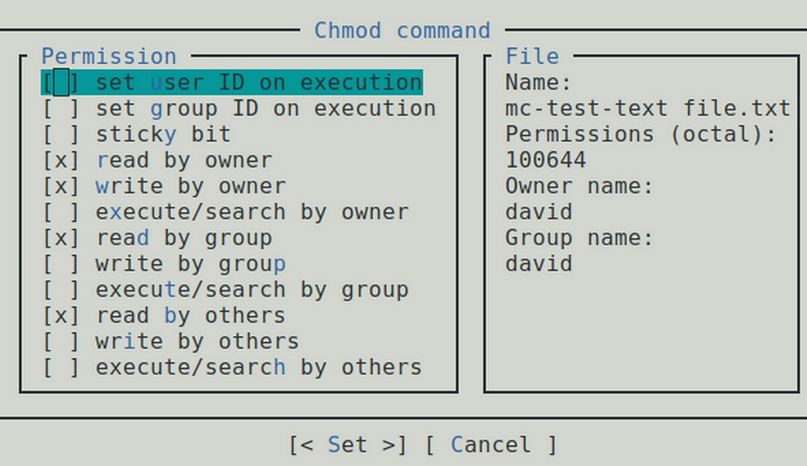
Change Folder and File Permissions
Folders and files have permissions. Permission will manage who can read, write an execute the folders and files. The command to manage permission is chmod. With MC, you only need to select a folder or file then press “F9” which displays the MC Menu. Then click File > Chmod. MC will show to you the current permission of the selected file and show to you more parameters that can be set.
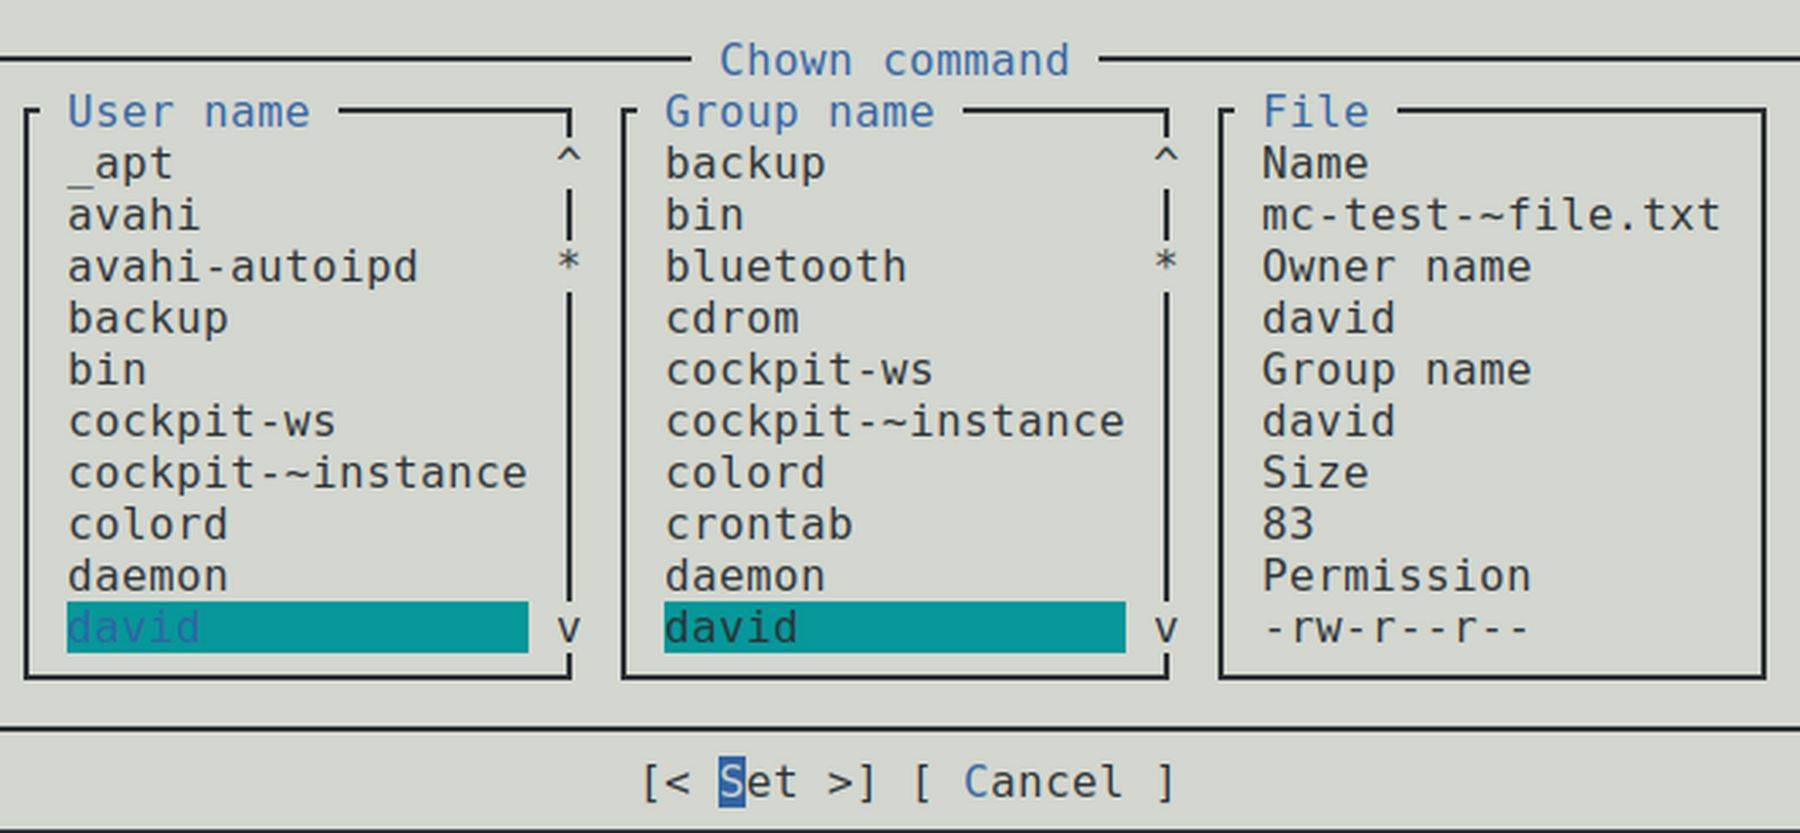
Change a Folder or File Owner
Files and directories also have owner and group owner. The privileges of these owners are managed by chmod command above. The command to manage owner is chown. Select a file then press “F9” > File > Chown. Now you can set owner and group owner from the available list of user name and group name.
Connect to Your VPS with MC SFTP
First, verify that you can connect to your server using SSH with keys and a log in that does not require a password:
Open a terminal on your home computer and type ssh myvps
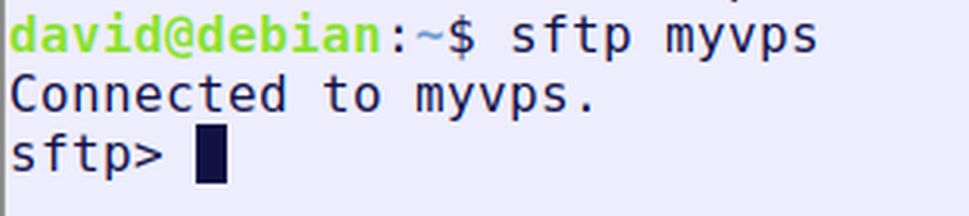
Then close the normal SSH session by typing the word exit. Then press Enter. Then type: sftp myvps
Then close the SFTP session by typing the word exit. Then press Enter. Then type mc to open Midnight Commander. You can access SFTP on either the left or right panel. Click the word Right. Then click SFTP link:
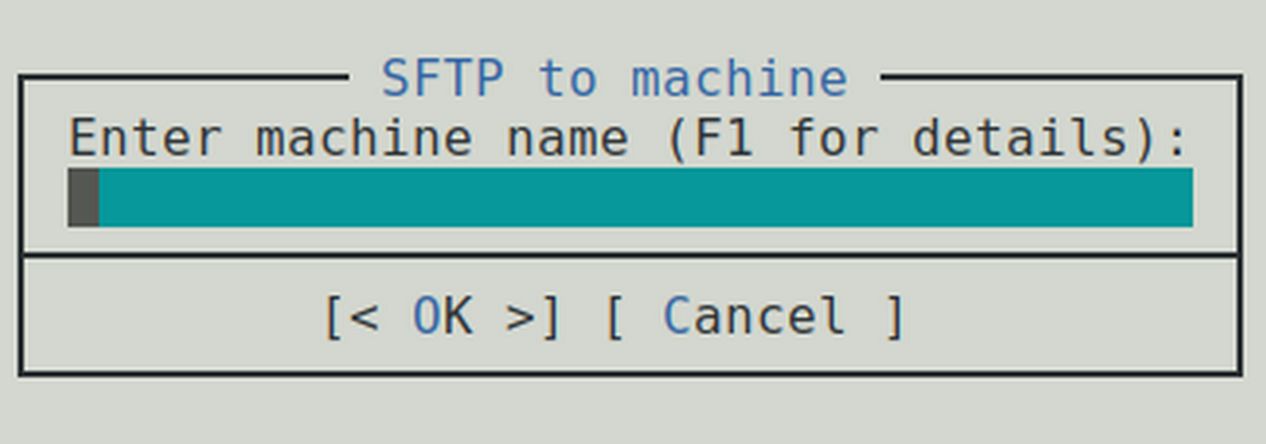
Then enter sftp followed by the shortcut ssh name we created earlier:
sftp://myvps
Then click OK. We can now see sftp://myvps at the top of the right panel followed by the entire folder structure for ns04:
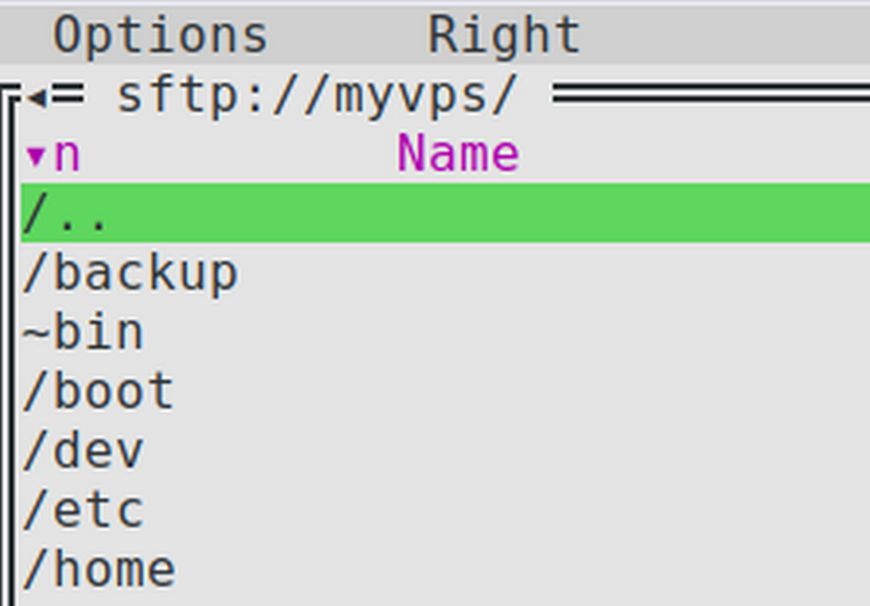
Click on the Home folder.
To disconnect your SFTP link, click File Exit. This returns us to the terminal. So start an SFTP session from the terminal, type sftp myvps. Then press Enter. To view the folders in the home folder, type ls /home. You should see all three Hestia folders (admin, david and dave). To end the SFTP session, type exit. Then close the terminal. Then shut down the VPS and close VMM.
What's Next?
In the next article, we will review how to set up an SSL certificate for our Hestia Control Panel.