
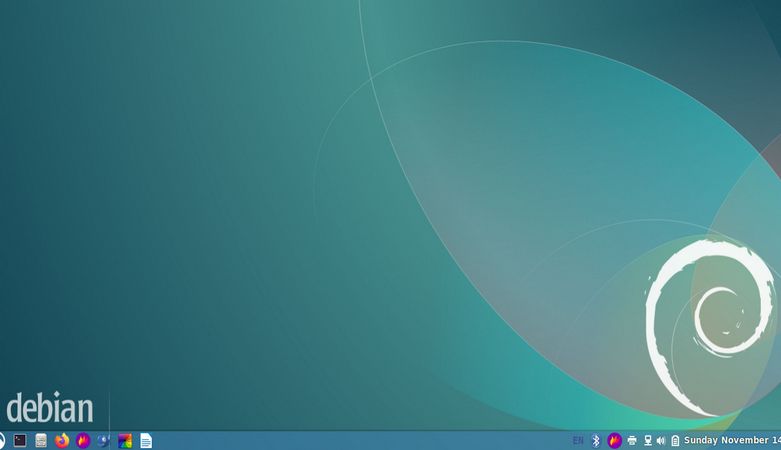
In our last article, we reflashed our laptop and ended with the Linux Debian 11 Start screen. In this article, we will review some important first steps to take after reflashing to Linux Debian. Here is the Debian Start screen:
Click on the Debian Menu in the lower left corner to bring up the Programs Launcher:
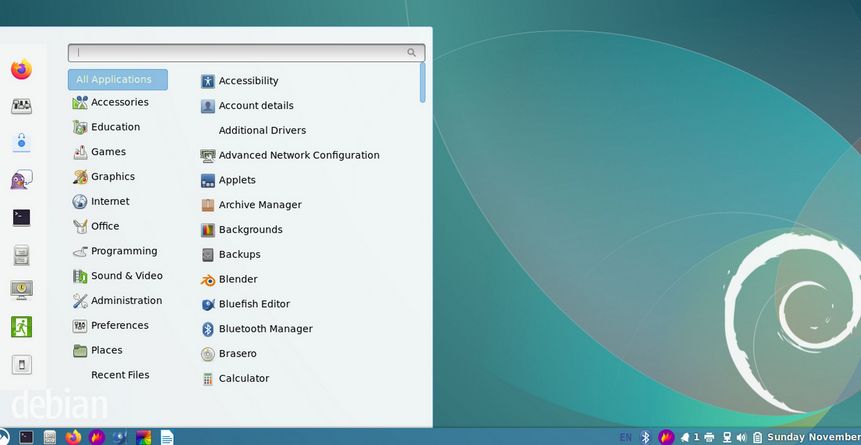
Here is a closer view of the Programs Launcher reached by clicking on the Debian Start button in the lower left corner of the screen:
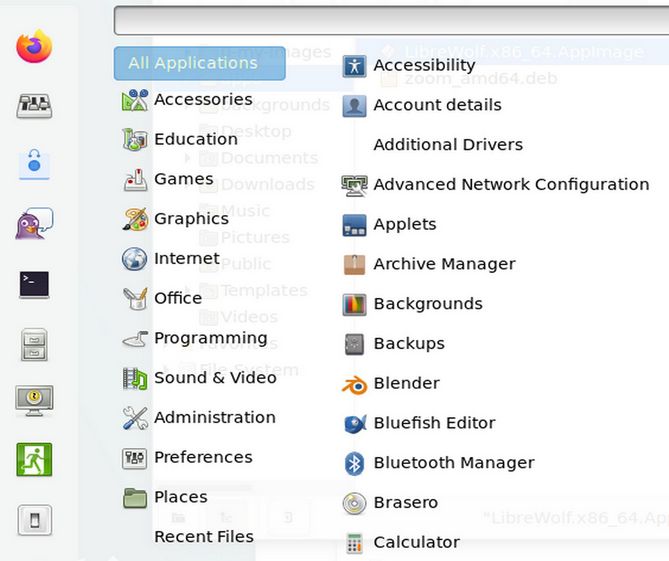
Debian 11 now comes with the Debian Software Manager. It is the blue and white shopping bag near the top of the left column. How it got added to the Favorites column was by clicking on Administration, then click Software. Then right click and click “Add to Favorites.”
Step 1: Change Debian Settings
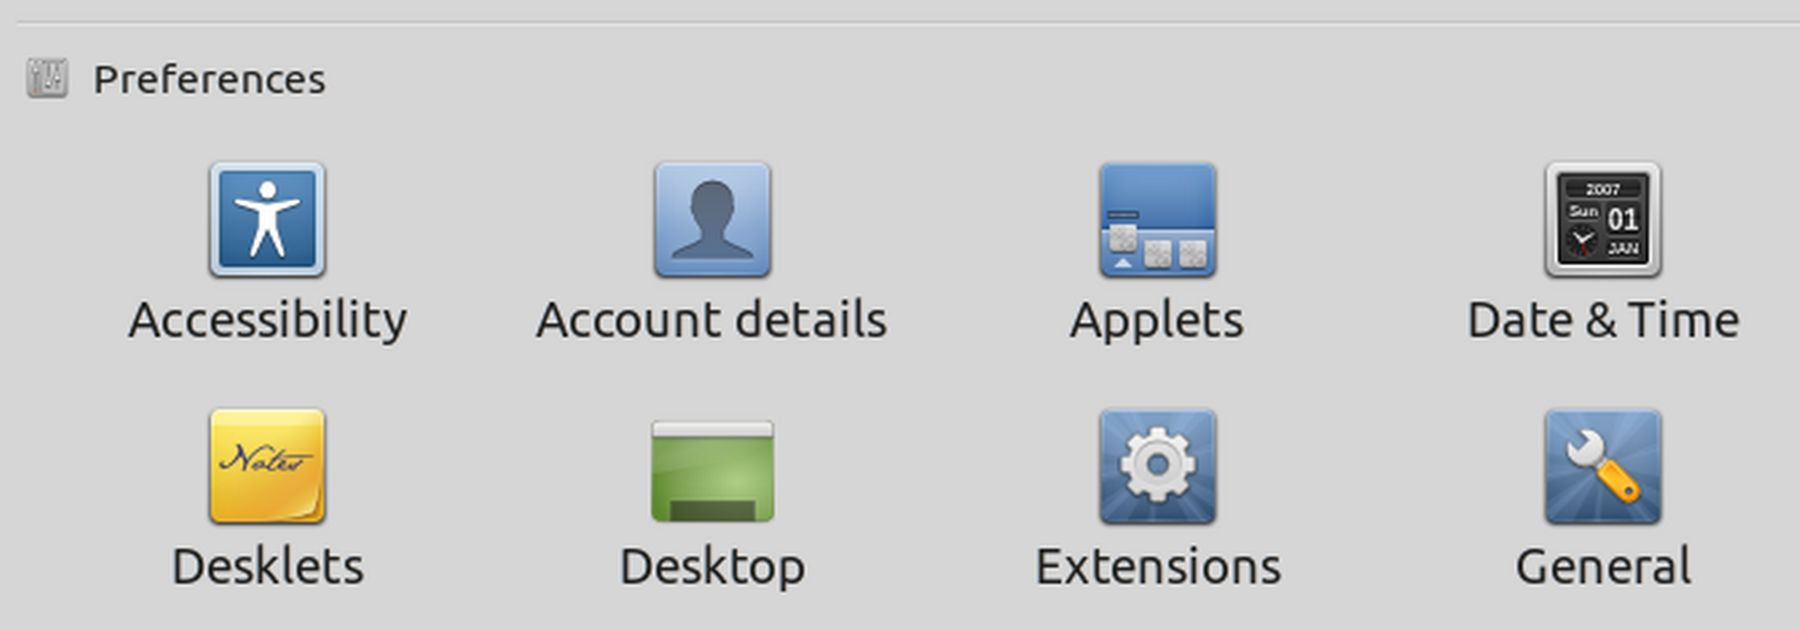
Go the Debian Start menu and click on System Settings which is the second icon in the first column. Below is the first row in System Settings. It is called Appearance.
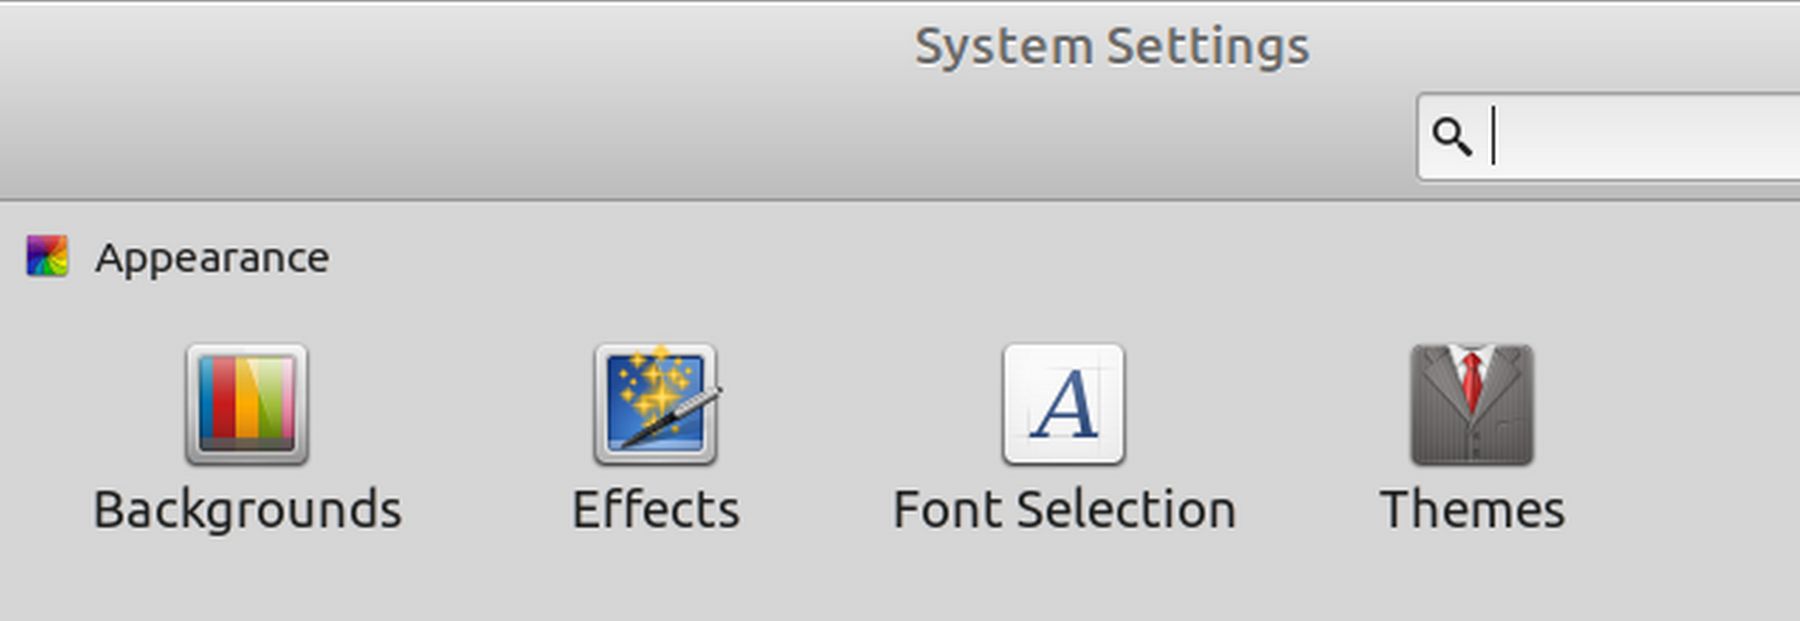
Click Backgrounds where you can change your background image, add your own custom images and even set up a slideshow to play on your Desktop. Then click Effects. Turn off all of the Effects. Then click Font Selection to increase the font size. Then click Themes to change themes for your panels and windows to whatever you want.
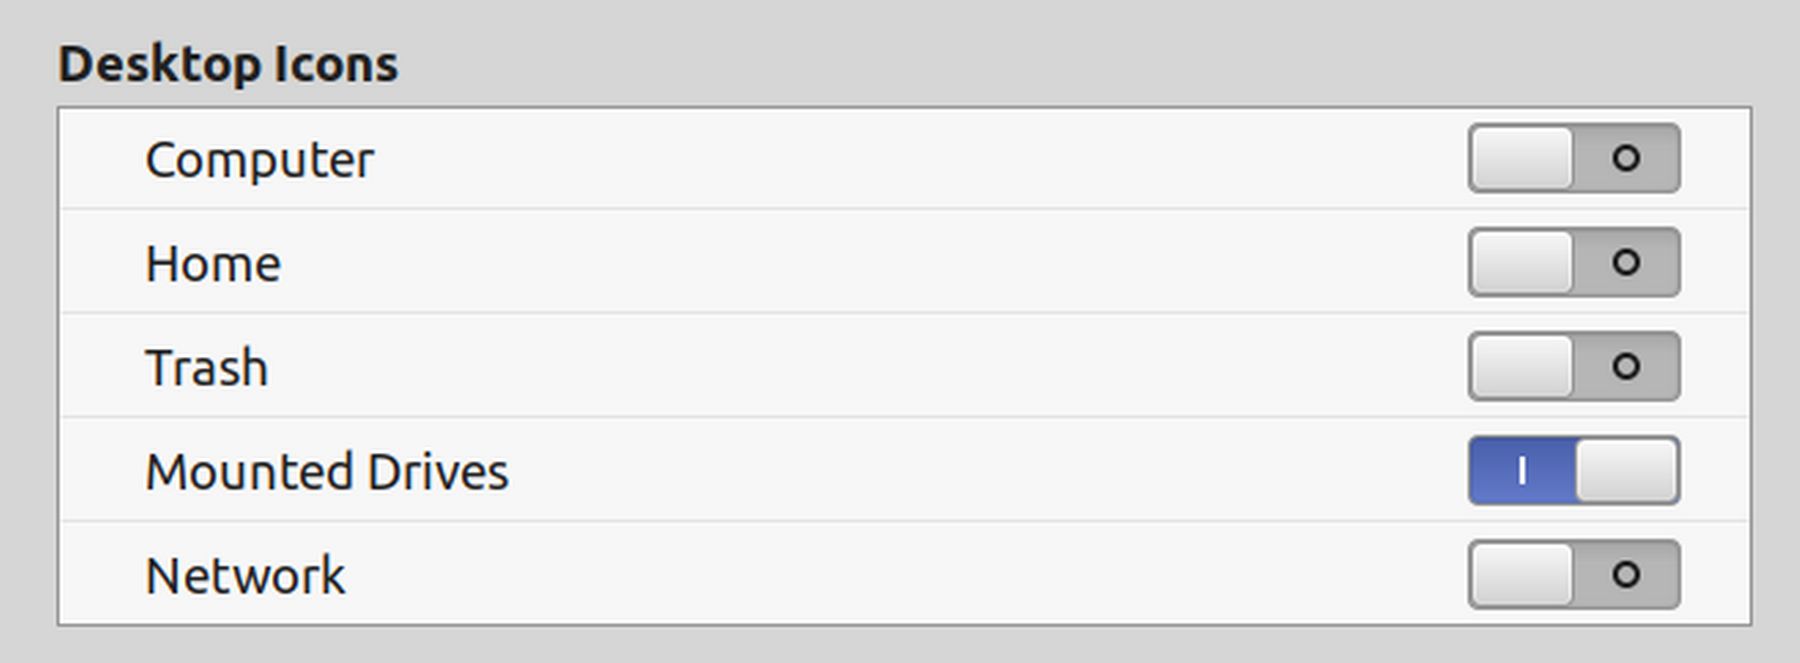
The second set of rows in System Settings is called Preferences. Click Date and Time. Turn off the 24 hour clock and turn on the date. Then click Desktop. Check Mounted Drives to make sure they appear on the Desktop when you insert a USB stick. Scroll down to the Screen Saver icon and open it. Change the Delay time to Never and turn off both Lock settings.
The third set of rows is called Hardware.
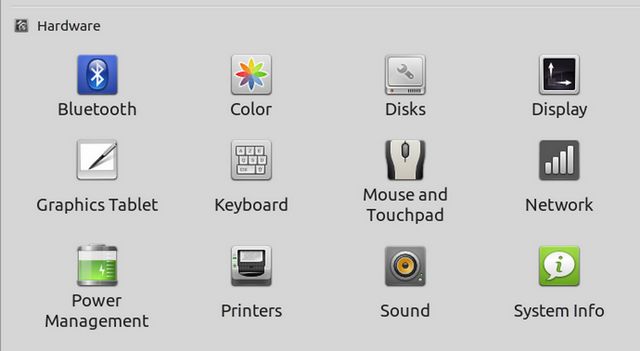
Click Power Management. Change the settings to Never and Shut down immediately. Then click Sound. Click Settings to increase the maximum sound to 150%. Then close the Settings screen.
Step 2 Add Software
Click on the Start button. Then click on the Shopping Bag icon to go to the new Debian Software Manager:
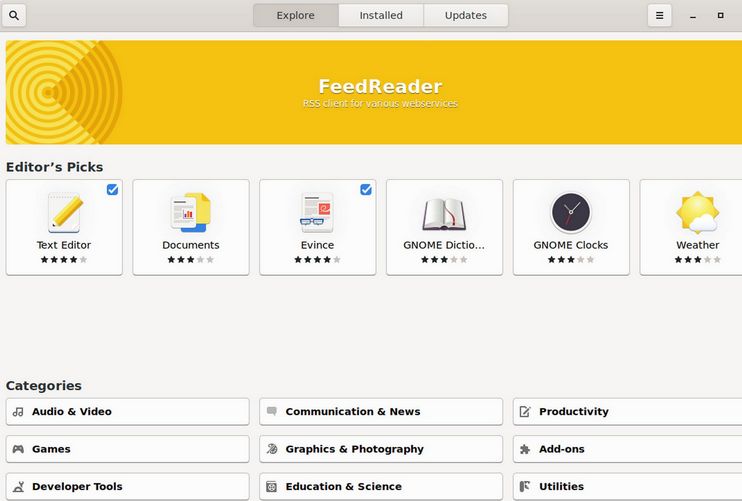
Click on the Search icon in the upper left corner to bring up a Search box. Then type Flameshot in the search box. Then click on Flameshot to bring up the Install page.
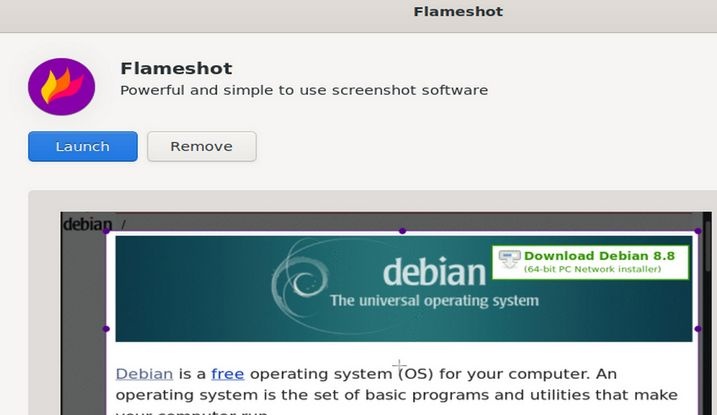
Then click on Install to install Flameshot screen capture tool. Then look for it in the Applications list and right click, then click Add to Panel to add it to the program quick launch icons in the bottom panel.
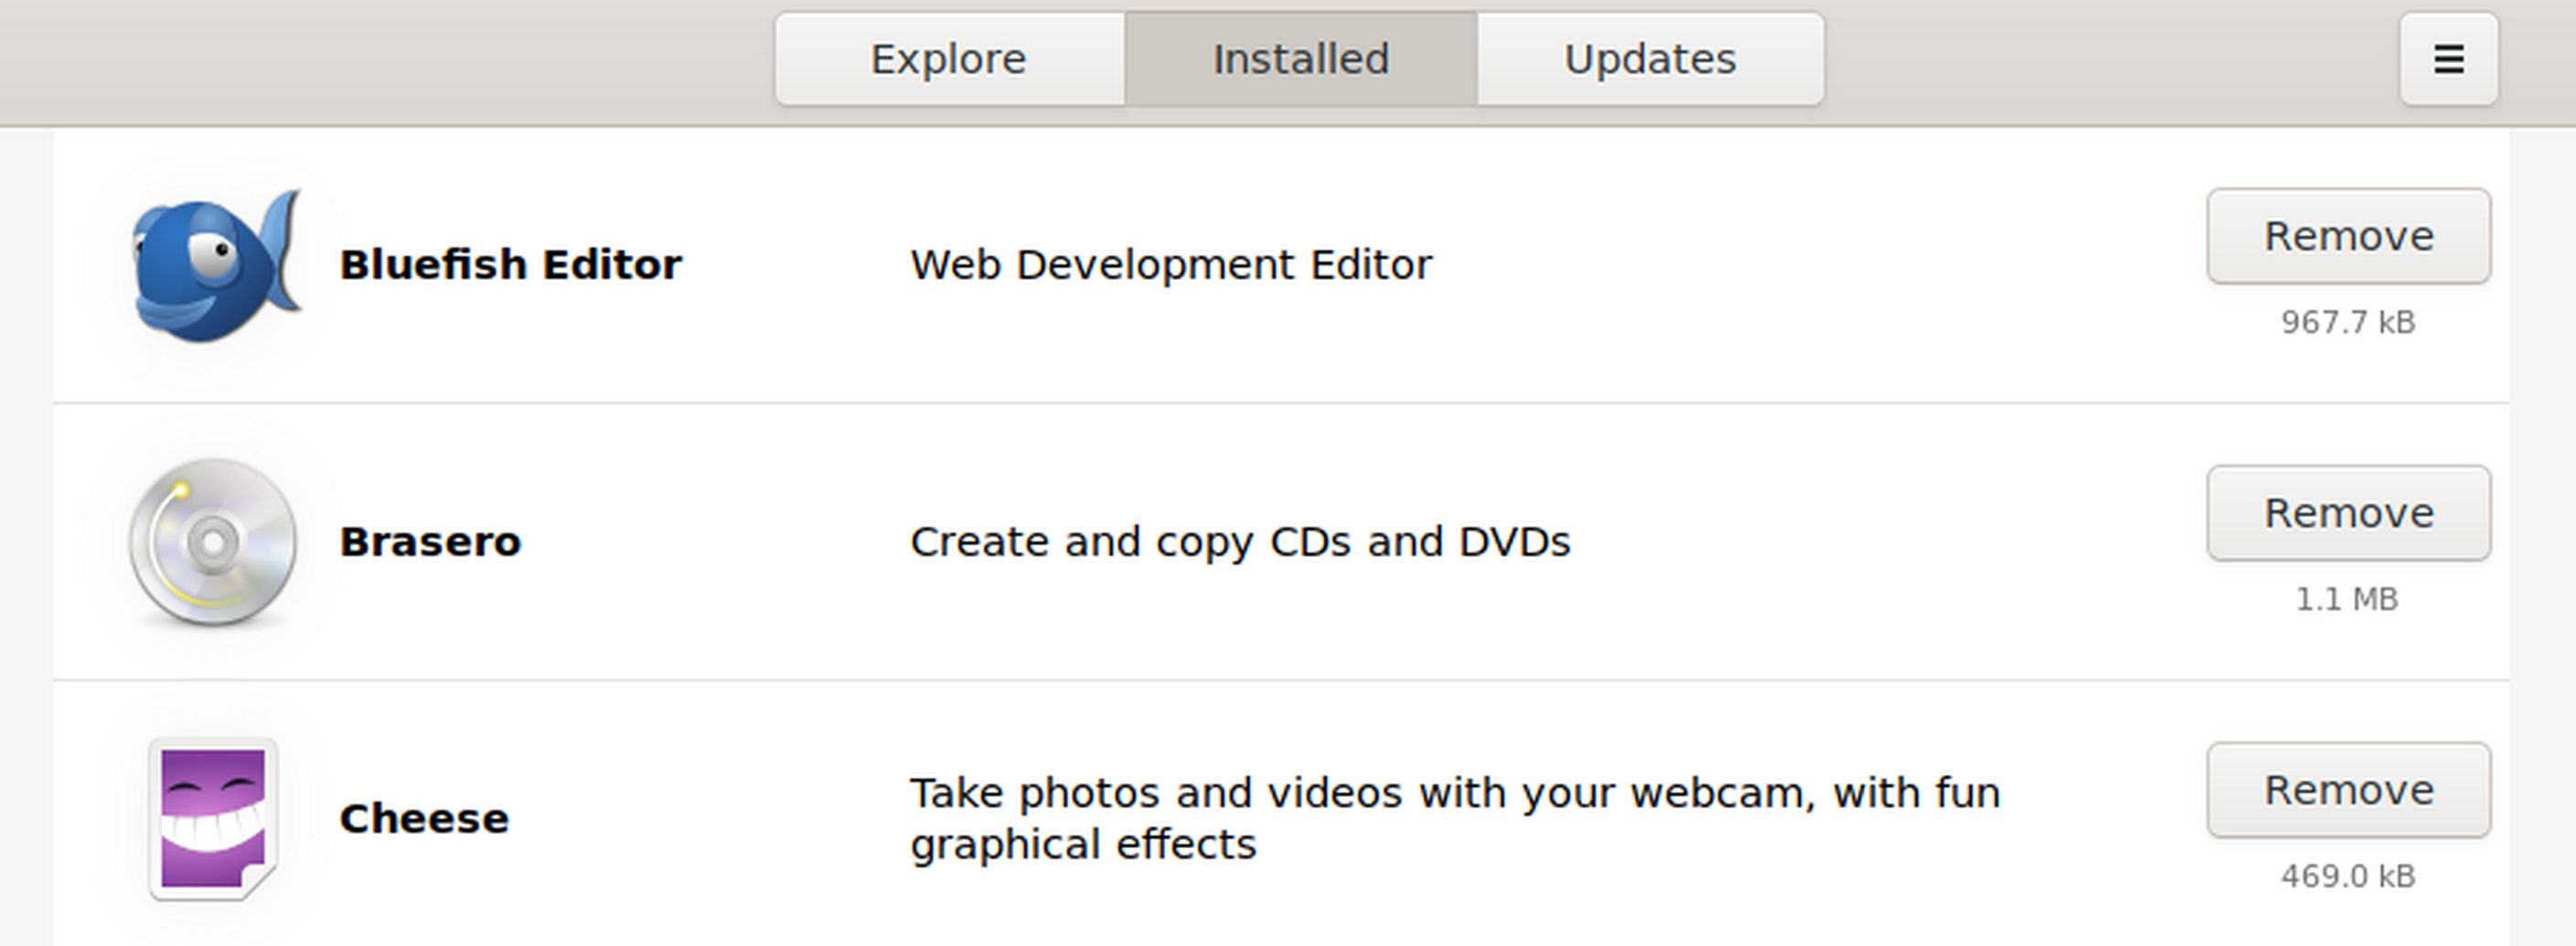
Then go back to the Debian Software Manager and install the Bluefish HTML editor. Also install Krita and Gpick and Gparted. Then click on Installed to see a list of all programs and an easy way to uninstall any programs that you do not want or need.
Then close the Software Manager.
Step 3 Improve the Appearance of the Debian File Manager
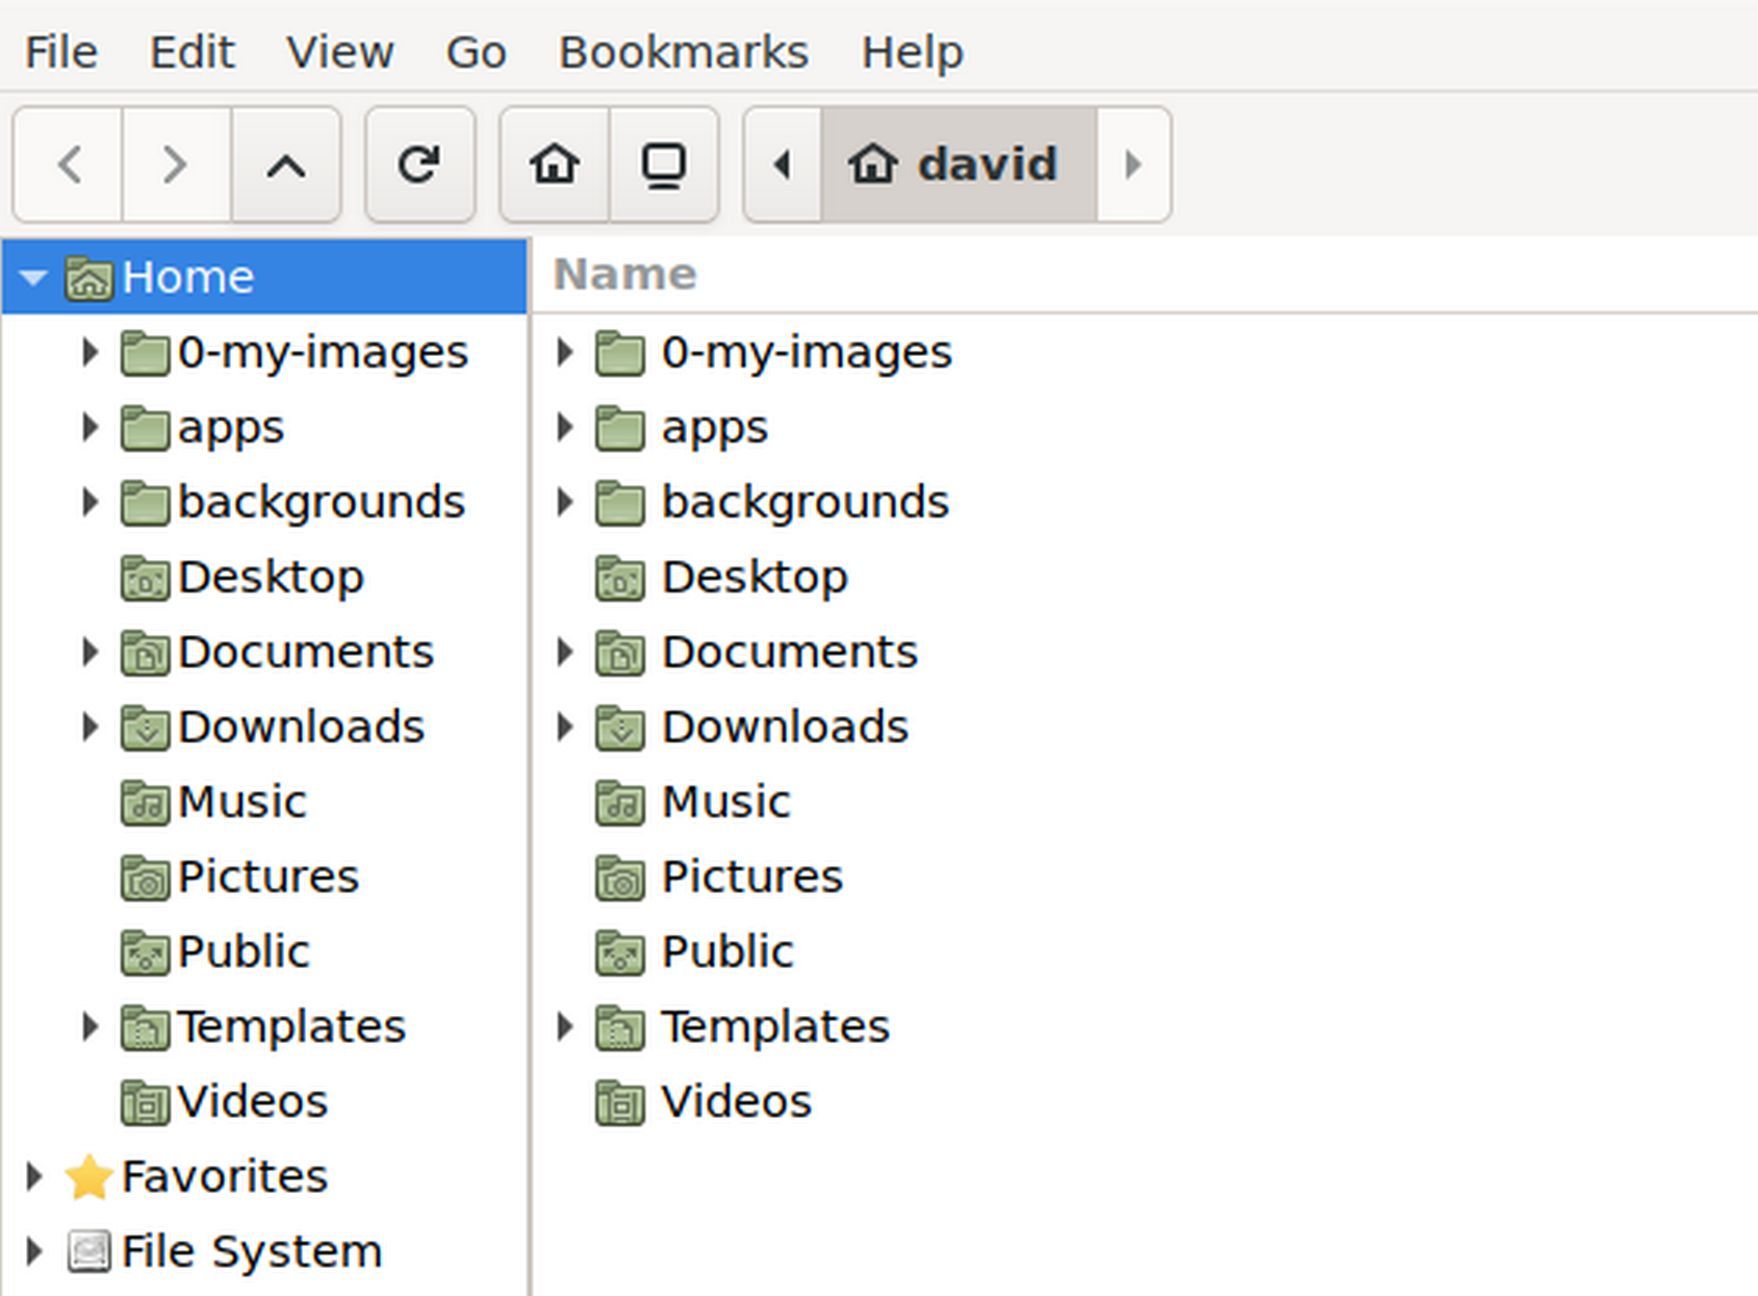
Click on the Filing Cabinet icon in the bottom task bar to bring up the File Manager. Right click on the screen and click Create New Folder. Then create a folder called 0-my-images. Then right click on the screen again and create a folder called apps. Then click Edit Preferences. Change the Default View to List View. Click List Columns and uncheck Type. Then click Toolbar and click Computer, New Folder, Refresh and Home. Then close Preferences. Then click on the Refresh button. Then in the lower left corner, click Show Tree View. Your file manager should now look like this.
Step 4 Install a More Secure Web Browser called Libre Wolf
Next, we will install an apt image called the Libre Wolf Browser. Go to this web page:
https://gitlab.com/librewolf-community/browser/appimage/-/releases
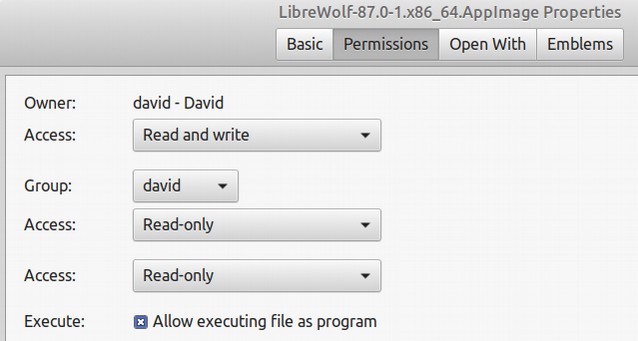
Download the app image to your Downloads folder. Then create an apps folder and transfer the app image to your apps folder. Then right click on the file and click Properties. Then click the Permissions tab and check Allow executing file as a program.
Then close the Properties screen. Left click on the Mint Menu and click Configure. Then click Menu. Then click Open the Menu Editor. Then click Internet . Then click New Item.
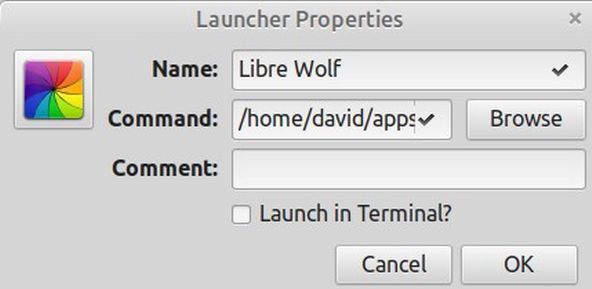
Call it Libre Wolf. Browse to the app to select it. Then click on the icon to select an icon. Then click OK. Then add the app to the panel.
What’s Next?
Next, we will review how to upgrade and customize Libre Office.