
Even if you have the most locked down VPS in the world, it is still wise to create periodic backups of your VPS system. A very common reason to need to rollback a website if a program issues a bad update that unexpectedly destroys your website. Modern interactive websites consist of dozens of programs. So the odds of one of them having a problem are pretty high. I find myself needing to restore one of my 50 websites about once a year just to deal with the program update problem.
While I also recommend using Joomla tools to create and restore website and database backups, I have to admit that the Hestia backup system is very simple and absolutely brilliant and well worth learning and using. In this article, we will review how to use Hestia to take and restore backups.

Hestia Backup System Overview
Hestia backs up your VPS on a per user basis with the Admin page being just another user. So if you have 50 websites, you have 50 users and will take 50 backups. This is extremely useful as the odds are that you will only break one of your websites at a time. There is always some risk in attempting to restore a website and you would not want to risk trying to restore all 50 websites if only one of them has a problem.
But Hestia is even better than that. Hestia allows you to carefully select what you want to back up and what you do not want to back up. So if you set up an email pass through where you already have a copy of your business emails on another computer, you may not need to back up your emails. You may only want to back up your website and database. This is very easy with Hestia.
Hestia also makes it easy to set how many backups you make, how many backups you store on your VPS and how often you make them. This is very important. Websites you are actively changing can be backed up once a day and websites that do not change can be backed up once a month.
You can easily customize your backup schedule to fit the space you have on your server. Say you have 10 websites and each uses half a Gigabit of storage. Thus, your total storage is 5 GB. If your VPS plan is limited to 20 GB, and you backed up everything, you can really only take two or three backups before you exceed your VPS storage cap. But if you only back up some things, you might be able to use three to four backups.
Finally. backups do not do much good if you can not reliably restore your websites from your backup. Every test I have done one Hestia backups has worked flawlessly and easily.
Use Hestia Packages to Set the Number of Backups
By default, Hestia will back up each website and the admin page once a day and only save one backup at a time. The number of backups and frequency of backups is controlled by the package assigned to the user. These packages can be changed over time simply by creating new packages with different values and then changing the package assigned to the user from the Admin page.
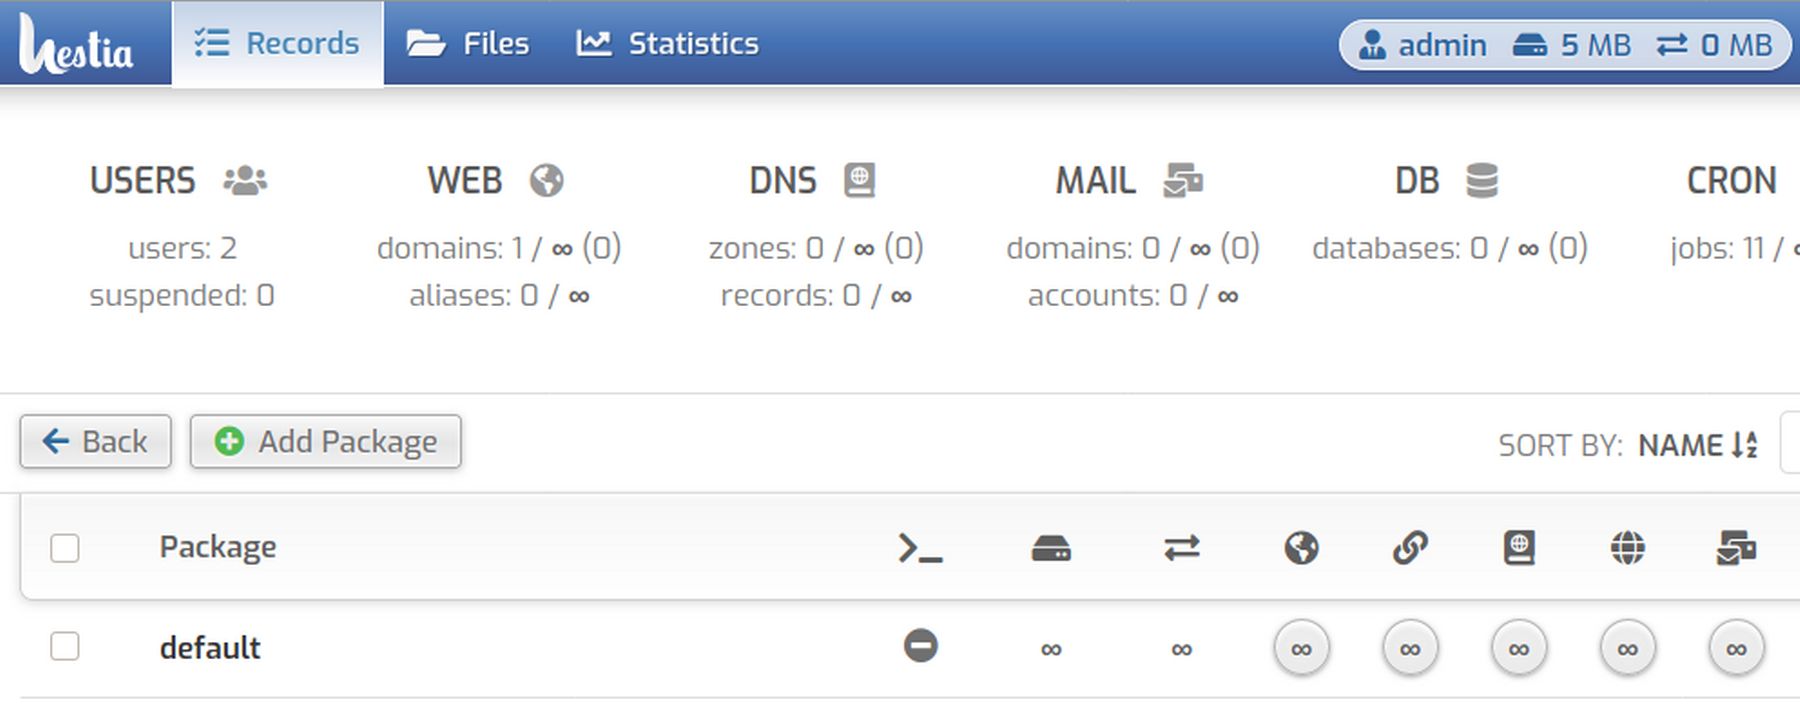
To create a new package, log into the admin page and click on Users. Then click Packages.
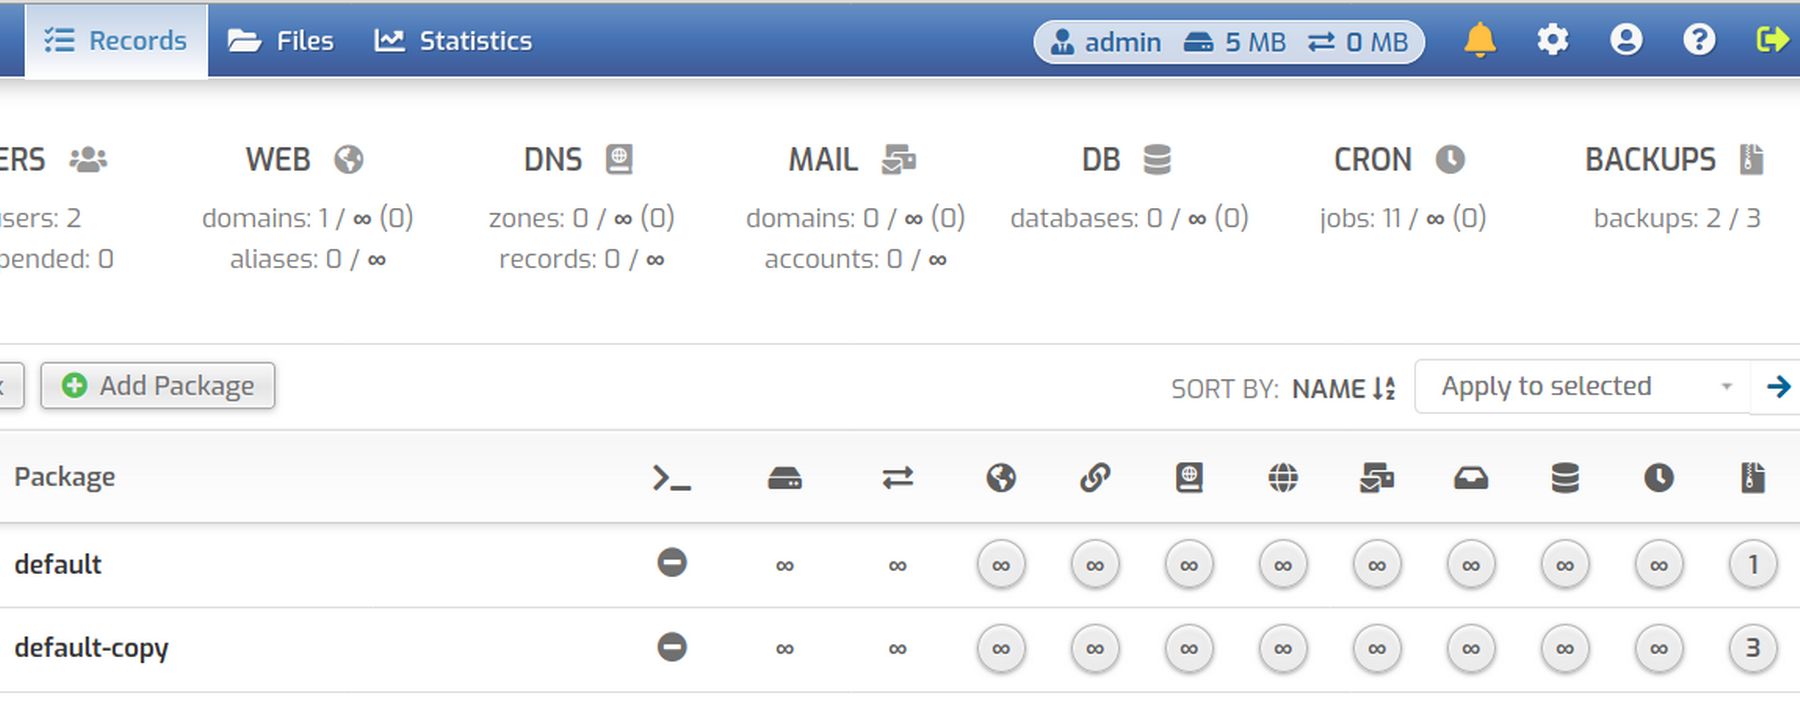
The default package is called default. It can not be changed. While you can create a completely new package, the easiest thing to do is to select and copy the default package. The name of the default copy can not be changed. It will simply be default-copy. But you can change the number of backups that are stored in the package. Here I have increased the number of backups from 1 to 3:

You can also change exactly what you want to backup.
The frequency of backups is changed in the Chron Jobs. For now, the only value we will change is the number of backups stored on the server. Click Save and Back.
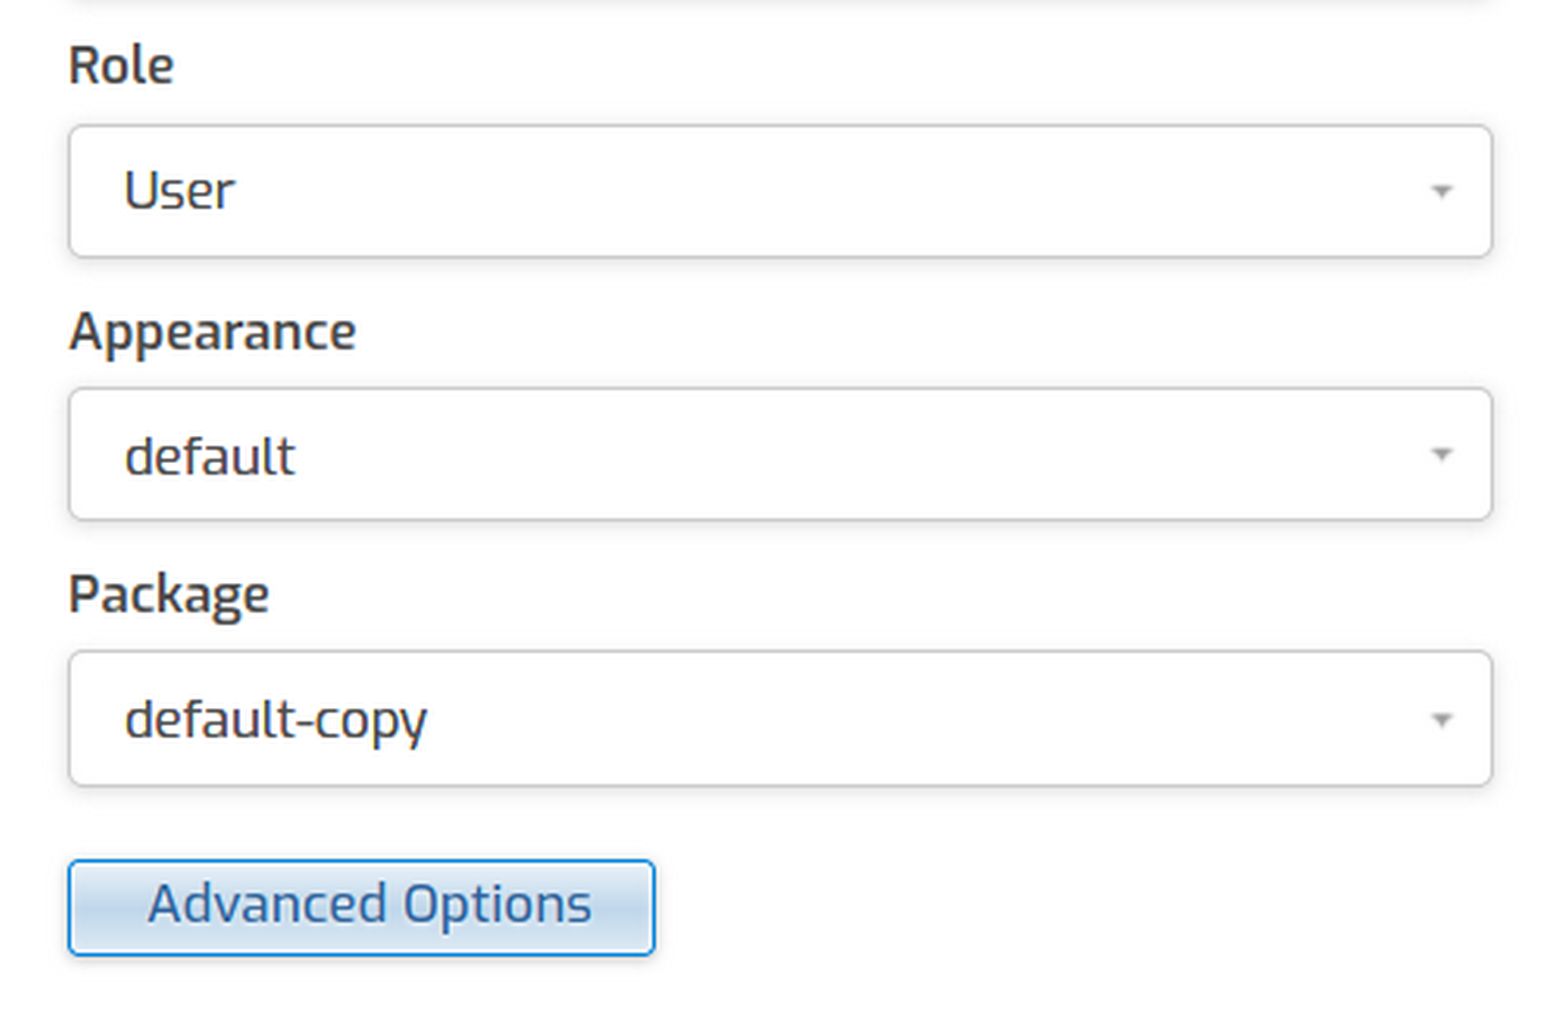
To change the package assigned to each user, click Users. Then select and edit each user. There is now more than one type of package which is just above the Advanced Options button:
Click Save and Close.
How to Take a New Back Up
Log into a User account. Then click on Backups.
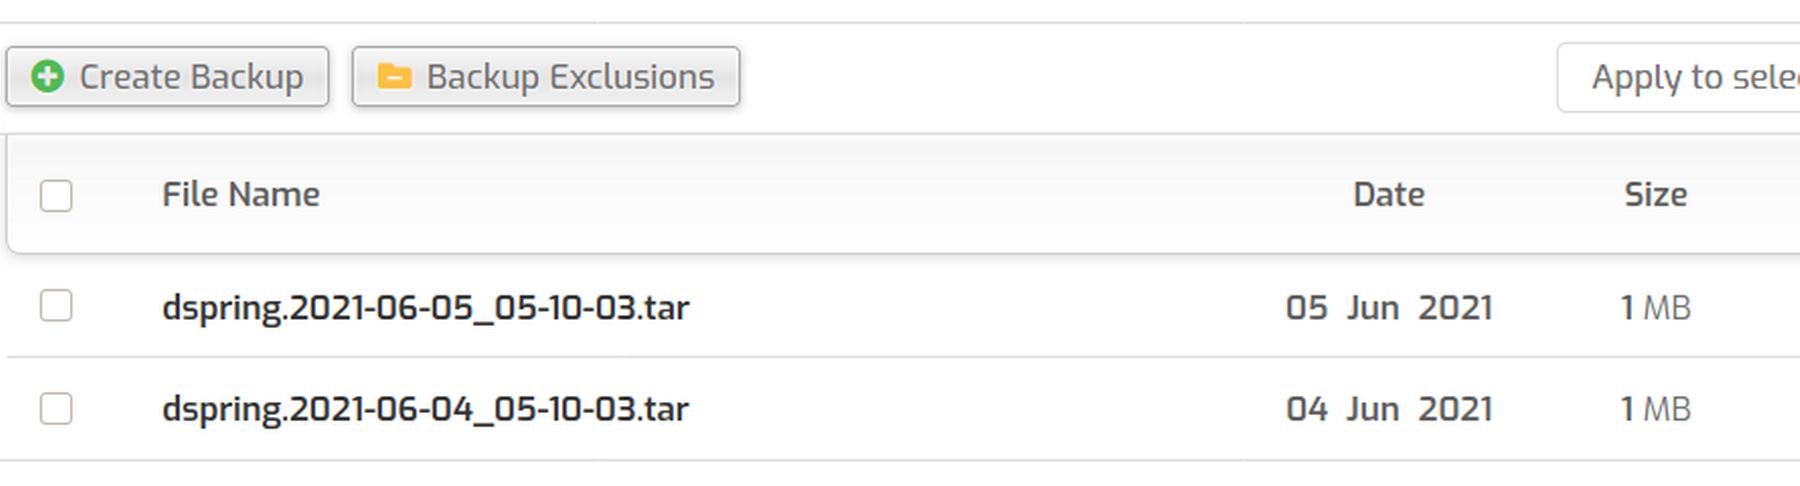
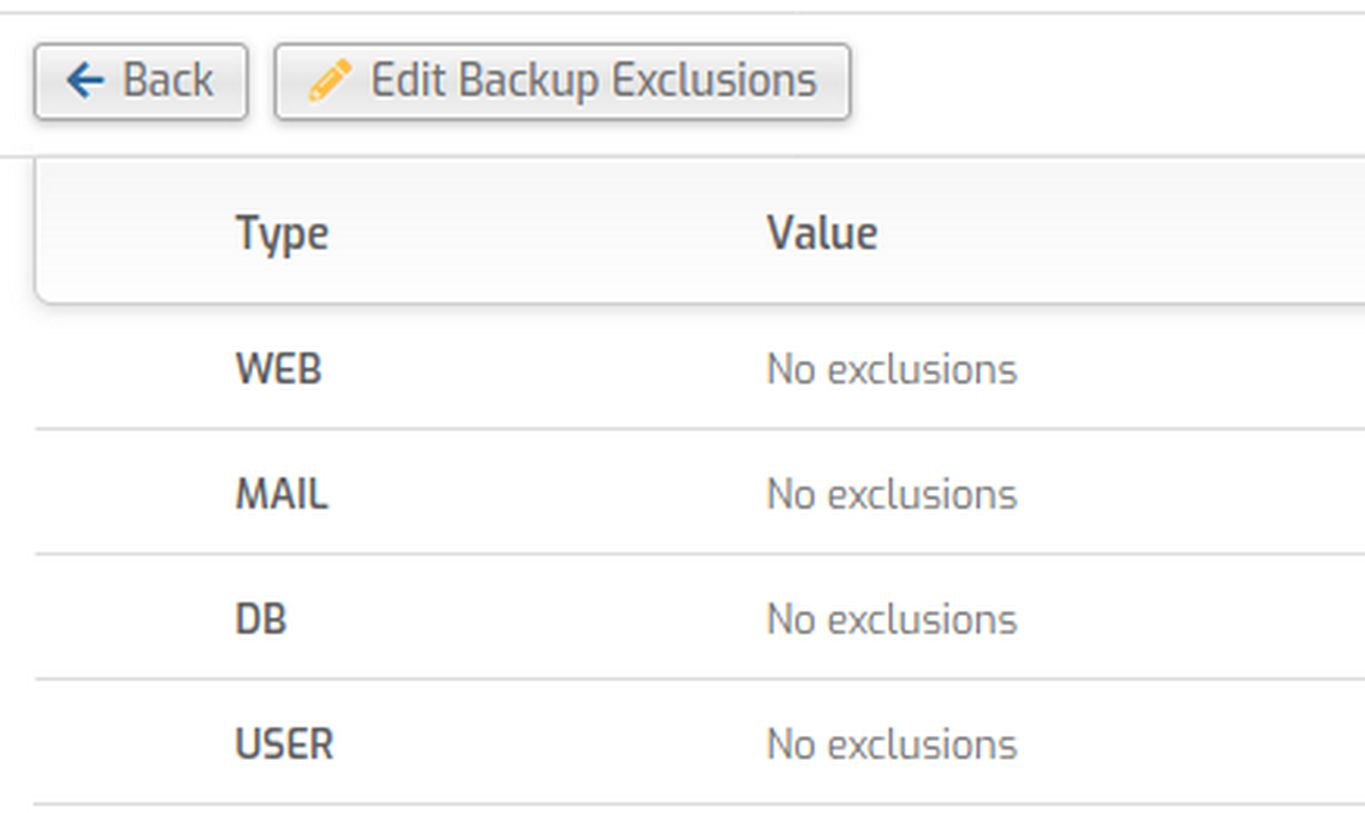
Here you can see how many backups have been taken automatically and what there file size is. You can also change what is backed up on a per website basis by clicking on Backup Exclusions:
Then click Edit Backup Exclusions.
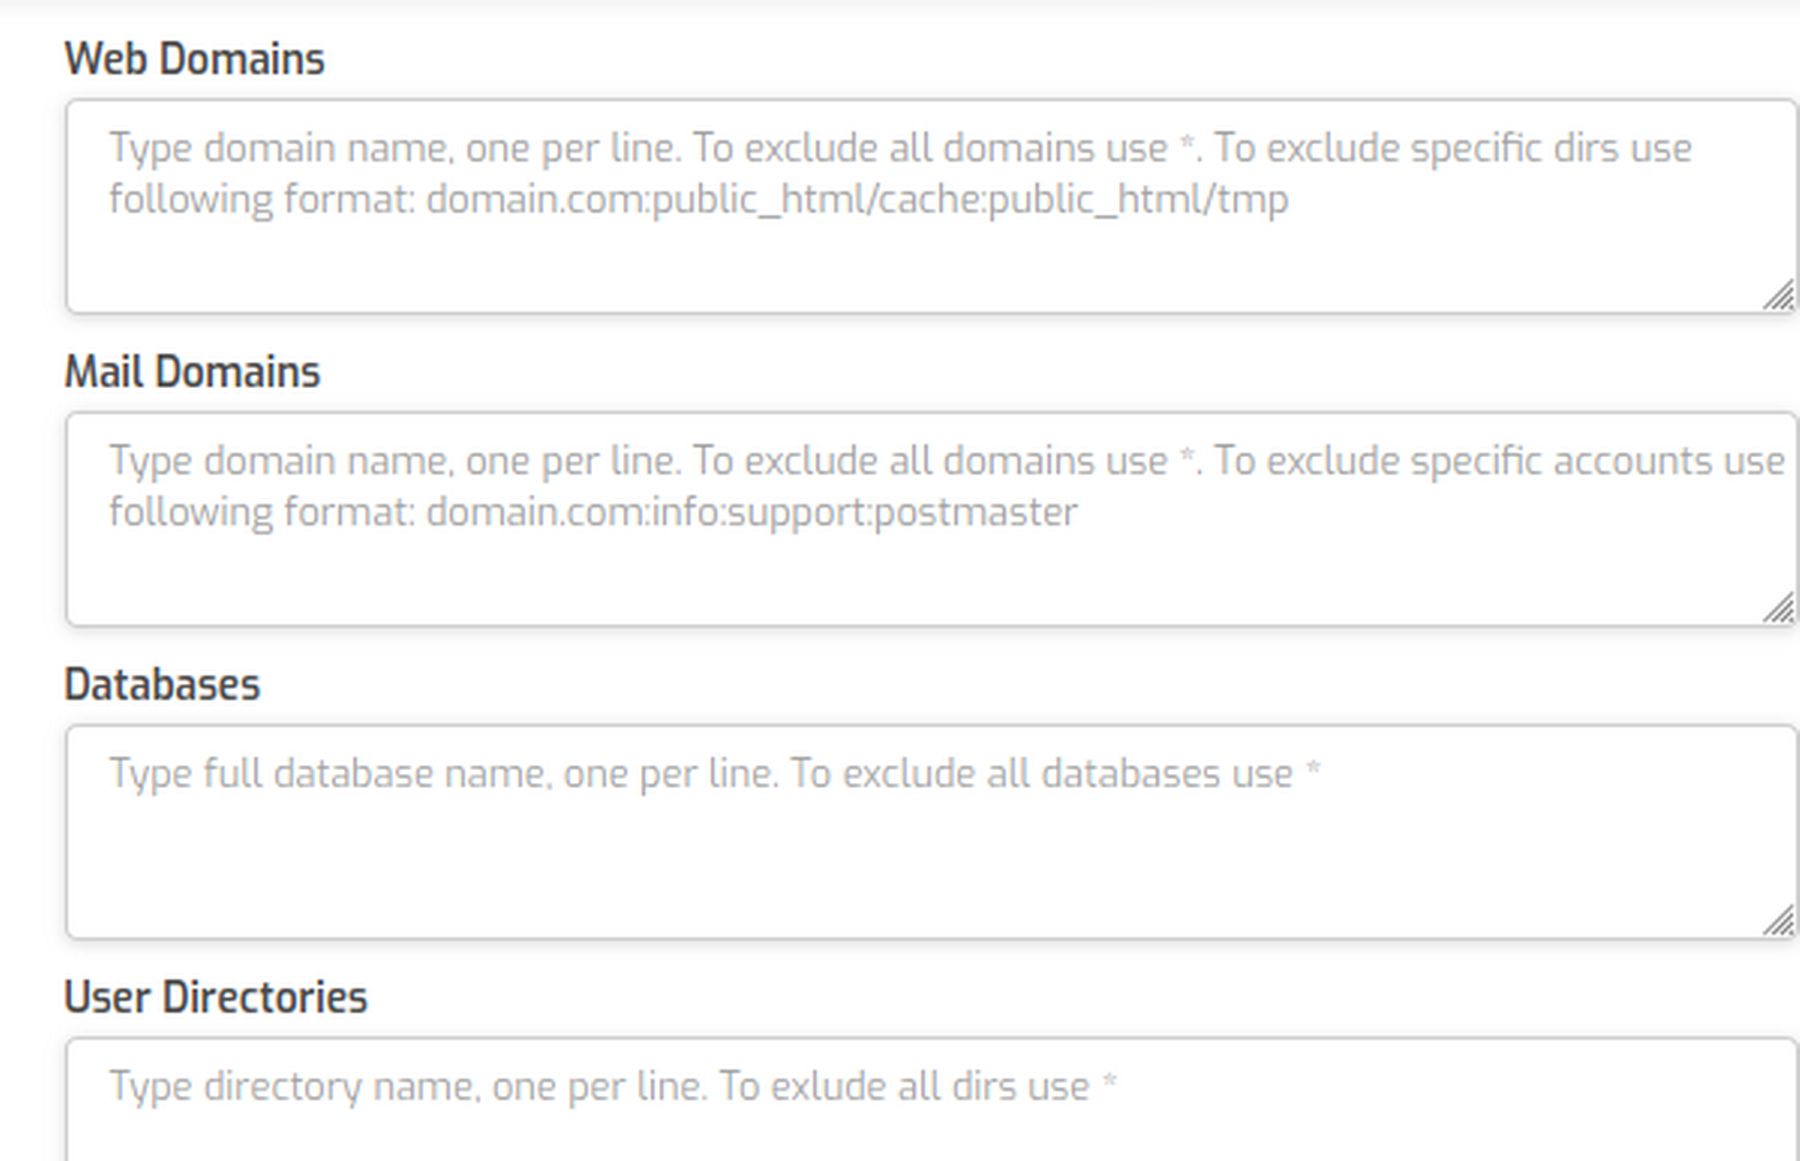
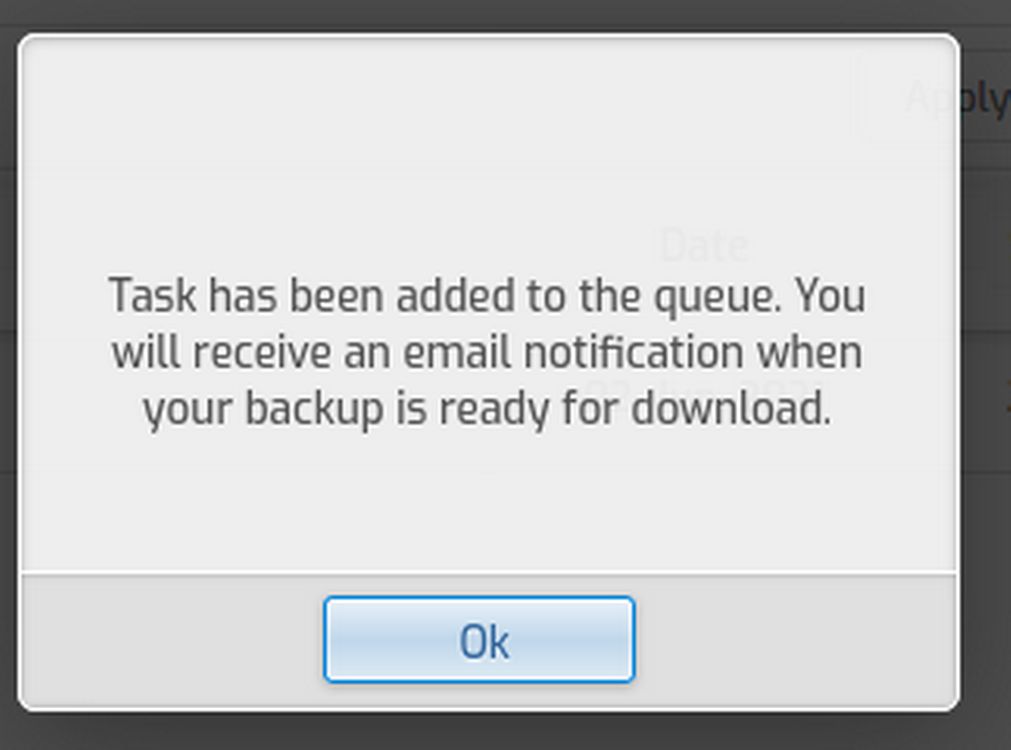
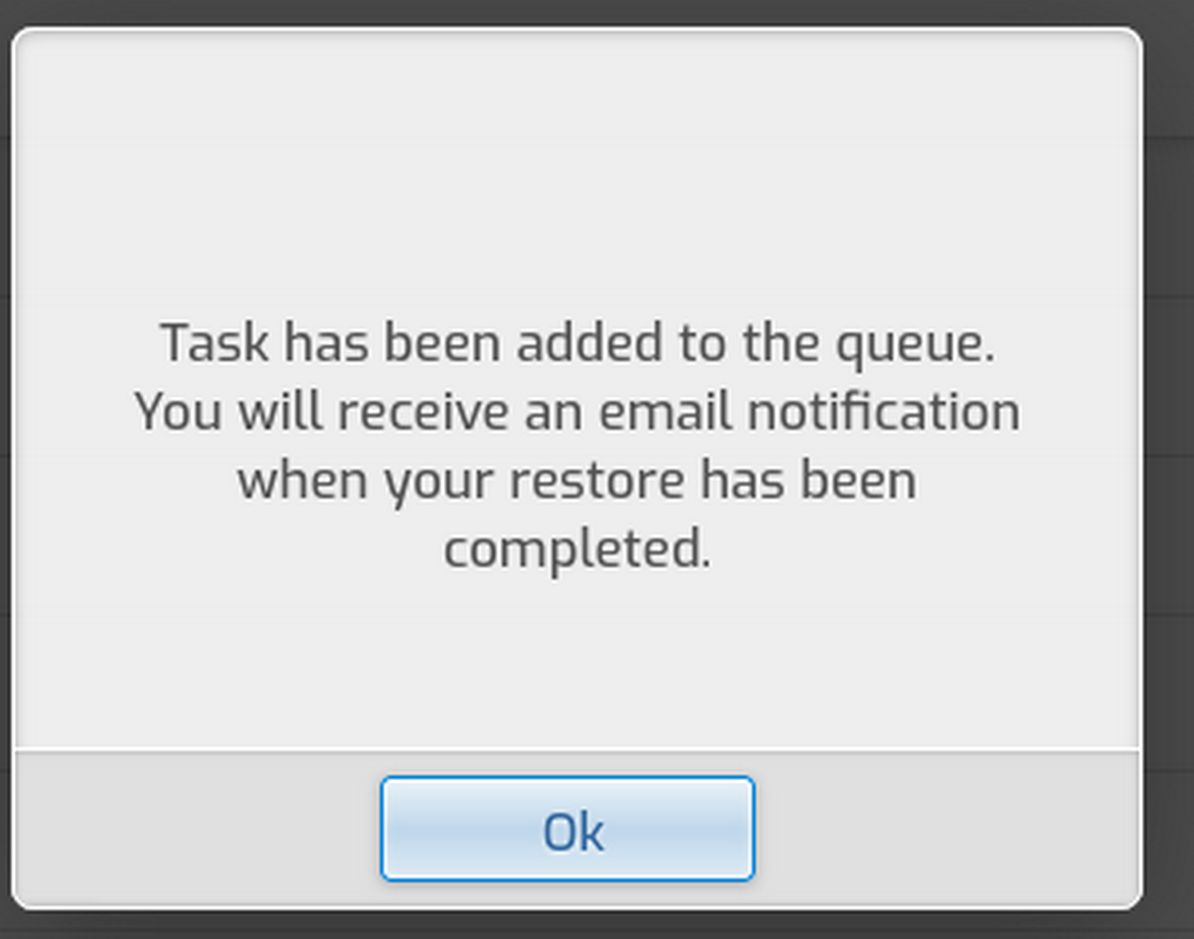
For now, we will need set any exclusions. Click Back. Then click Back again. To create a new backup, click Create Backup. This screen will appear letting you know that a new backup has been scheduled. Click OK
To download an existing backup, select it. Then click Download. There are also options to restore the system from a backup and to delete a backup.
Test your Backup System
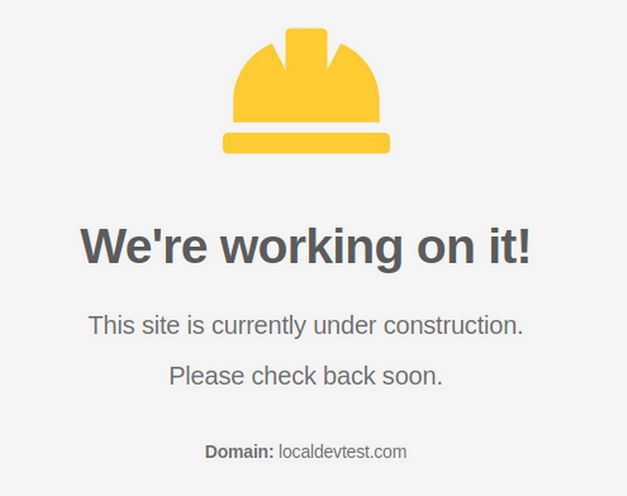
To test our backup system, we will change the index.html file of our website. Here is the default Hestia website:
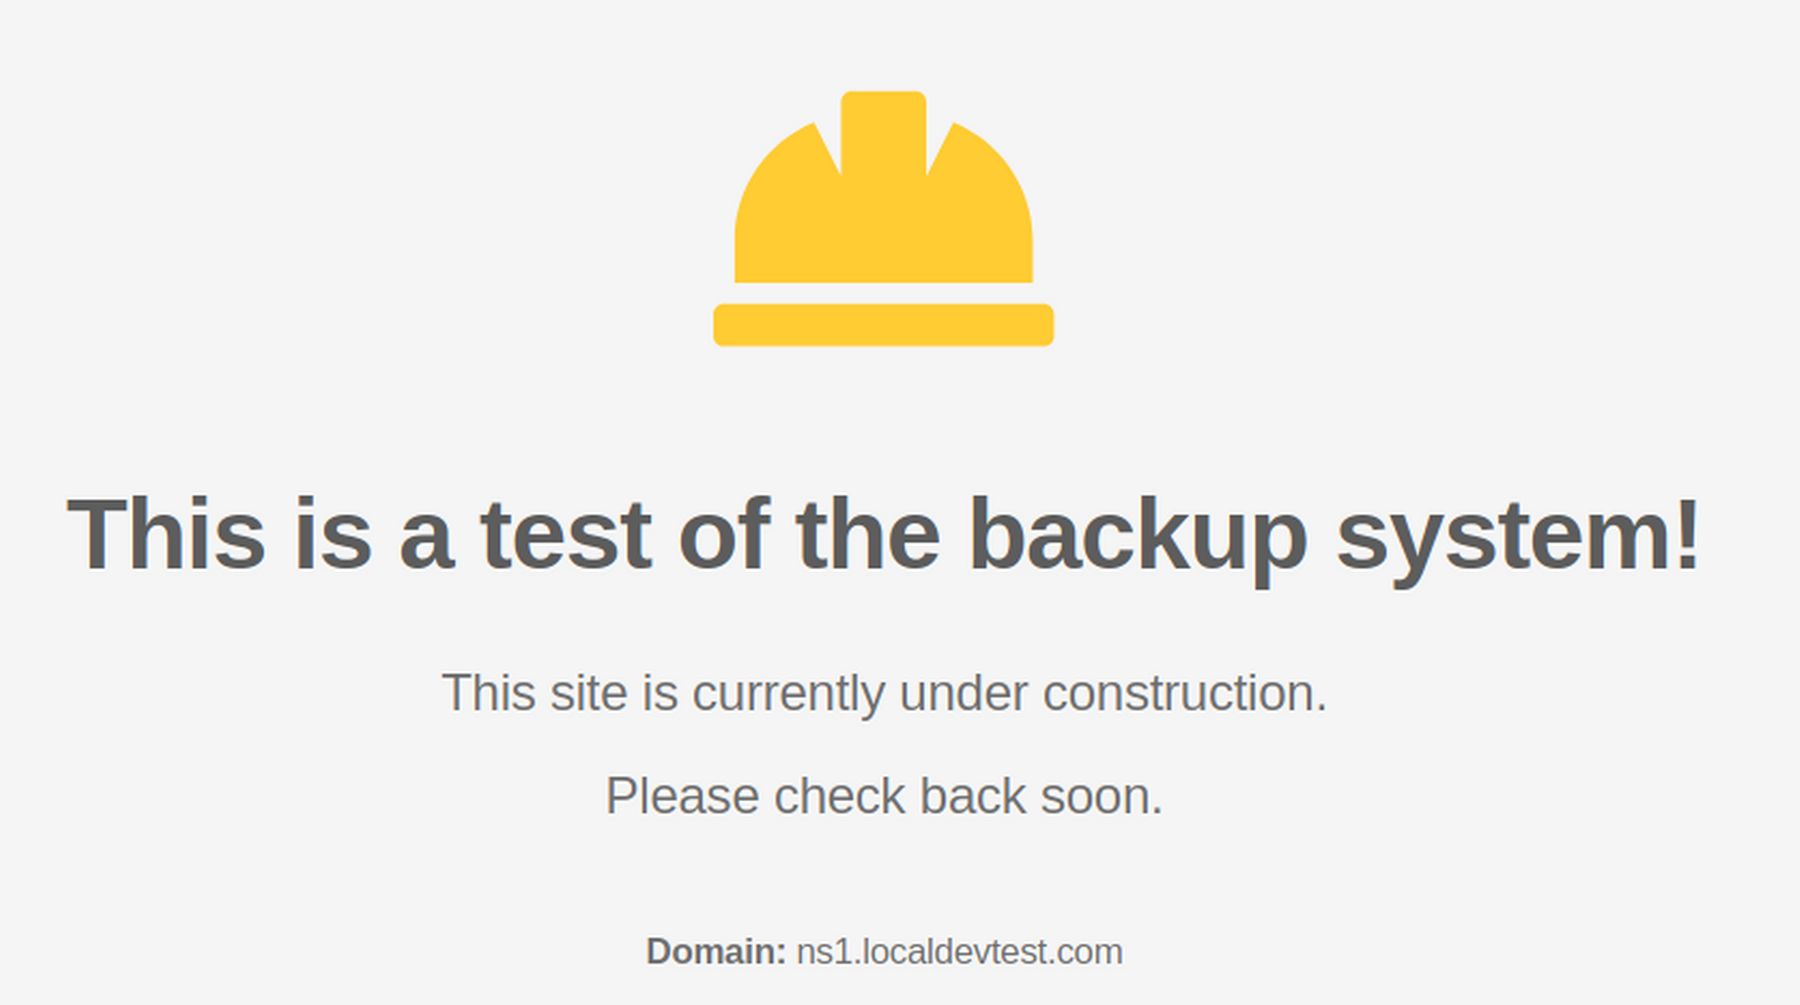
Click Files, Web, your website name, public_html. Then click on the index.html file to open it. Scroll down to line 103 and change it to “This is a test of the backup system.” Then click Save. Then click Exit to Control Panel. Then select the website and click The up arrow to view the site. The page will appear to be unchanged. Copy the URL to a new browser and clear the cache. Here is the website after making our change to the index.html file:
Restore the Website from a backup
To revert the website back to its prior state, click on Backups and select a recent backup. Then click Restore. You can choose to just restore some components. We will restore all components:
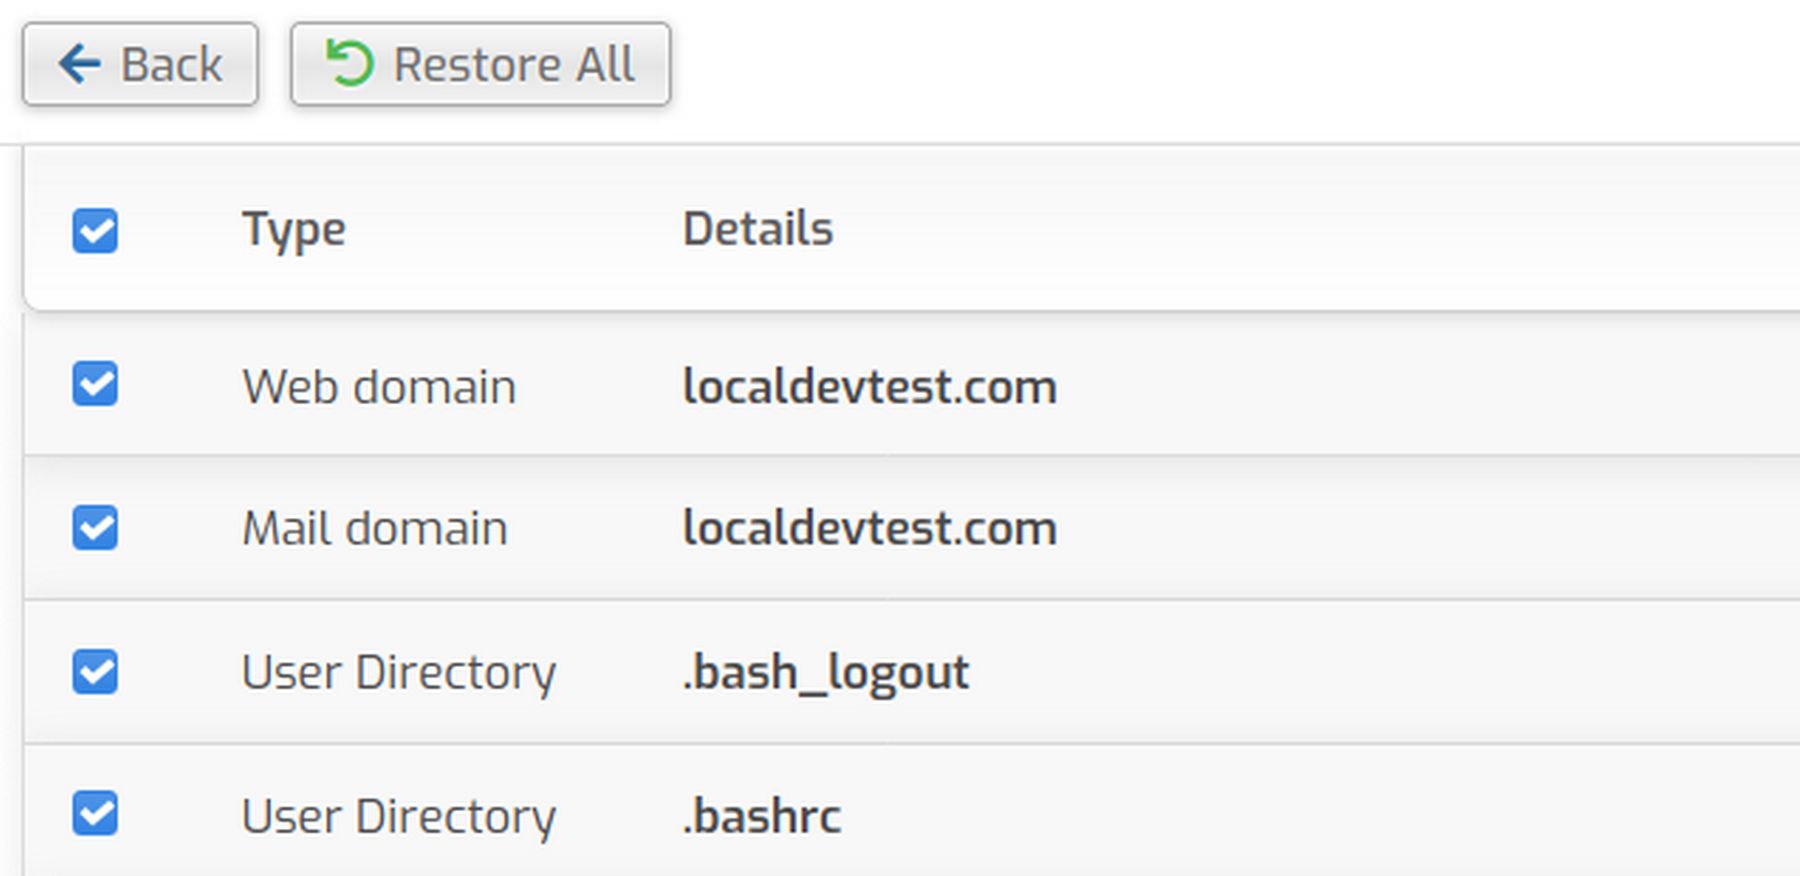
Check the top box to select everything. Then click Restore All.
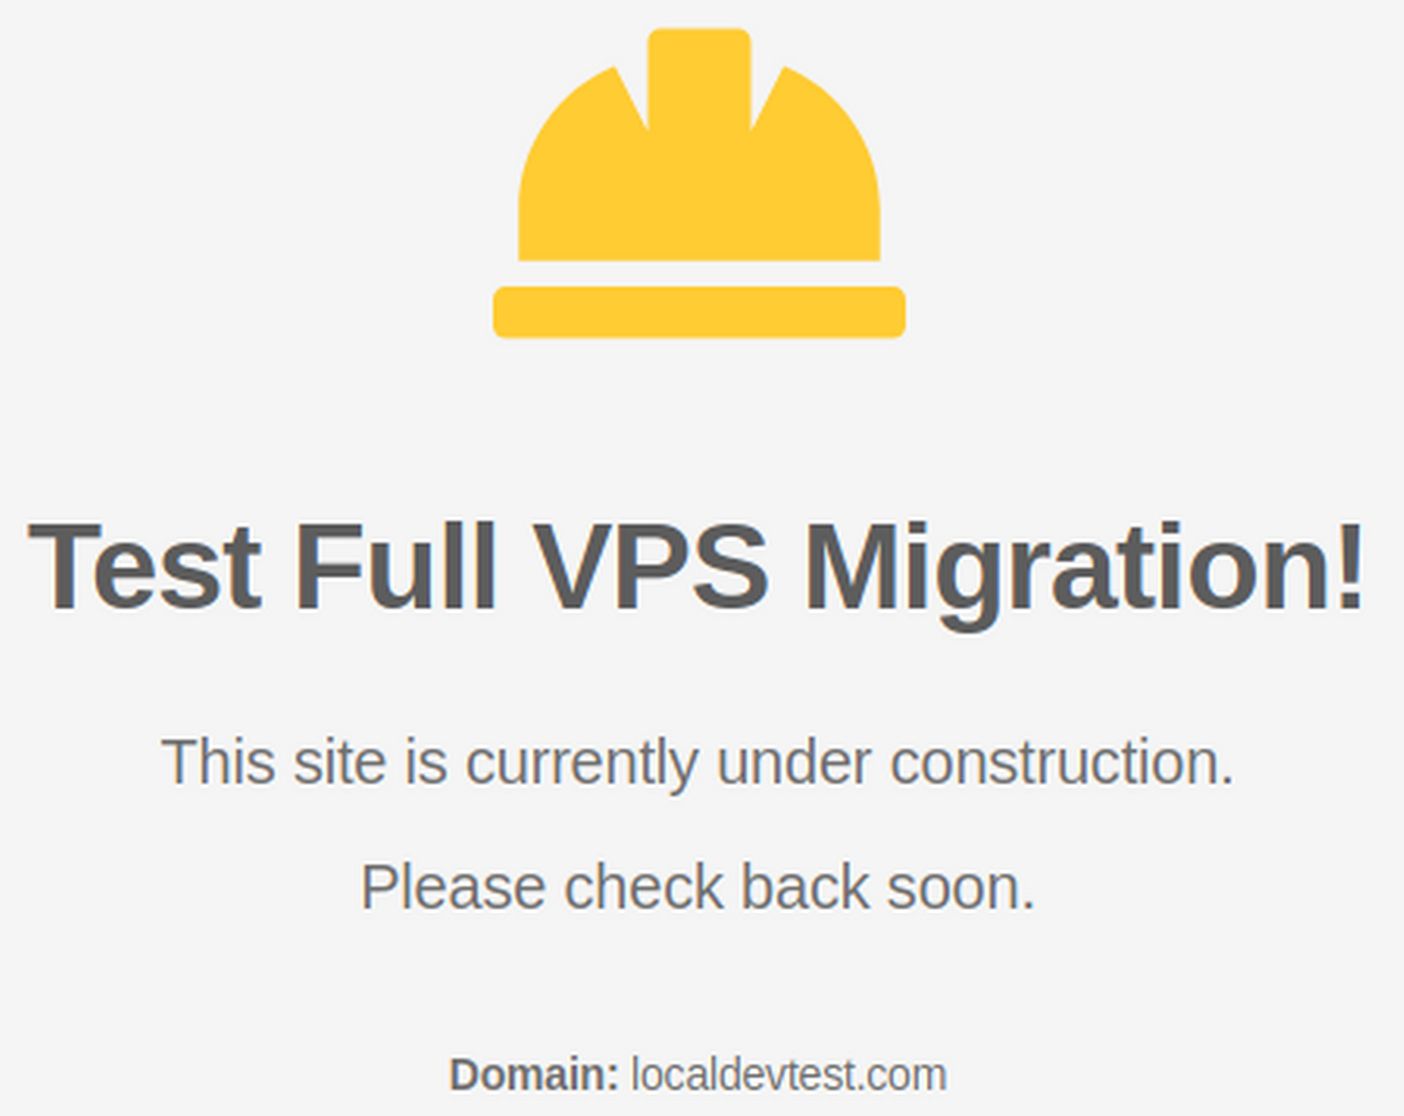
Wait a few minutes. Then open a new browser and clear the cache. Then view the website. It should be restored to the default text “We’re working on it!”
How to Move and or Restore your entire Hestia VPS
Sometimes disaster strikes when you least expect it. For example, in a recent Hestia update, I was required to open a terminal and update my VPS. Part of the update was to update the proxy server called NGINX. A question was asked if I wanted to also update the NGINX configuration file. I wrongly assumed that the correct answer was yes. In fact, the correct answer was NO! The update wound up wiping out my NGINX configuration file - causing my VPS to not work properly. As it was just a practice VPS, with just a single practice website on it, the quickest solution to me wiping out my VPS was to delete the VPS and just create a new one. However, this would not have been an option if I was using a real VPS with 50 fully made websites on it.
The key to restoring an entire Hestia VPS is understanding that Hestia does not have a command that will create a VPS wide backup to restore the entire VPS. Instead, Hestia uses a series of smaller backups to restore each individual user panel. In the Hestia backup system, the administrator user panel is just another user panel with its own backup. To restore all of these backups, we need to verify carefully complete the following steps:
#1 Download each of the Hestia backups to our Home computer. Here is a command to back up just the admin panel:
v-backup-user admin
Here is the command to create a backup for a user named user1:
v-backup-user user1
Note: You need to create and download your backups before you update the VPS and possibly destroy it.
#2 Install and set up a new VPS.
#3 Use a terminal file manager like Midnight Commander to copy paste the admin backup from the old VPS to the new VPS /backup folder (create the new VPS backup folder if needed).
#4 Restore the old Admin settings on the new VPS
Change folders to the new backup folder either manually with Midnight Commander or via the terminal with this command:
cd /backup
Then copy paste the command to restore the admin control panel:
v-restore-user admin admin.2021-06-14.tar
where admin.2021-06-14.tar is the name of the admin backup file.
Here is the command to restore a user control panel:
v-restore-user user1 user.2021-06-14.tar
Where user1 is the name of the user and user.2021-06-14.tar is the name of the user backup file.
The Hestia documentation claims that If the user doesn’t exist on the server, the user account will be automatically created when the command is executed. However, I think it is wiser to create the users before running the command so that you know what their passwords are. Perhaps the command also copies their passwords also.
Please verify all of these steps on a practice server before trying it on a real server!
Test the Migration of and Admin and User account to a New VPS
We will delete the user Cron job to end the backups every five minutes. Then change the user website html file line 103.
Then create a new manual backup of the user control panel. Then wait for the backup to appear and download it. Then log out of the user control panel and into the admin control panel to make a similar change and backup of the admin control panel. Then download the admin control panel backup.
We will now delete the VPS practice server ns1 and create a new practice server with the same name.
Start an SSH session with
ssh
Then use this command to delete the old SSH key:
ssh-keygen -f "/home/david/.ssh/known_hosts" -R "49.12.64.231"
Then start a new SSH session with
ssh
Type yes at the prompt. Then copy paste the very long password sent in an email. Change the admin password. Then change etc/hosts with
sudo nano /etc/hosts
Then update and upgrade the VPS:
apt-get update
Then apt-get upgrade
Then install Hestia without ClamAV:
wget https://raw.githubusercontent.com/hestiacp/hestiacp/release/install/hst-install.sh
Then
bash hst-install.sh --clamav no
Then copy the Hestia long password.
Admin URL: https://ns1.localdevtest.com:8083
Username: admin
Password: EOmsxMu8rk1nqVWY
Then close the terminal. Then log into the new Hestia Admin Control Panel. Then change the background and admin password. Also change the Admin SSH Access from nologin to bash.
First use the Hestia File Manager “Add Files” to copy the admin and user backup files to the Hestia Temp folder.
Then open an SSH session
ssh
Start Midnight Commander. Start SFTP session by clicking on Right
SFTP Link:
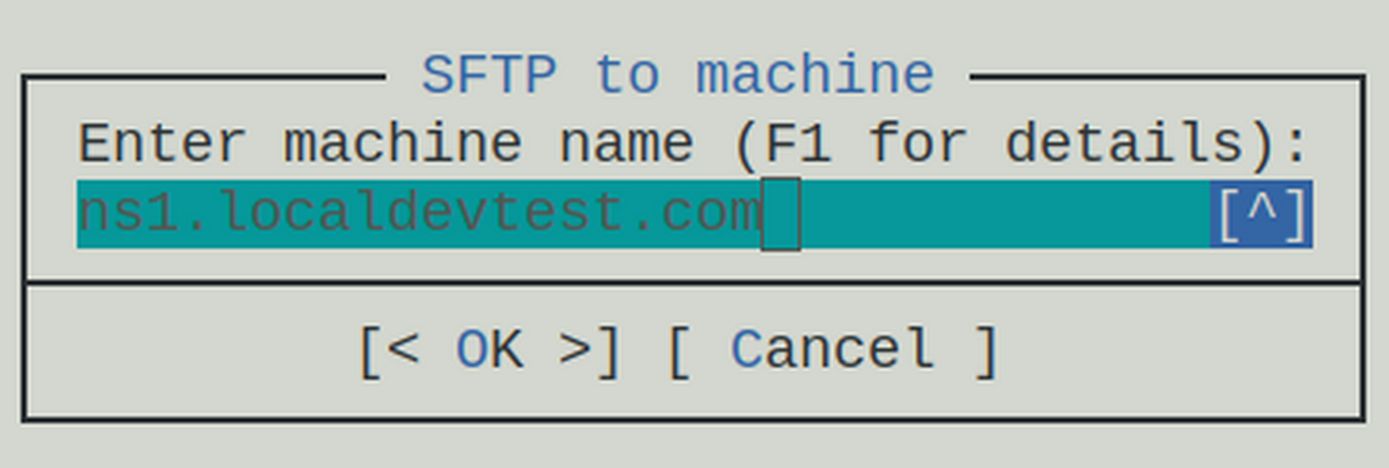
Click OK and enter the password. Then go to the /temp folder. Select the File. Click File Copy. Change the route to /backup
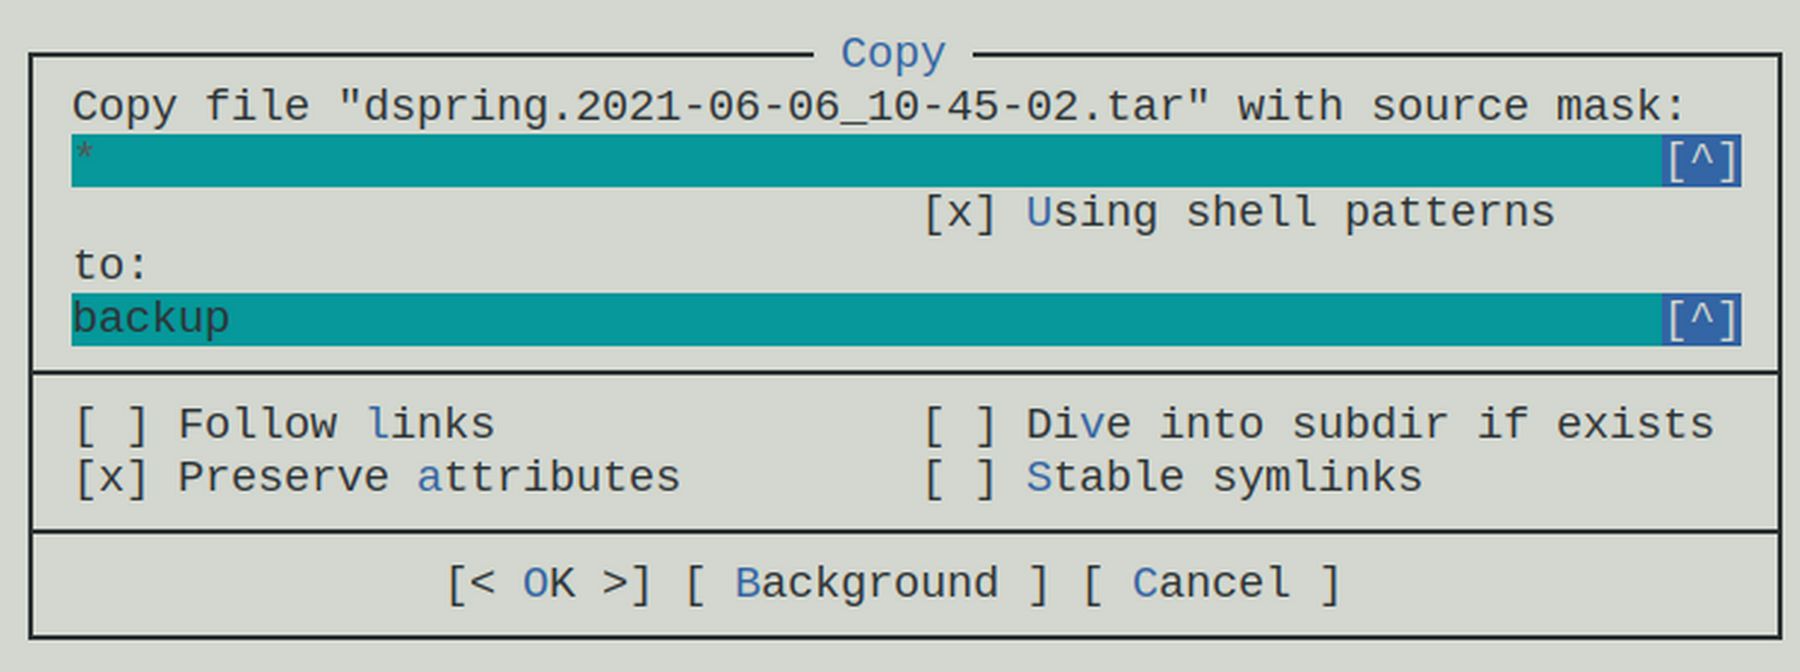
Click OK.
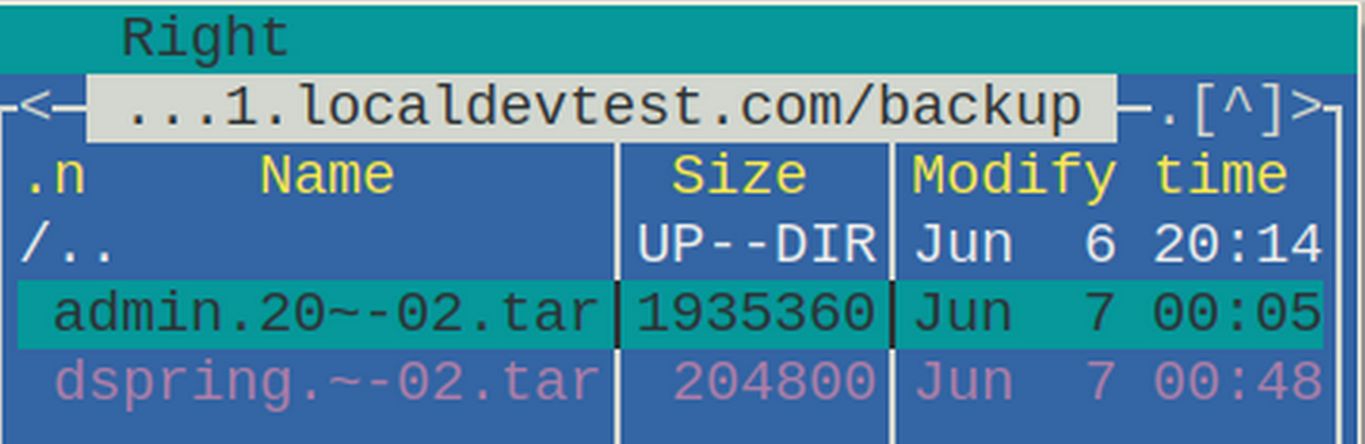
Both backup files are now in the backup folder.
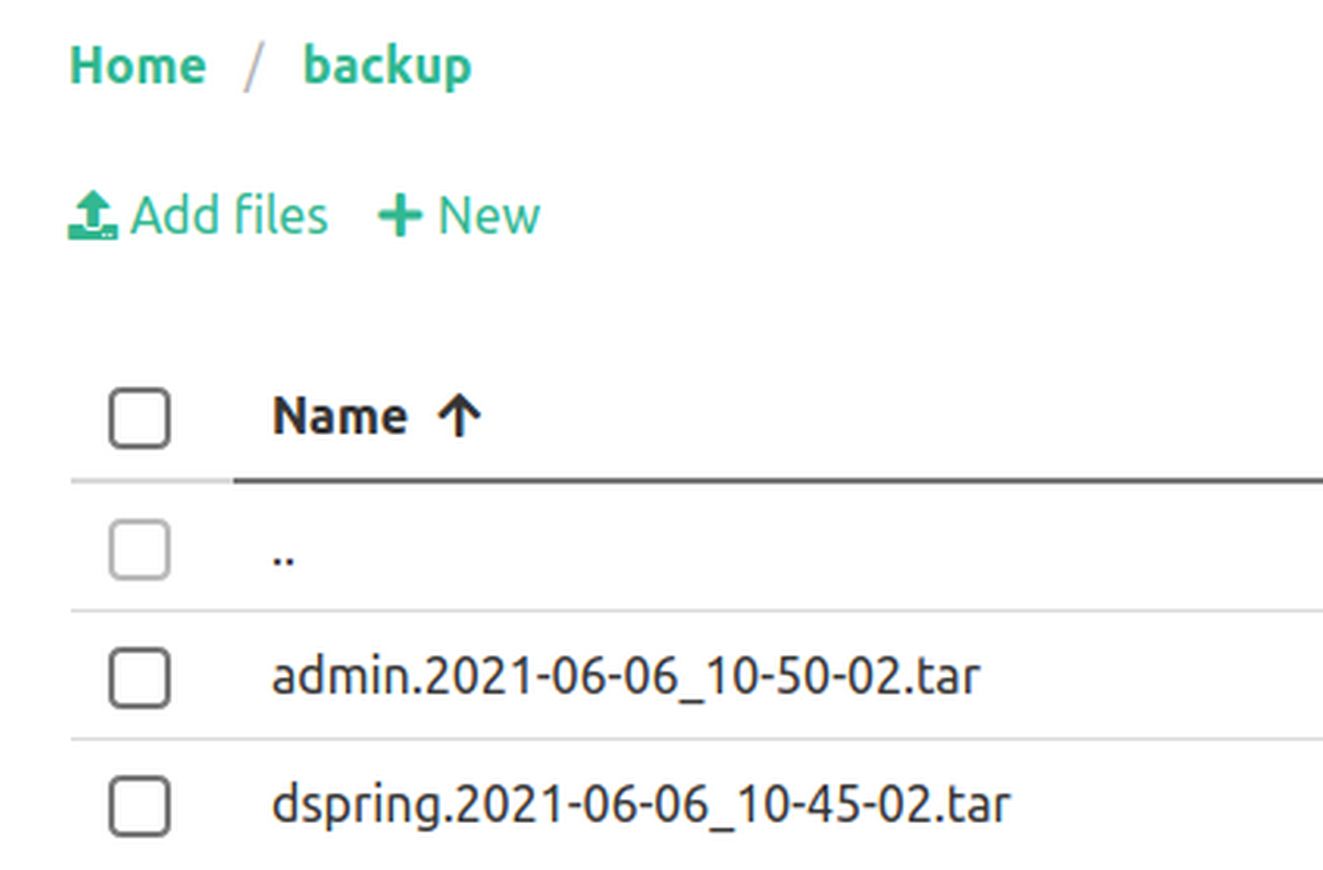
Then exit mc and use terminal to cd /backup
Then copy paste the command into the terminal to restore the admin control panel:
v-restore-user admin admin.2021-06-06_10-50-02.tar
Then exit terminal and log into admin panel. Here is the admin website after the restore:
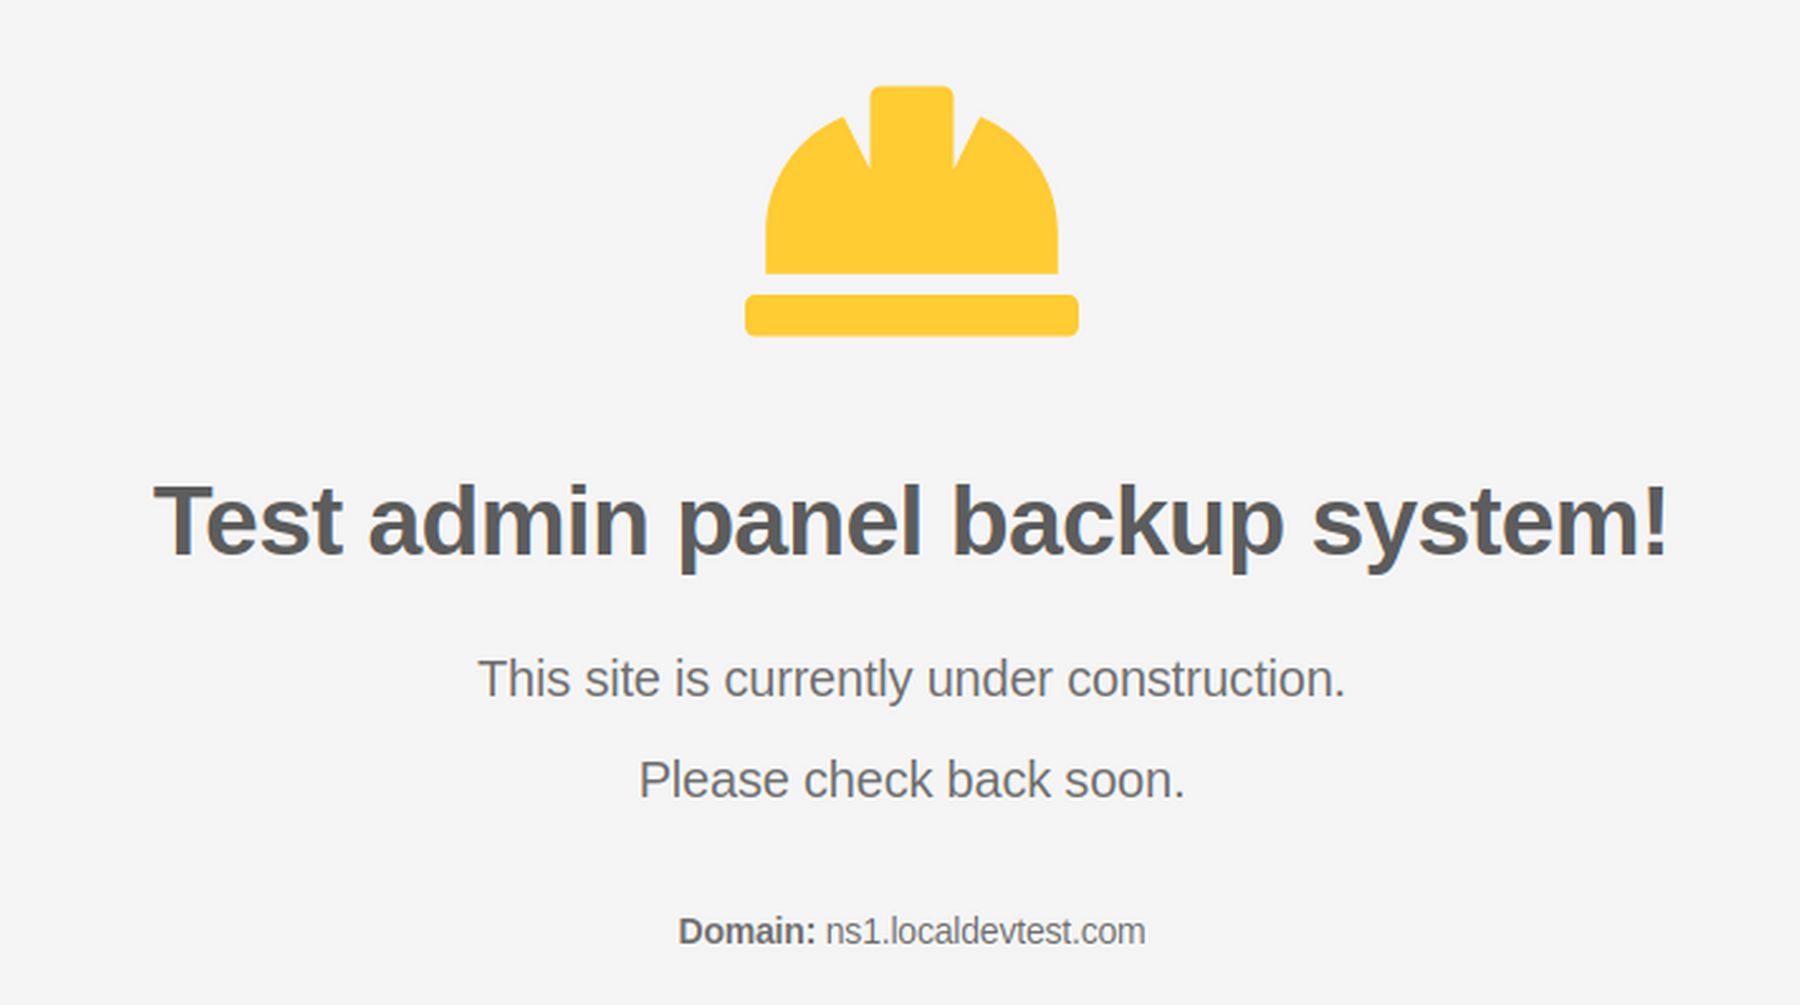
This confirms that the admin panel backup file worked.
However, the Hestia User was not added to the Admin Panel.
Go back to the terminal and copy paste the command to restore the user control panel:
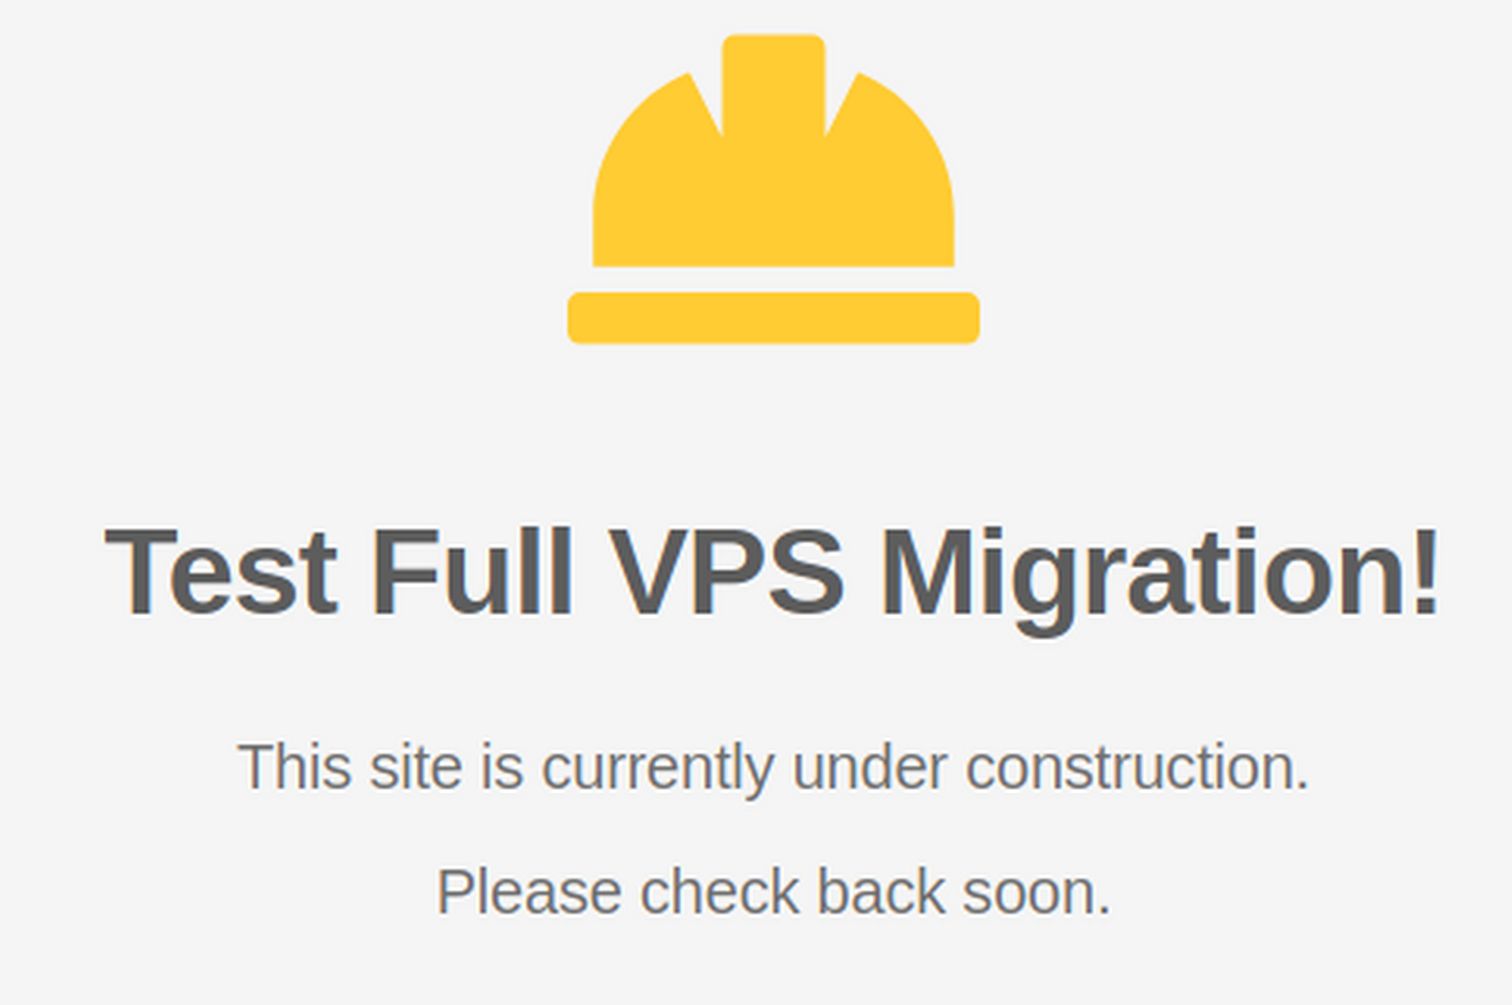
v-restore-user dspring dspring.2021-06-06_10-45-02.tar
Then exit the SSH session and close the terminal. The user has been added to the Admin Panel. Close the Admin panel and log into the user panel. The go to the user website:
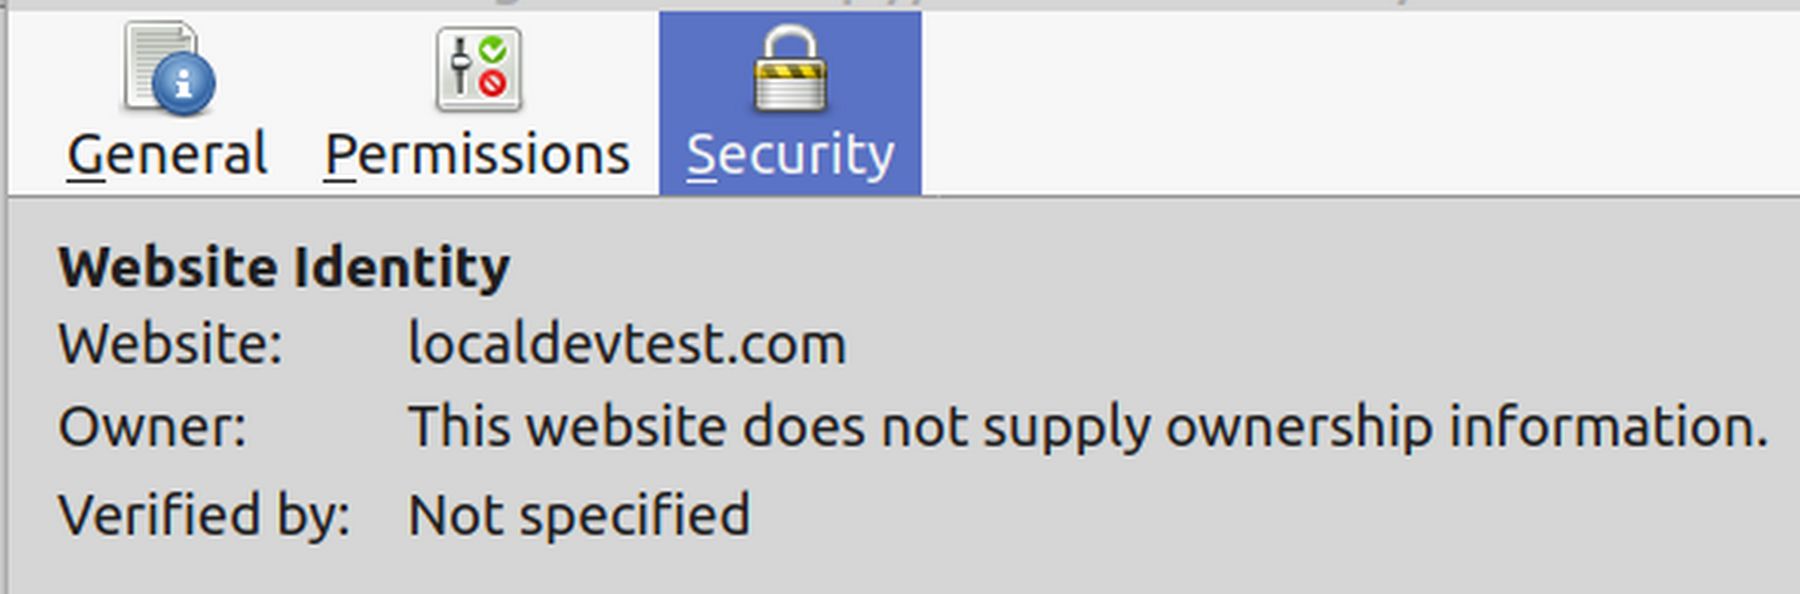
The email account associated with the user website was also correctly restored. One problem was that the SSL certificate, while still there was shown by Firefox to be no longer valid.
So we will likely need to use Hestia to reinssue the Lets Encrypt security certificate. But the backup and restore functions both seem very easy and very reliable.
What’s Next?
We will review how to add a cron job to change the frequency of Hestia backups.