
In previous articles, we explained how to set up a Joomla 3.9 website on a practice server. We also explained how to move a Joomla 3.9 website from a Cpanel shared hosting account to a Hestia VPS User account. In this article, we will review how to set up and configure a Joomla 4 website on our practice server. We can then use this new Joomla 4 website to transfer images, articles, menu items and modules from our old website to our new website. When we are done, we can change the DNS Name Servers to point our website domain name to our new Hestia VPS IP address.
On August 17, 2021, Joomla released Joomla 4. Joomla 4 offers numerous benefits over Joomla 3, Wordpress and other CMS options. Among these are greater security, faster speed, as well as better ability to create and organize images, forms, email templates, custom fields, user access levels and other content. Joomla 4 is compatible with both CSS Grid and Bootstrap 5.
Our plan is to test Joomla 4 on a practice server before using it to install the primary website for our College in the Clouds courses on our Canhost VPS cloud server. We will use the new simplified Joomla 4 installation process.
Step 1 Download the Joomla 4 Release Candidate
Joomla 4 is only 75 MB and only uses 128 MB of RAM. Here is a link to download Joomla 4:
Download the Full Package Zip file.
Step 2 Create a New Hestia User
Log into your practice VPS and click Users. Then click Add User. Type in a username, Name, Email and Password. Then click Save. Then click Back. Log out of the Admin Panel.
Step 3: Create a New Website
Log into the User panel. Then click Add Web Domain. Type in a domain name and use the VPS IP address. Check Enable Mail but do not check Create DNS Zone (as we will be using the Canhost DNS Manager to set the DNS routing). Then click Save. Then click Back. Then select the new domain name and click Edit. Click Enable SSL for this domain. Then check Use Lets Encrypt. Then click Save. It will take about one minute to add the SSL certificate. If successful, it will say: Changes have been saved. Then click Back. Select the domain name again and click the up arrow to visit the website: https://localdevtest.com/
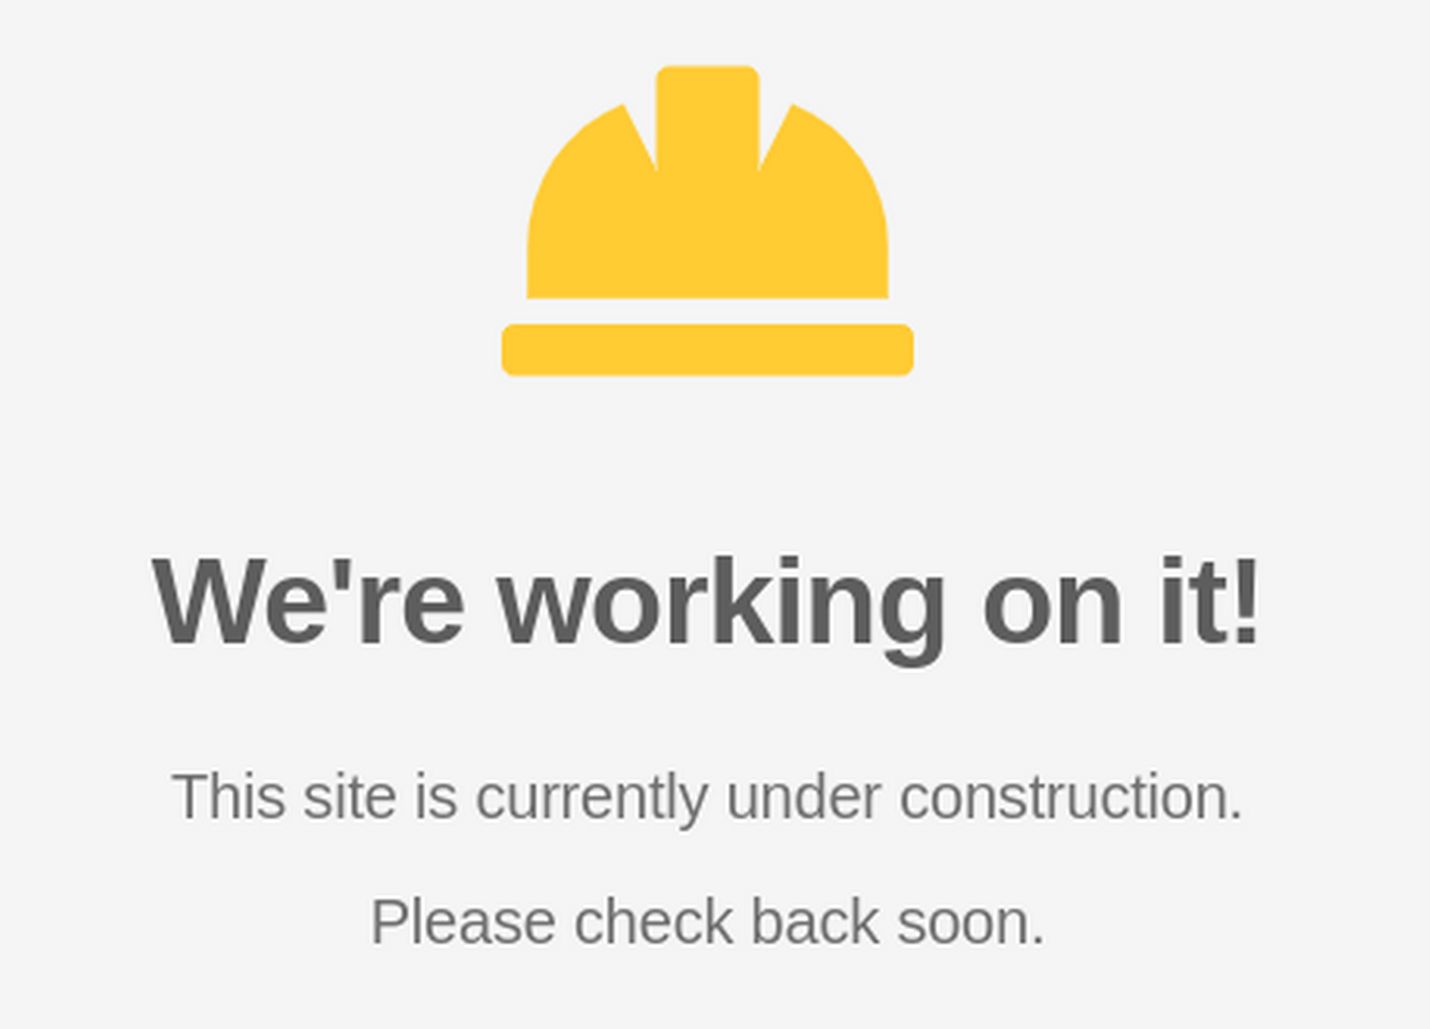
The browser may say Unable to Connect. It may take an hour or more for the DNS to propagate. Before we install Joomla, we will wait to confirm that the default Hestia website is working.
Step 4: Load Joomla 4 Zipped File to the Public HTML Folder
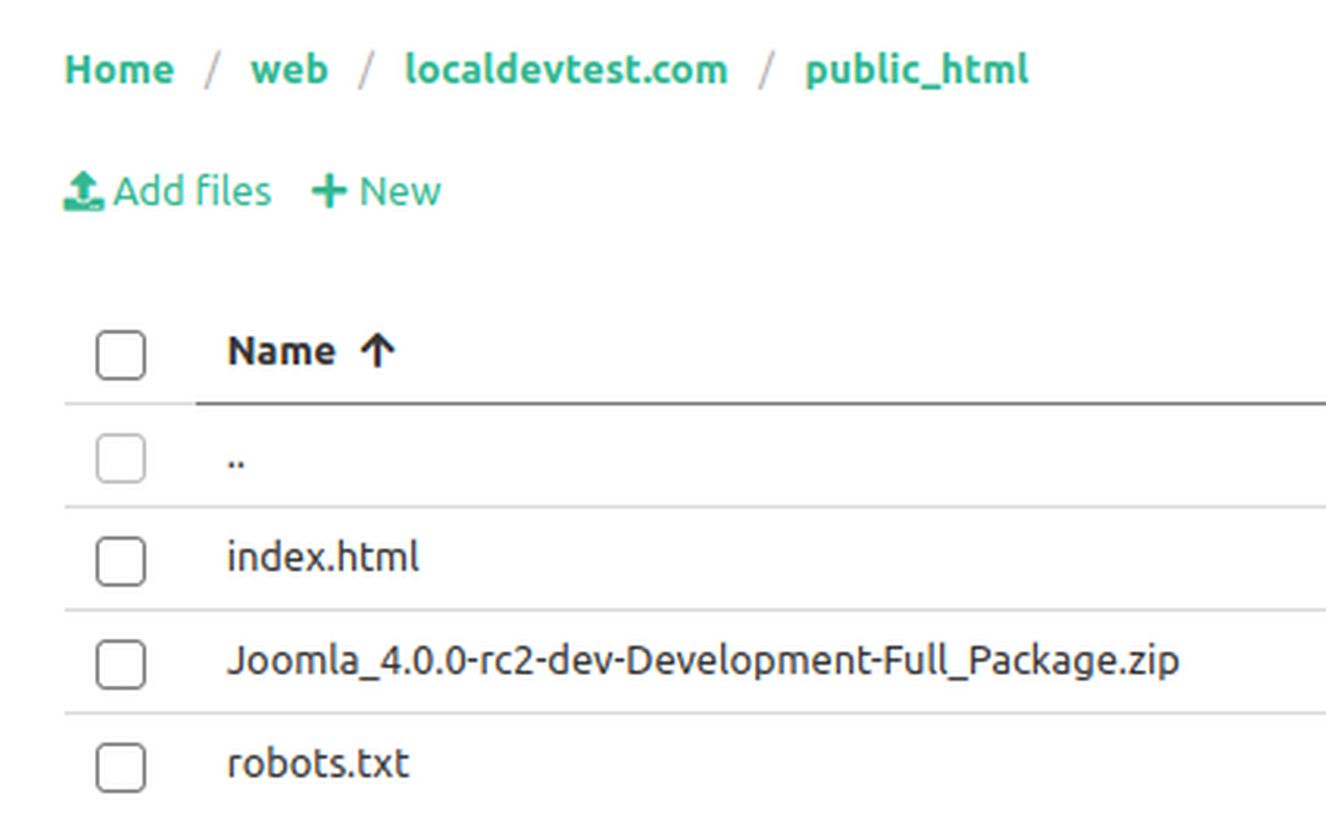
Still in the User panel, click Files, web , your-domain-name, public_html. Then click Add files. Select the Joomla 4 Zipped File. Hestia will then load this file to the public_html folder:
Step 5 Extract Joomla 4 into public_html root folder
Click on the three dots to the right of the zipped file and click Unzip.

Step 6 Use a web browser to open the Joomla Installation page
Open a new browser (not the one you are using for your Hestia Control Panel) and type the name of your website followed by a forward slash and then index.php:
https://localdevtest.com/index.php
This will bring up the new Joomla 4 Installation screen:
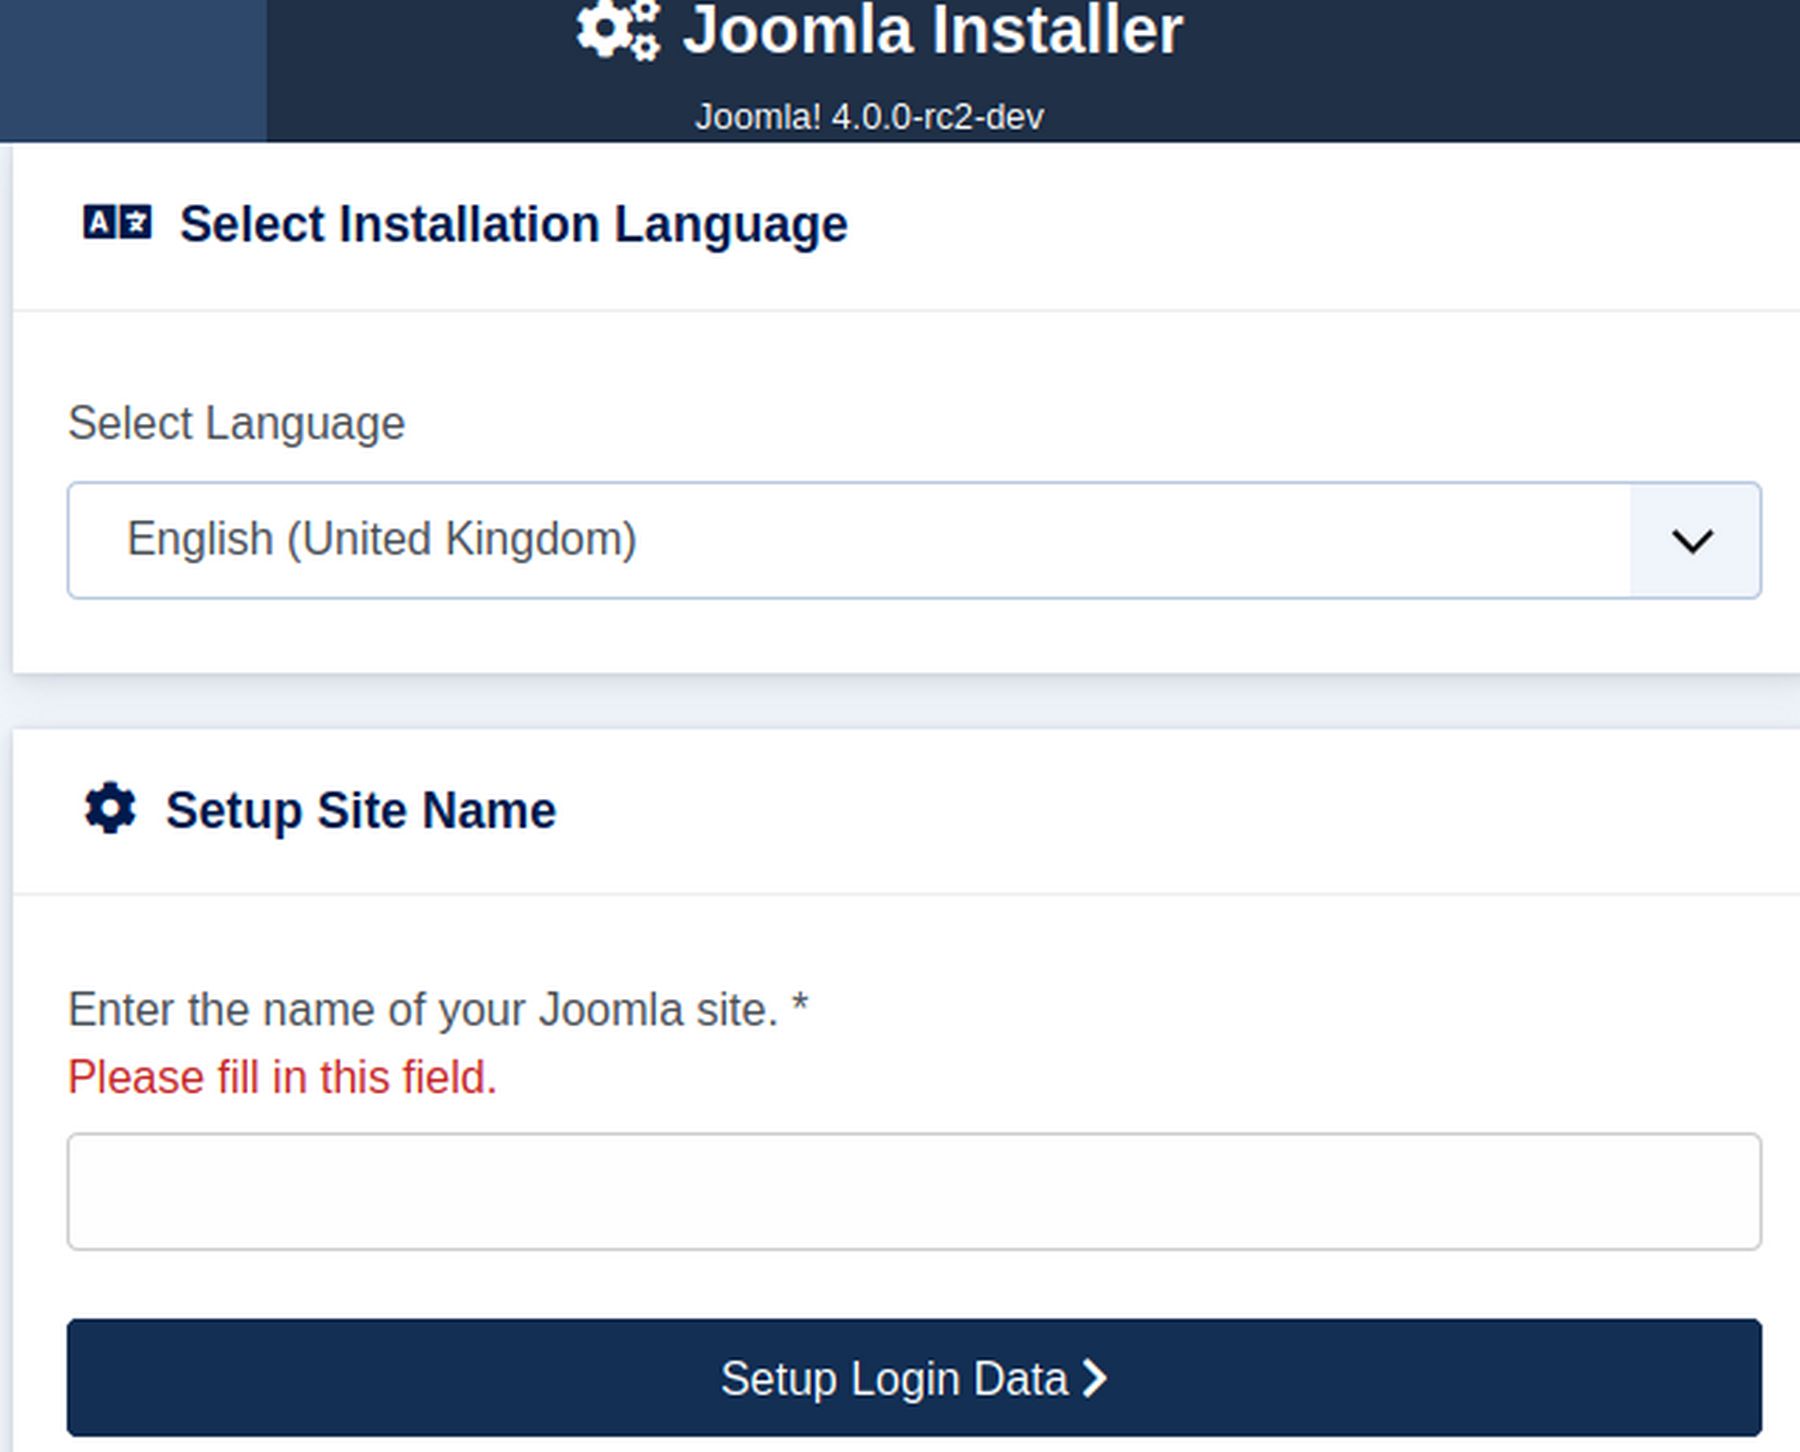
Change the language to English. Then enter the name of your website. Example My Hestia Practice Website. Then click Set up login data.
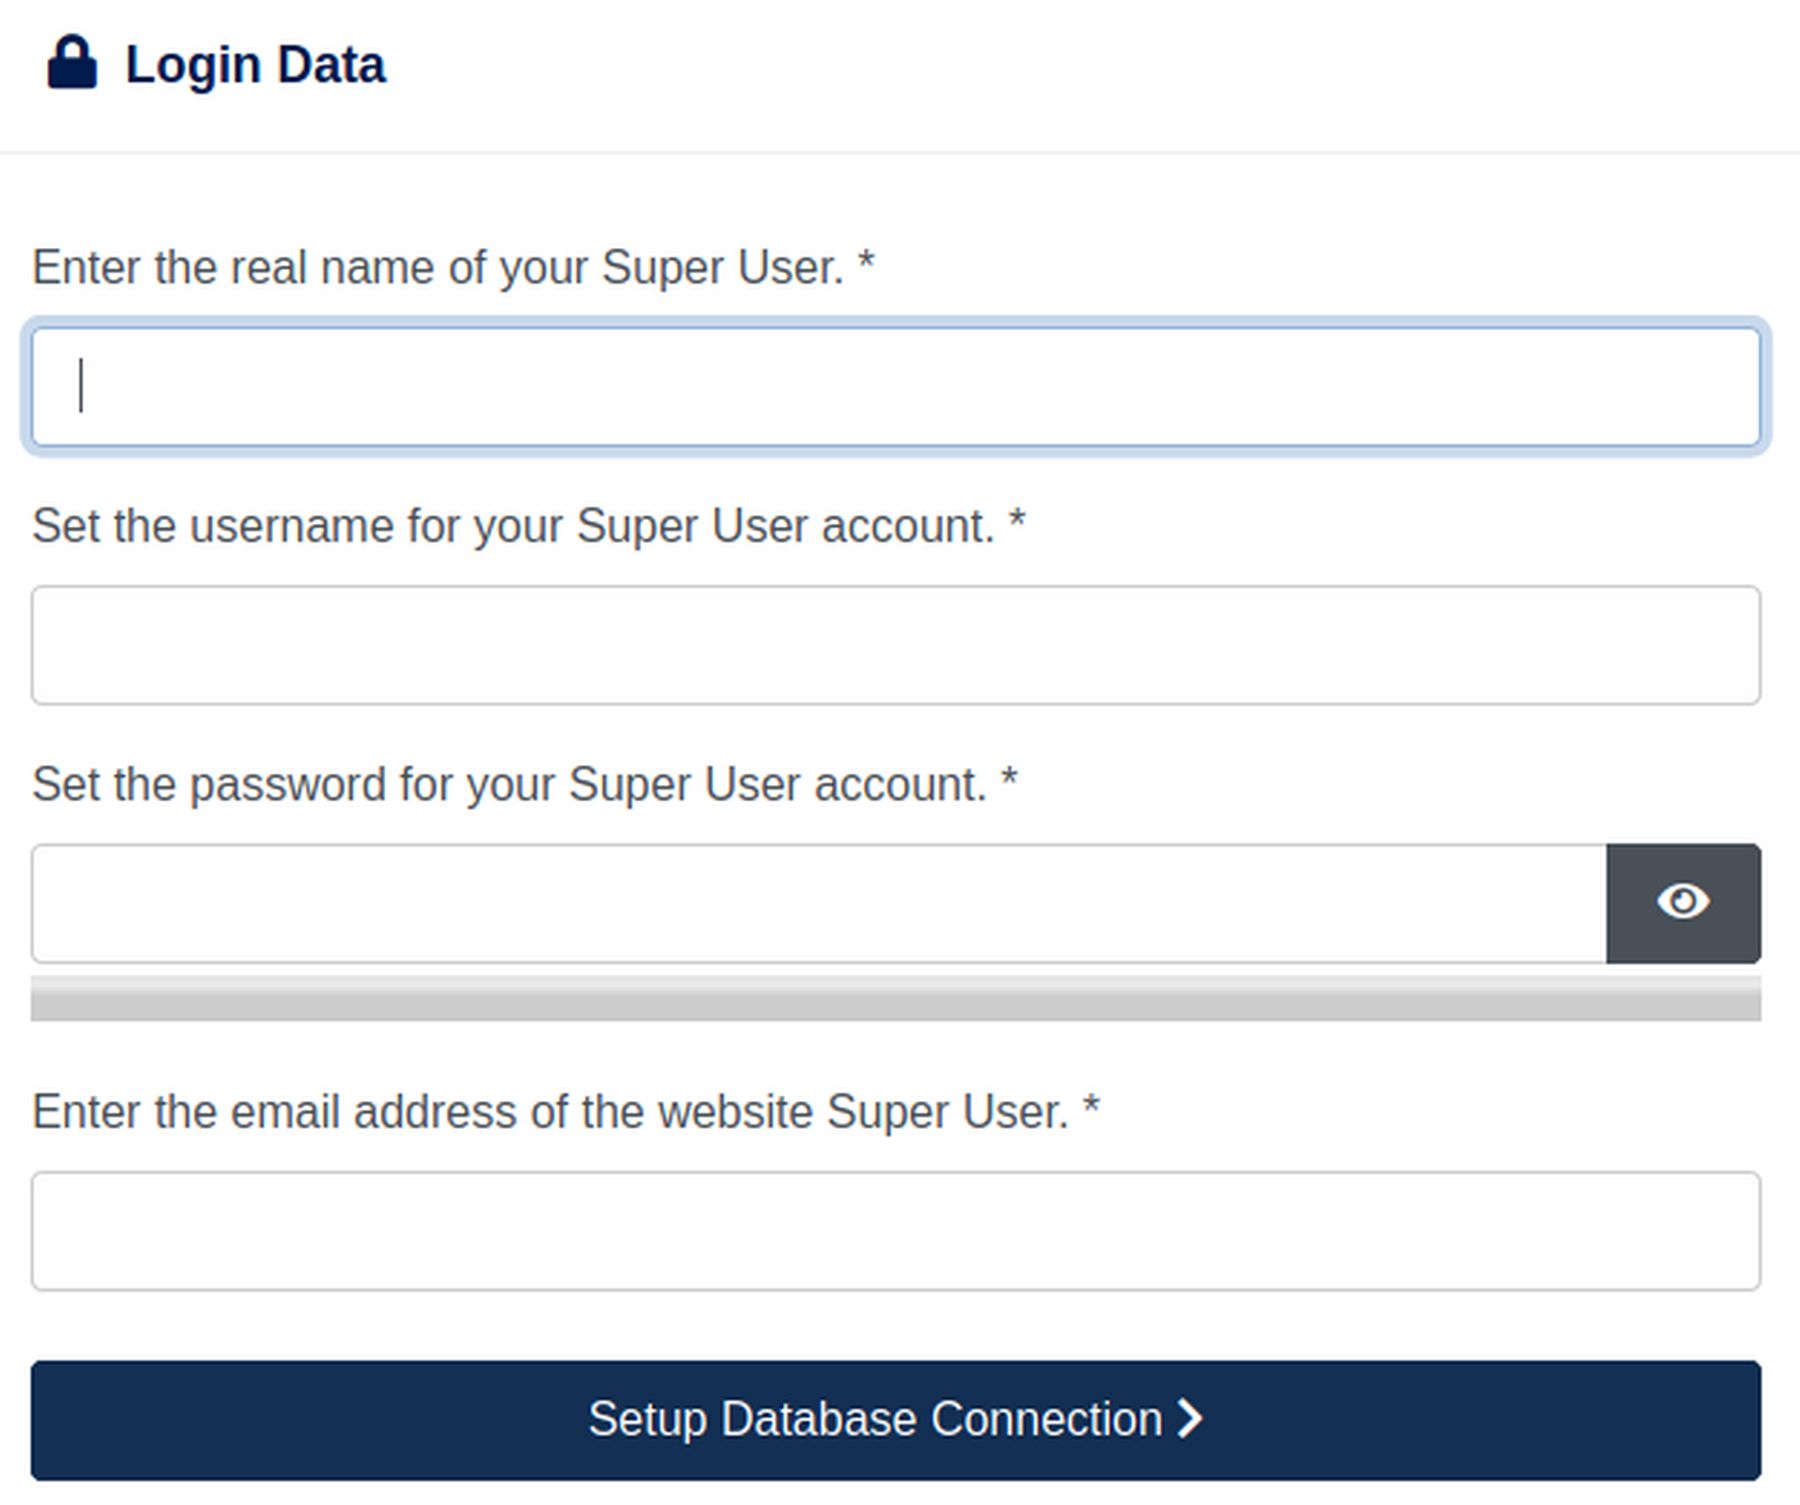
Enter your name, username, password and email address. Note that the password must have at least 9 characters including capital lowercase, numbers and special characters. Then click Setup Database Connection
Step 7 Use Hestia to Create a Database
Before we can fill out the browser database page, we need to use Hestia to create a data. Go back to browser with the Hestia Control panel. Then exit the file manager. Then click DB (for Database).
Then click Add Database.
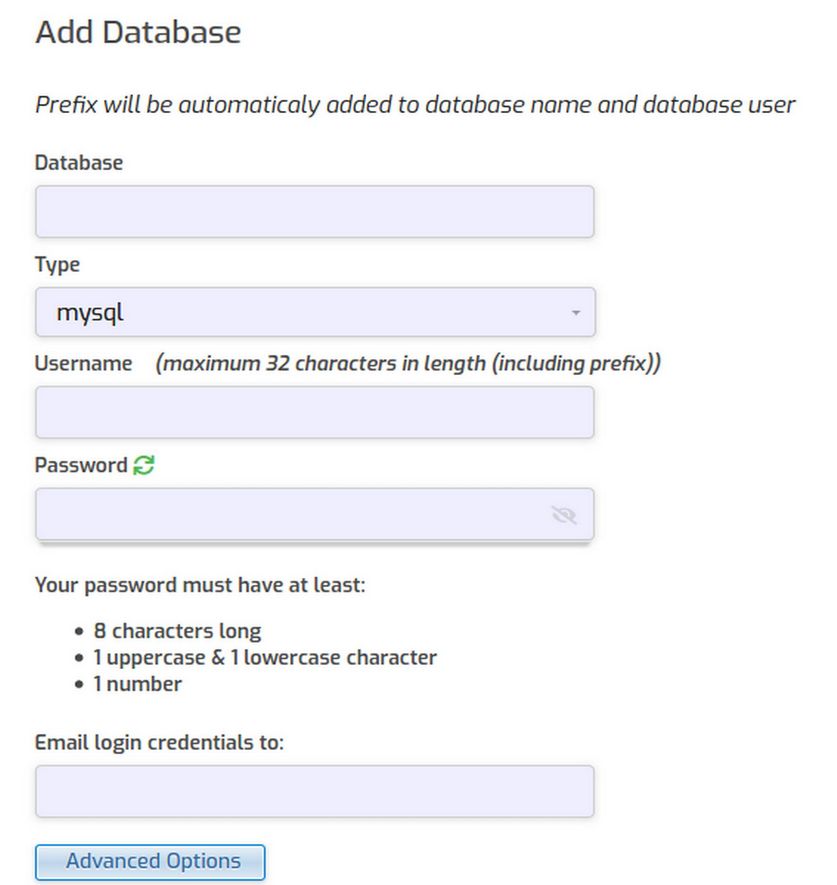
Hestia will add the user name as a prefix to the database name and database username. Therefore:
Database name db0 = course0_db0
Username db0 = course0_db0
Password = XXXX
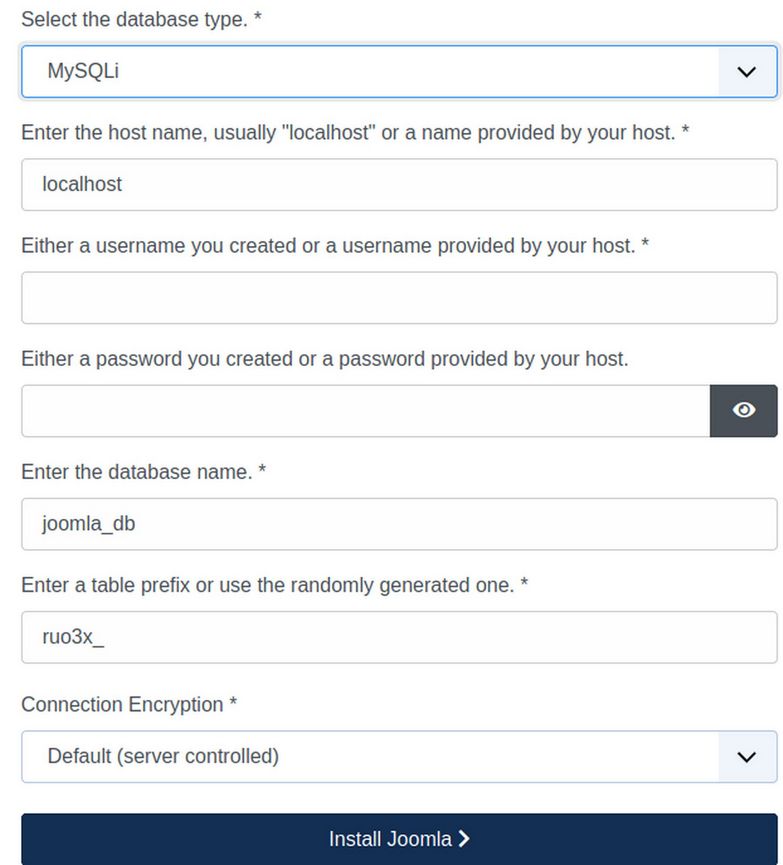
Scroll down and enter an email address to see what the email credentials looks like. Then click save and go back to browser with the Joomla installer and fill in the form. Then click Install Joomla.
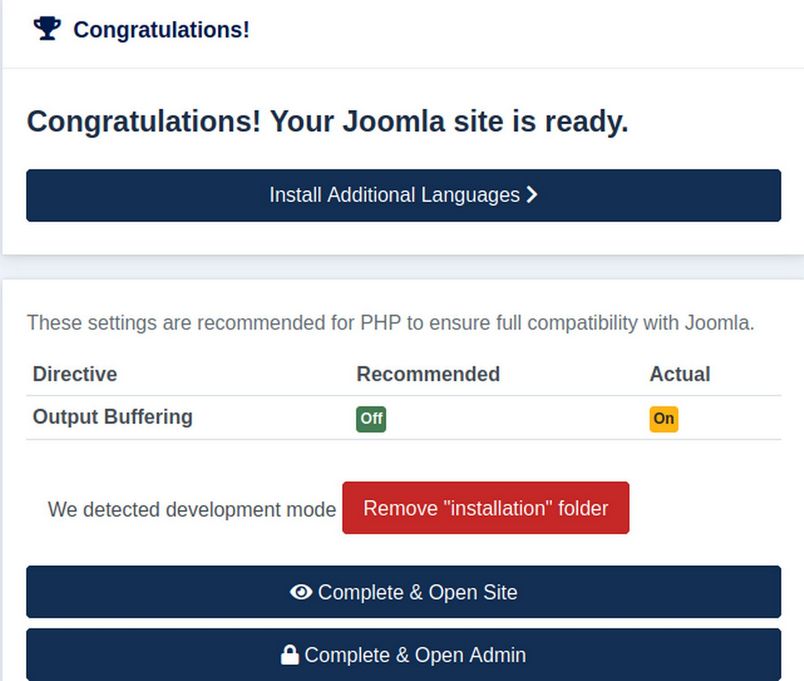
Output buffering is a way to limit data packet size. We will leave it on. Click Remove Installation Folder. Then click Complete and Open Admin.
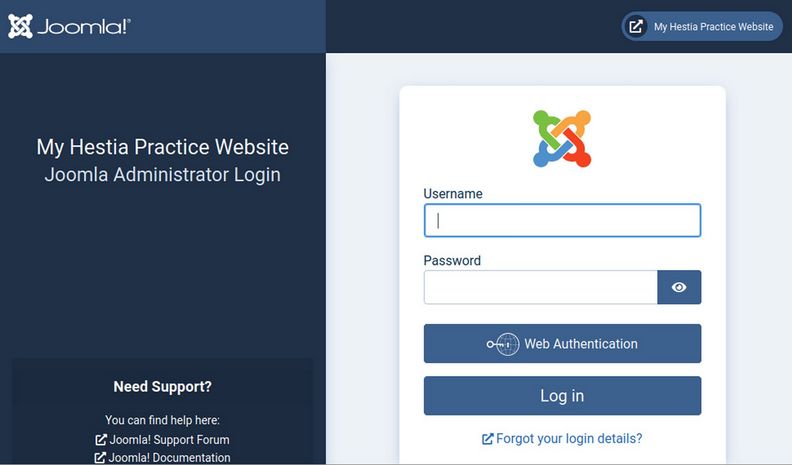
Enter your username and password to log into the Admin screen:
Click on the name of your website in the top panel to visit the front end of your website. Sadly, you will still see the Hestia screen that says We’re working on it. Go back to the Hestia User panel and click Files. Then rename the index.html file to old-index.html. Also delete the Joomla 4 Zipped Package folder. It is not needed. Then reload the website page:
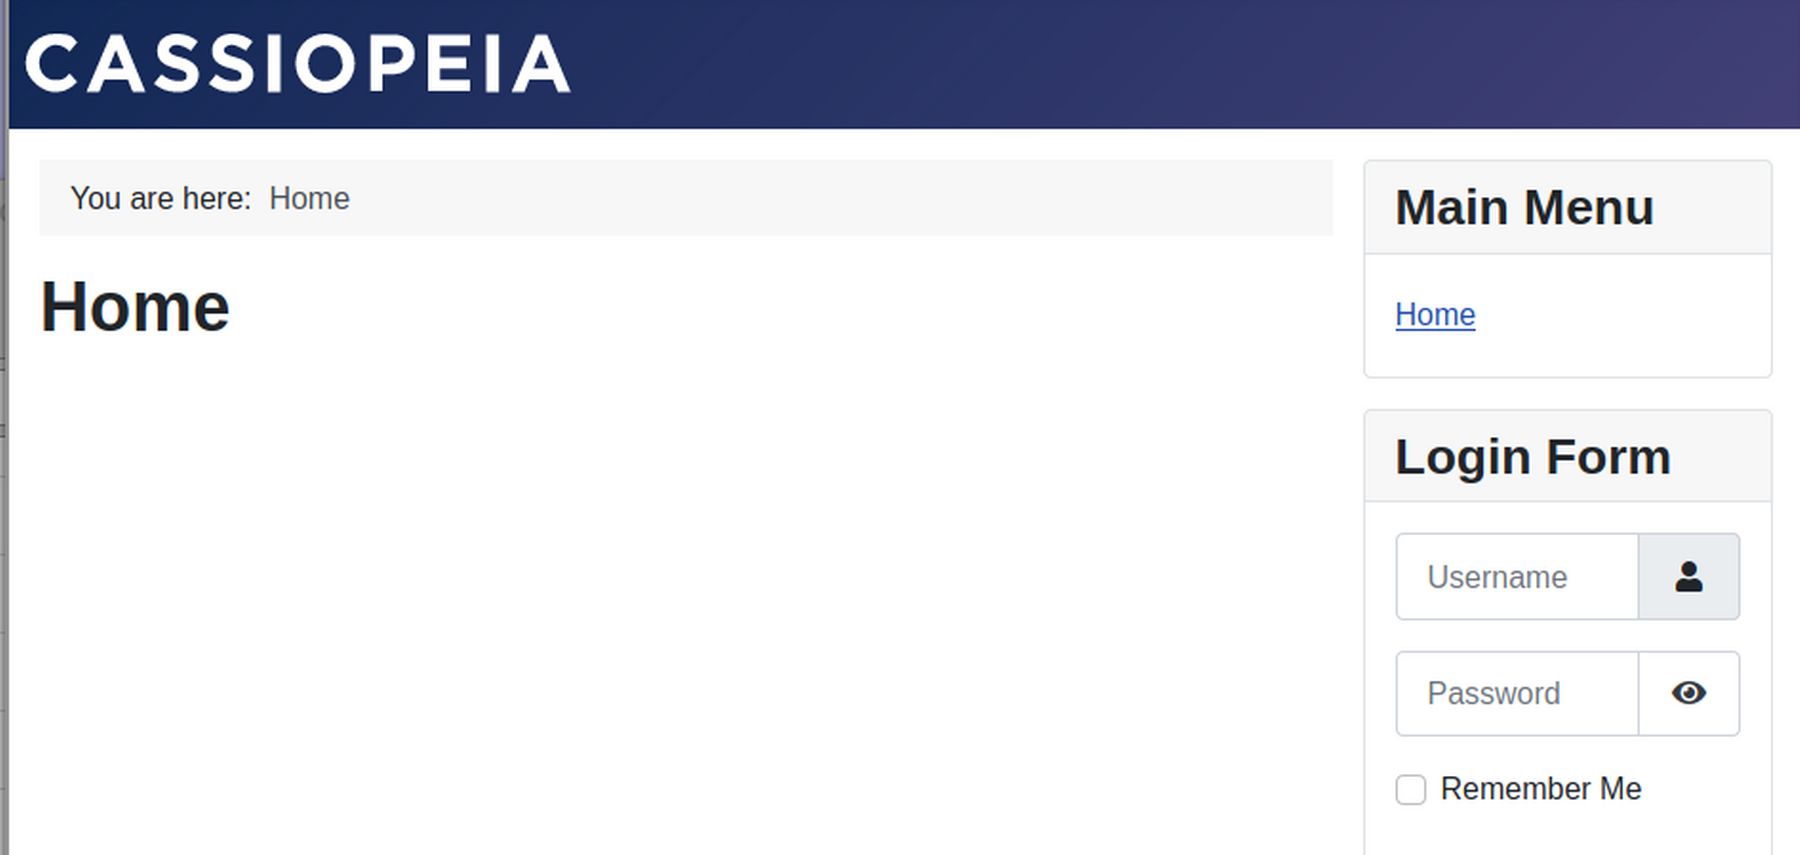
Congratulations! You have installed a Joomla 4 website into your Hestia VPS. We are now ready to begin the process of transferring images, categories, articles, menu items and modules from our old Joomla 3.9 Cpanel Shared hosting website to our new Joomla 4 Hestia VPS website.
Important Note: For this process to succeed, it is very important that the actual full URL links are preserved. This means that each image must retain the same name and be in the same folder name on the new website as they are on the old website. The categories also need to have exactly the same names and the articles need to have the same names and be placed in the same categories. Also the menu items need to have the same names and the same menu item types.
Here is the recommended order:
#1 Add the Extensions from the old website to the new website. In particular, add the JCE Editor from the old website to the new website and configure the JCE editor to be the default editor.
#2 Copy the old Images folder from your old website to your new website: Log into your old Cpanel account and open the images folder. Then select all of the images and image folders. Then click Compress to create a compressed copy of the images folder. Then download this folder to your Home computer. Then log into your VPS Hestia User account for your new website and click Files. Then go to your Joomla 4 images folder and delete the existing images. Then click New to upload the zipped images file. Then click Unzip to unzip the file. Then delete the zipped file.
#3 Copy the Article Categories from the old website to the new website: Log into your old website control panel and go to the Content, Categories screen. Open the first category and click on the Source View. Copy the HTML to your clipboard. Then use a different web browser to log into your new Joomla 4 website control panel and go to Content, Categories. Click New to create a new category. Then click Source View. Then paste the HTML to the new workspace. Then type in the category title and click Save and Close. Repeat to recreate all of your categories.
Step #4 Copy the Articles from the old website to the new website: Log into your old website control panel and go to the Content, Articles screen. Open the first article and click on the Source View. Copy the HTML to your clipboard. Then use a different web browser to log into your new Joomla 4 website control panel and go to Content, Articles. Click New to create a new article. Then click Source View. Then paste the HTML to the new workspace. Then type in the article title and assign the article to its proper category. Then click Save and Close. Repeat to recreate all of your articles.
Step #5 Copy all of the Menu Items from the old website to the new website: Log into your old website control panel and go to Menus, Main Menu. Open the first menu item and note the title, menu item type and menu item parent. Then using a different web browser, log into your Joomla 4 control panel. Go to Menus, Main Menu. Click New. Create a new menu item that is the same as the old website menu item and link it to the same article as is linked on the old menu item. Also assign it to the same parent menu item as the old menu item. Then click Save and New to repeat the process for all menu items.
Step #6: Add a new template to your Joomla 4 website that is the same as the template of your old website template. Then go through the settings of your new template to make sure they are the same as the settings for your old template. Also, make sure the template user.css file on the new template is the same as the custom.css file on the old template. Finally, make sure that the template over-rides are the same on the new template as on the old template.
Step #7: Copy the old website custom modules to the new website. Make sure the module names are the same and modules are assigned to the same pages and the same module positions.
Step #8 Copy the old language overrides to the new website.
Finally, log into your Canhost account and transfer the DNS Name Servers from the old website to the new website. But leave the old website Cpanel files and folders in place until you are sure they are no longer needed.
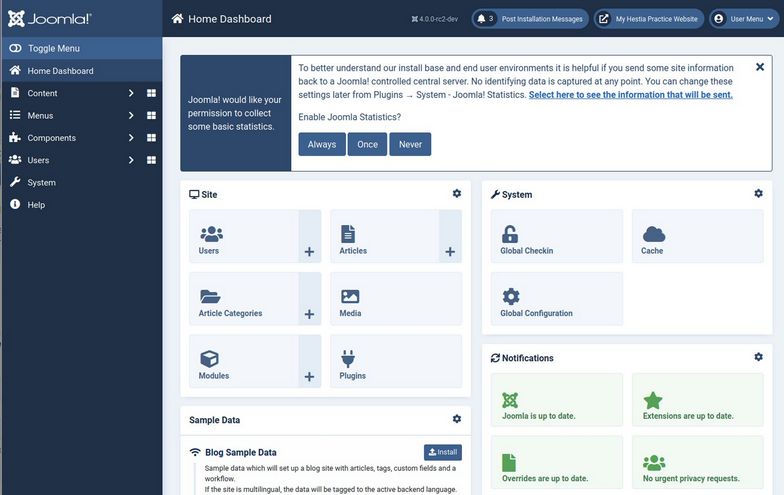
What’s Next?
The Joomla 4 Dashboard looks very complex. In the next article, we will review how to simplify the Joomla 4 Dashboard.