
In a previous article, we opened the folder public_html and used the file index.html to edit the default Hestia website. In this article, we will explain how to replace the index.html file with a complete Joomla website.
1 Log into the Hestia User Control Panel
We first need to turn on our server. Open VMM and start the server. It will take about one minute for Hestia to fully load and have the server start. You do not need to actually log into the server. Then open a browser tab and type in the Hestia login page URL:
192.168.1.59:8083
Then type your username and password (not the admin user). It is important that all websites be added from a user account and not an admin account. Here is the user log in screen.
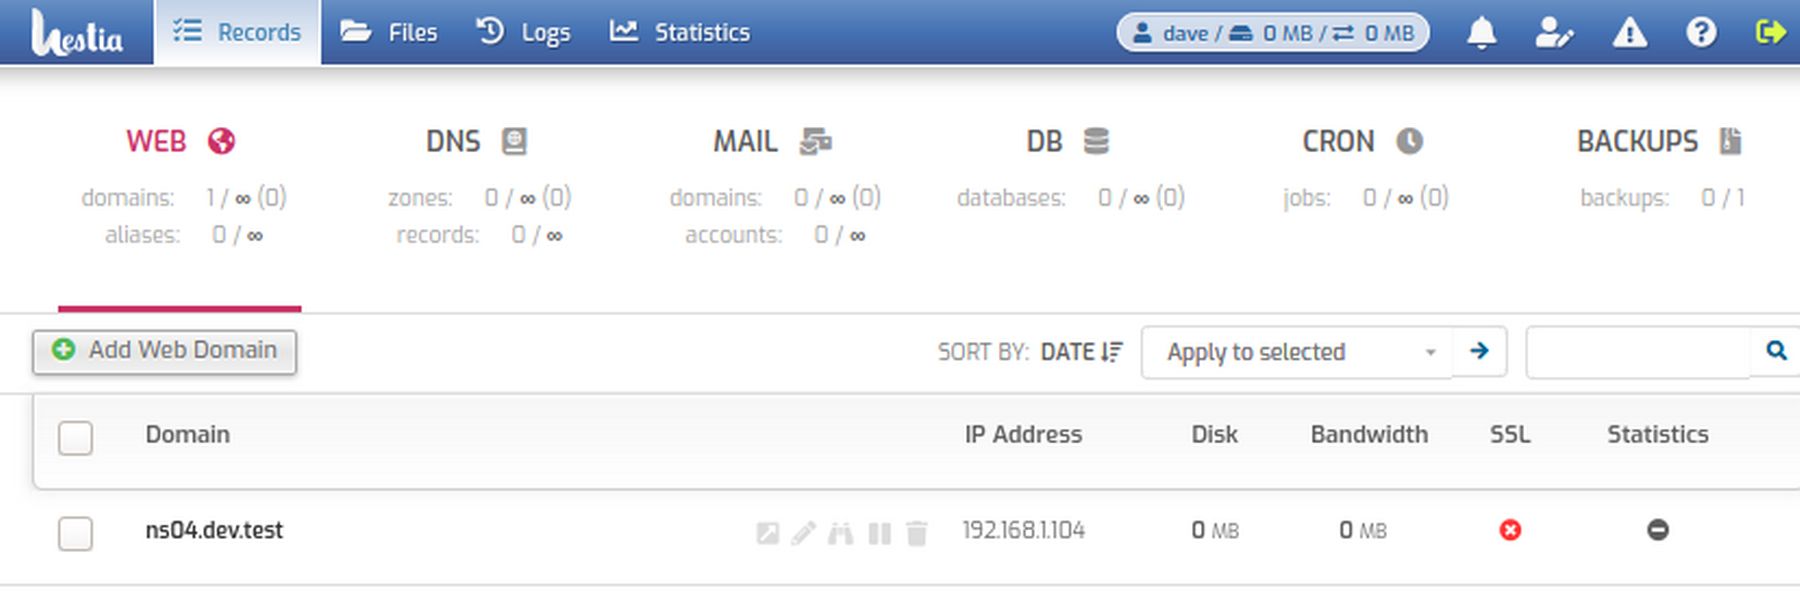
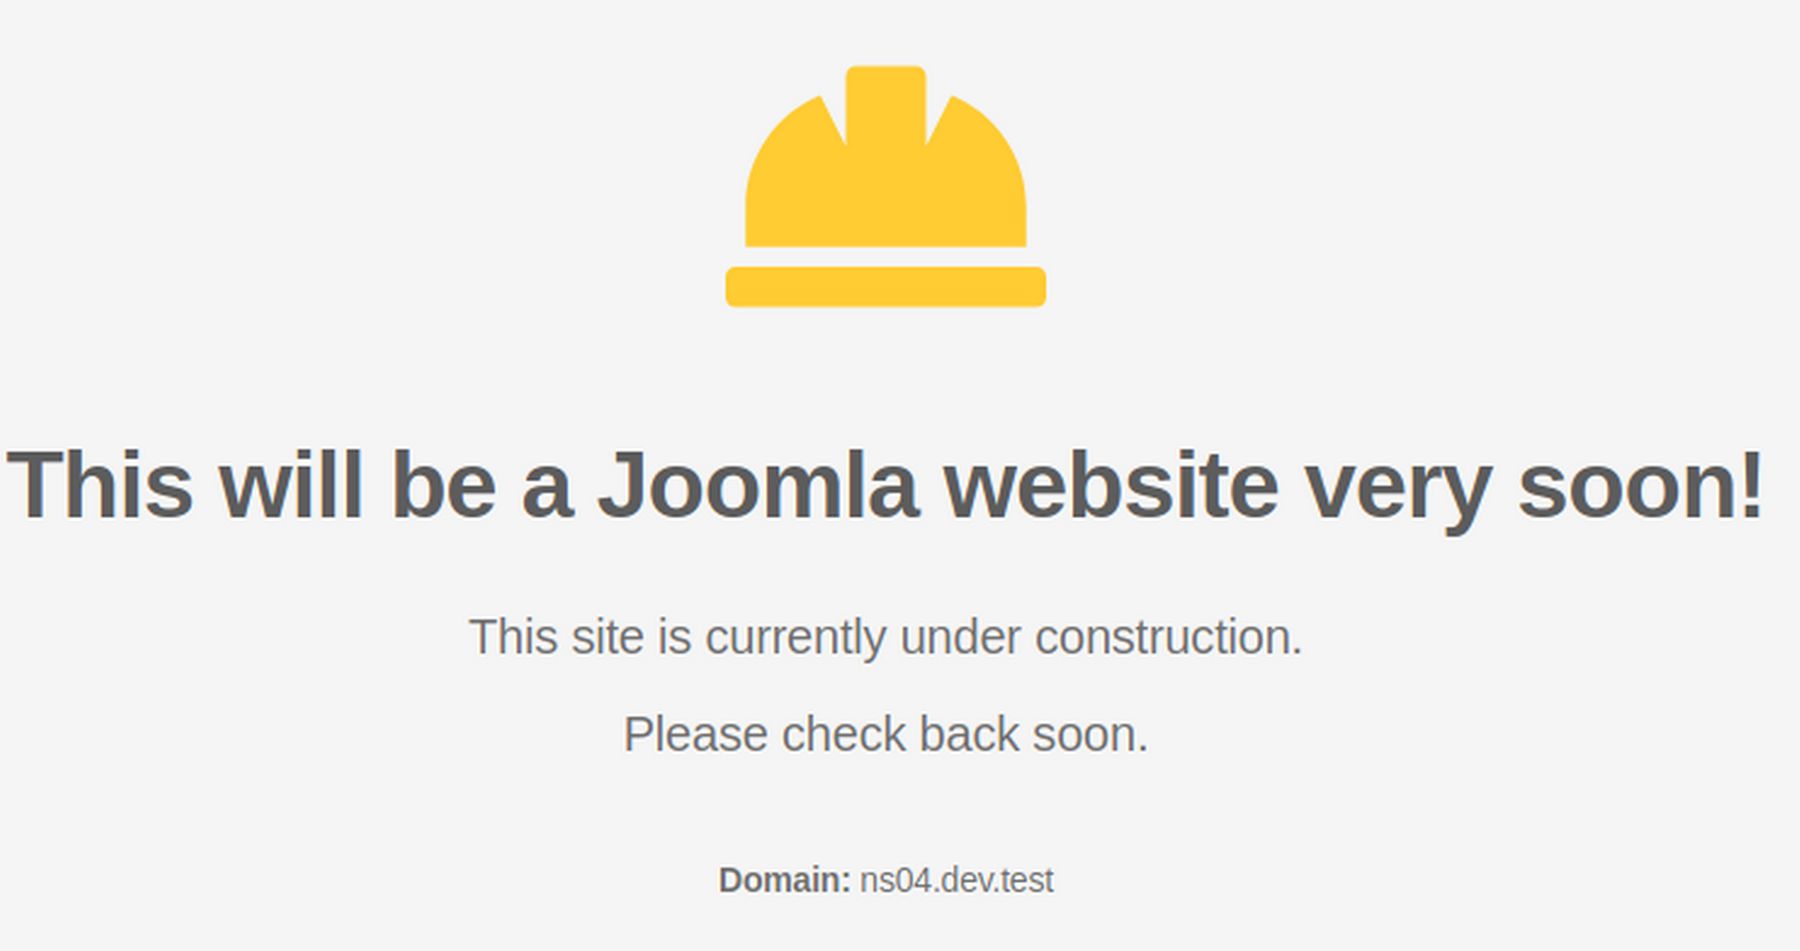
In our last article, we create a new website called ns04.dev.test. Here is what the HTML page currently looks like:
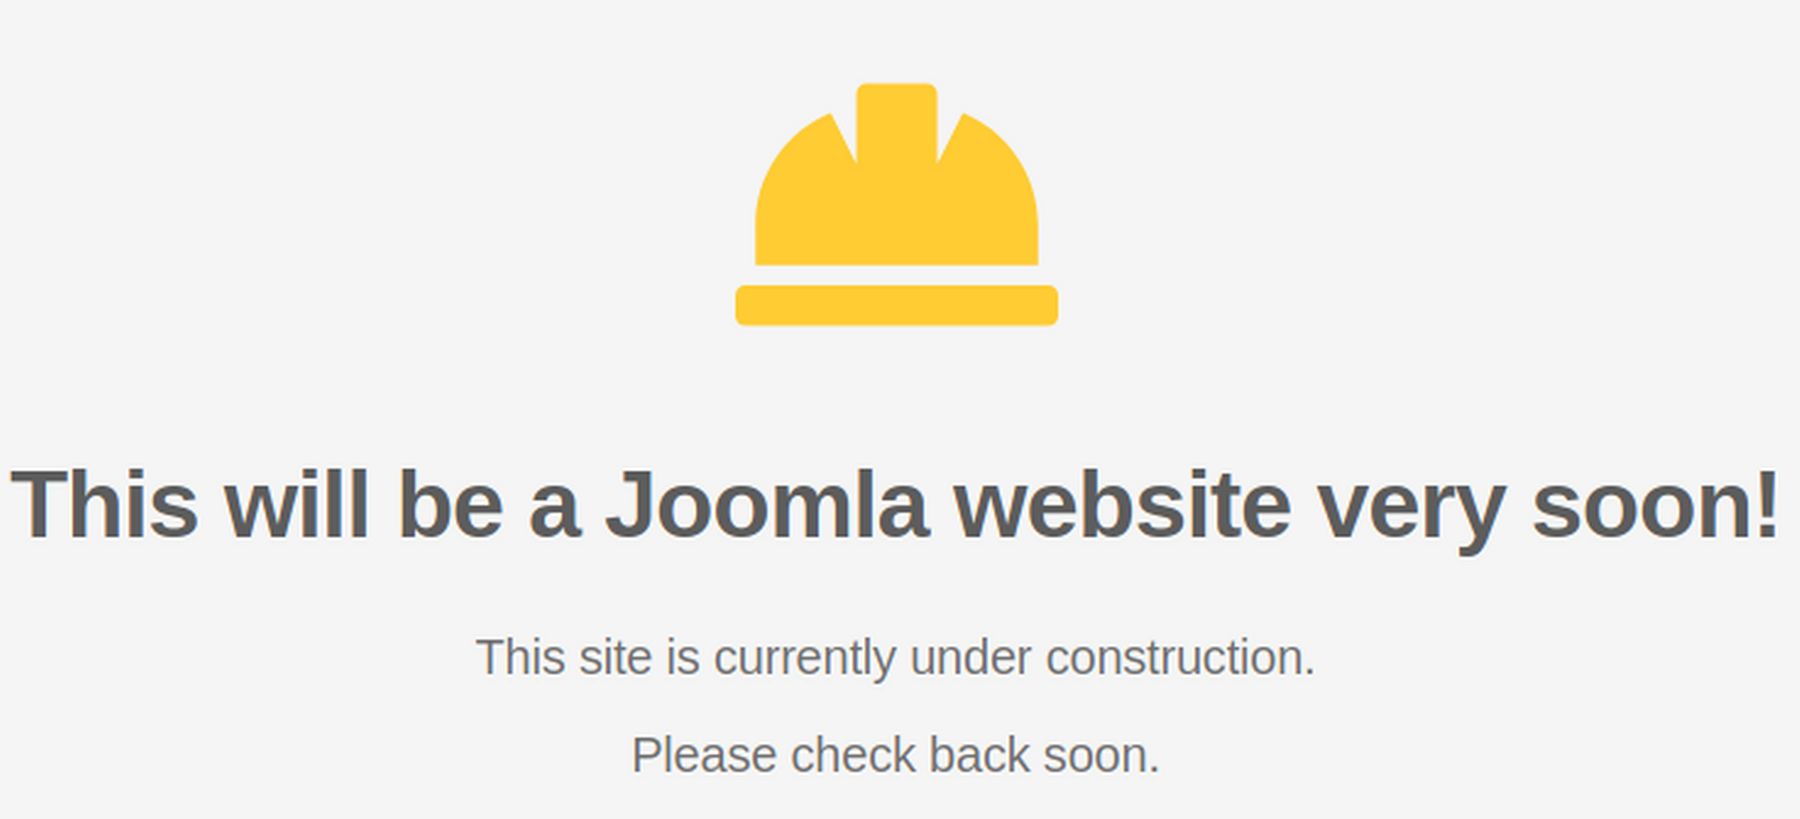
It is important to verify that the Hestia test page displays before trying to install a Joomla website on it.
2 Download the most recent Joomla Installer Zip File
Go to Joomla.org and click Download Joomla. Here is the direct link:
Click on the latest version to download the zipped file to your home computer.
3 Upload the Joomla Zipped File to public_html
Click Files, web, ns04.dev.test and open the public_html folder.
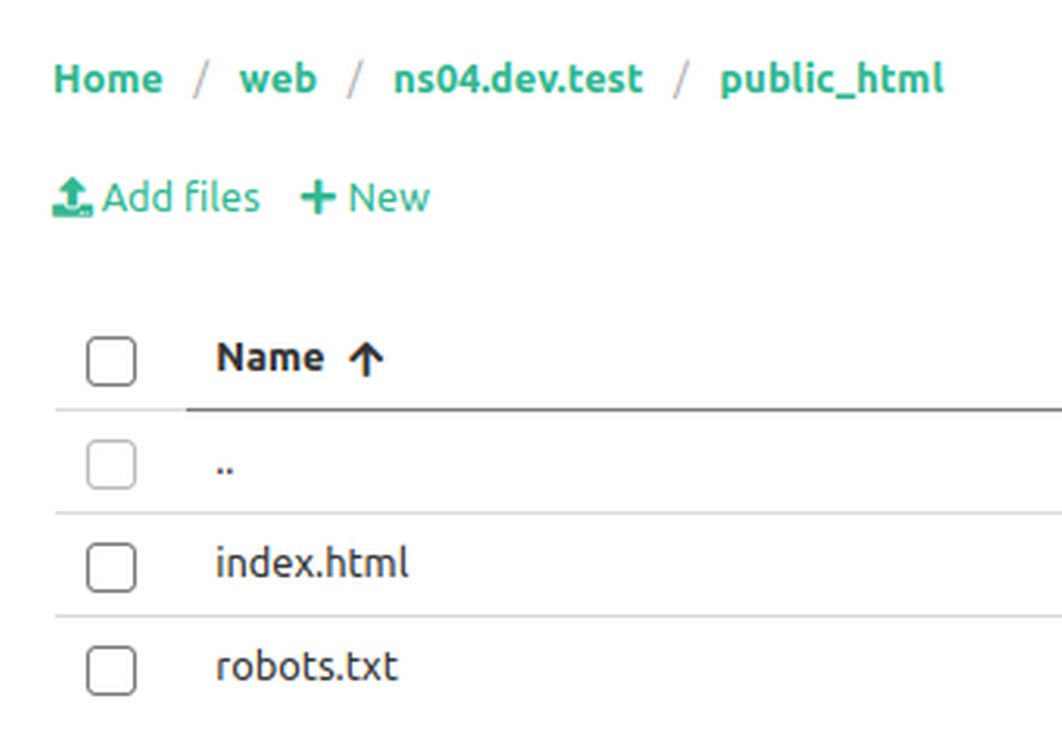
Click Add Files. Then in your home file manager, navigate to your Downloads folder and select the zipped Joomla installer. When it is finished loading, close the upload screen.
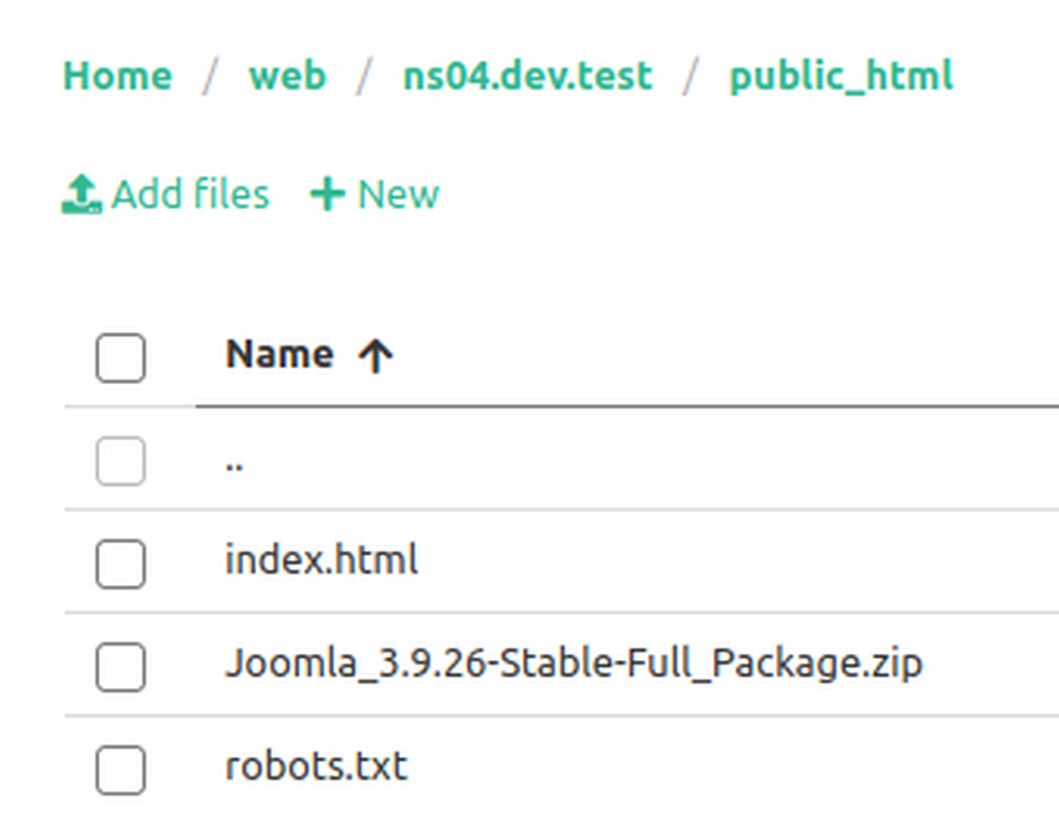
Right click on the Joomla zipped file. This will bring up a pop up screen. Click Unzip. Then click Unzip again.
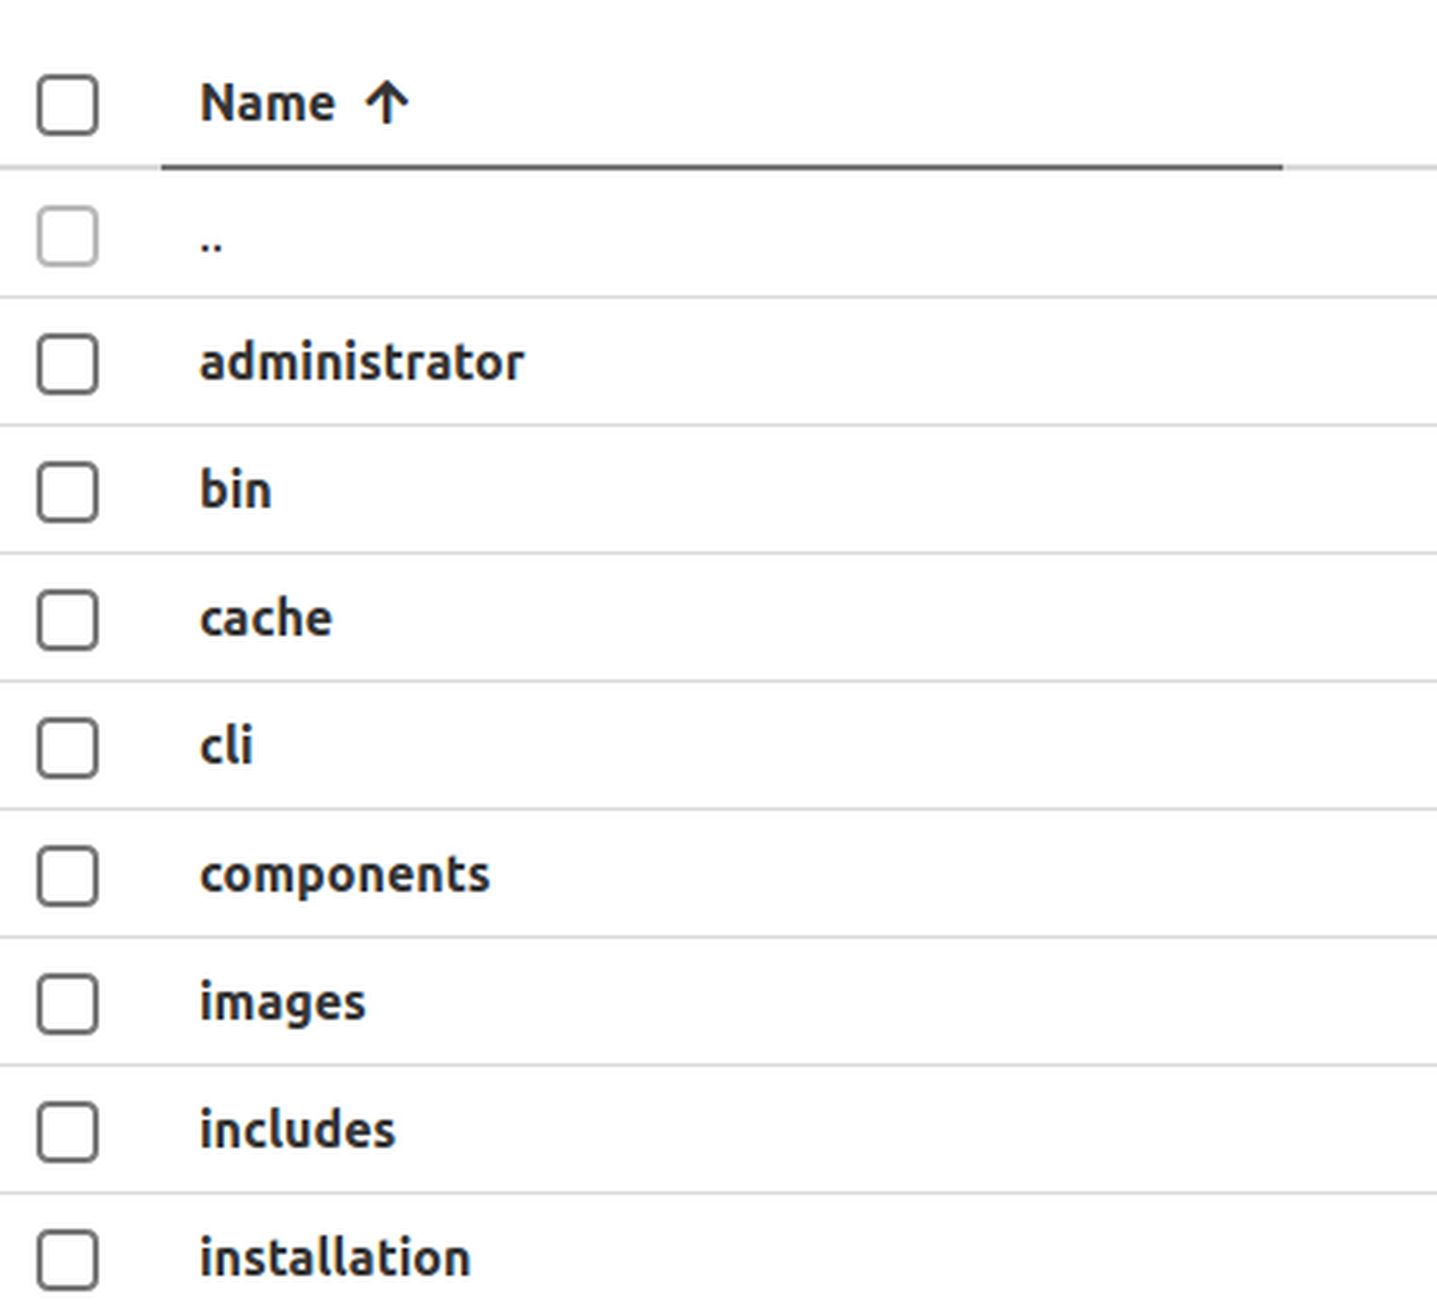
It will take a couple of minutes to unzip the file. Be patient. When it is done, there will be lots of folders and files in the public_html folder:
3 Use a web browser to open the Joomla Installation page
Open a new browser (not the one you are using for your Hestia Control Panel) and type the name of your website followed by a forward slash and then index.php:
http://ns04.dev.test/index.php:
The browser tab will open in a warning page noting that the site is not secure. Click Continue. This will bring up the Joomla Installation screen:
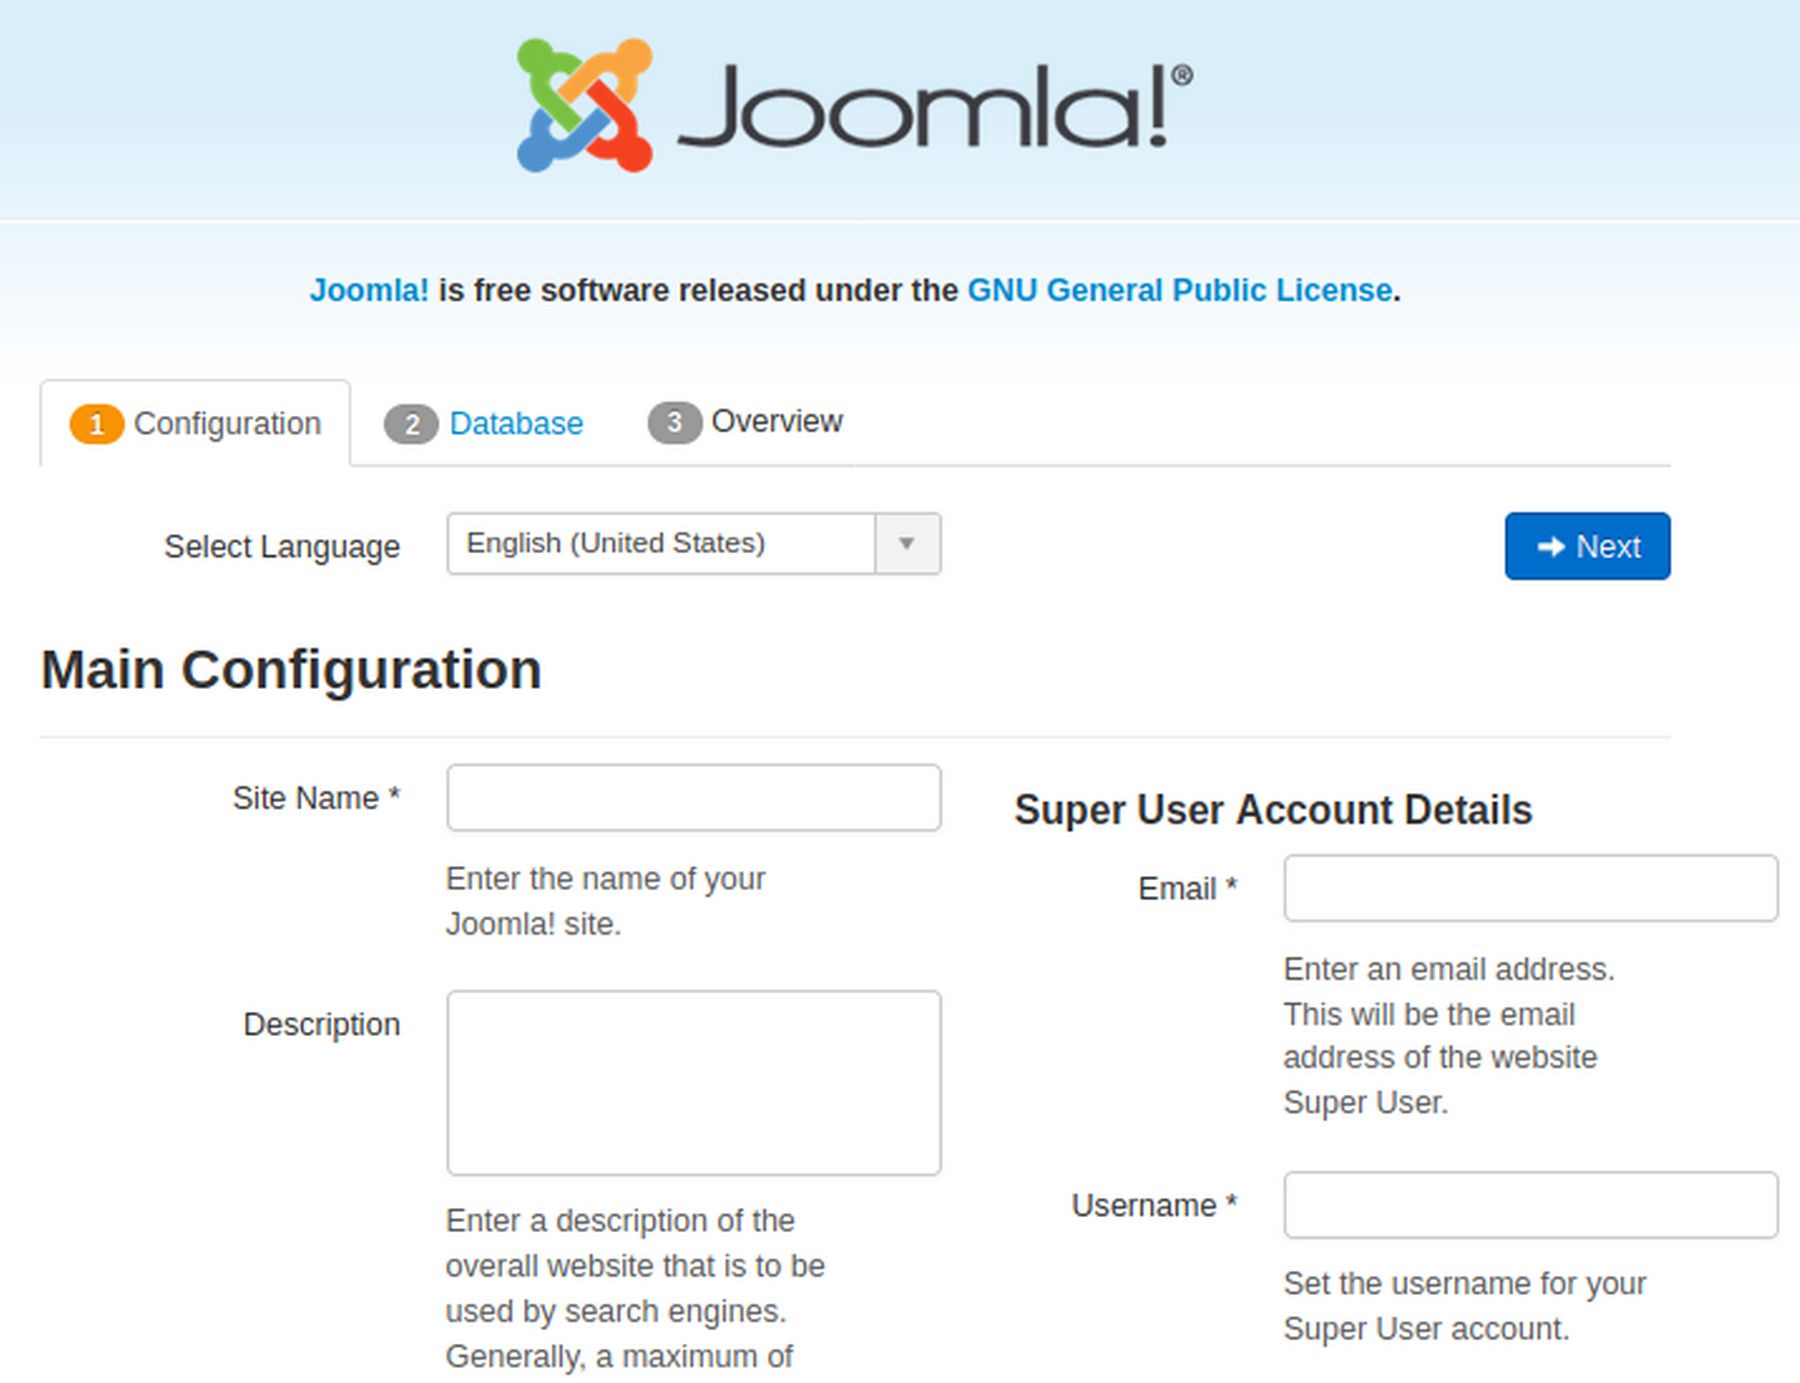
Name the site whatever you want. We will call the site Hestia Joomla Test Site ns04. Type in a one sentence description. Type in your email address and an easy to remember username and password. Then click Next.
4 Use Hestia to Create a Database
Before we can fill out the browser database page, we need to use Hestia to create a data. Go back to the Hestia Control panel. Then exit the file manager. Then click DB (for Database).
Then click Add Database.
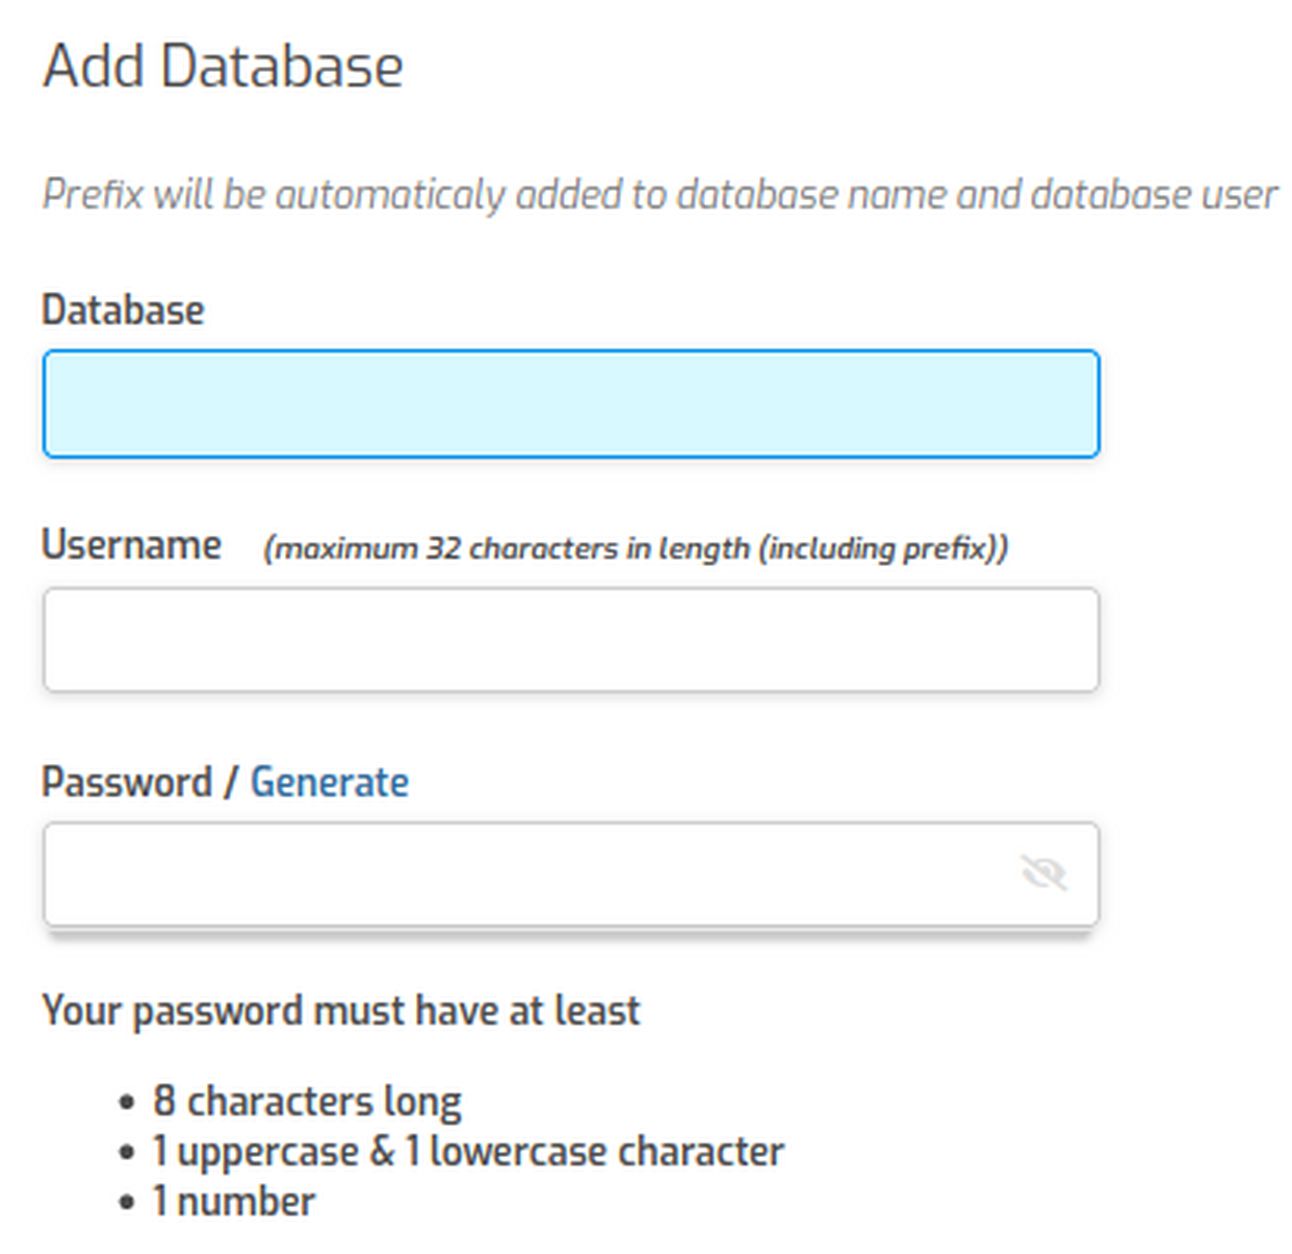
Hestia will add the user name as a prefix to the database name and database username. Therefore:
Database name ns04 = dave_ns04
Username ns04 = dave_ns04
Password David_ns04
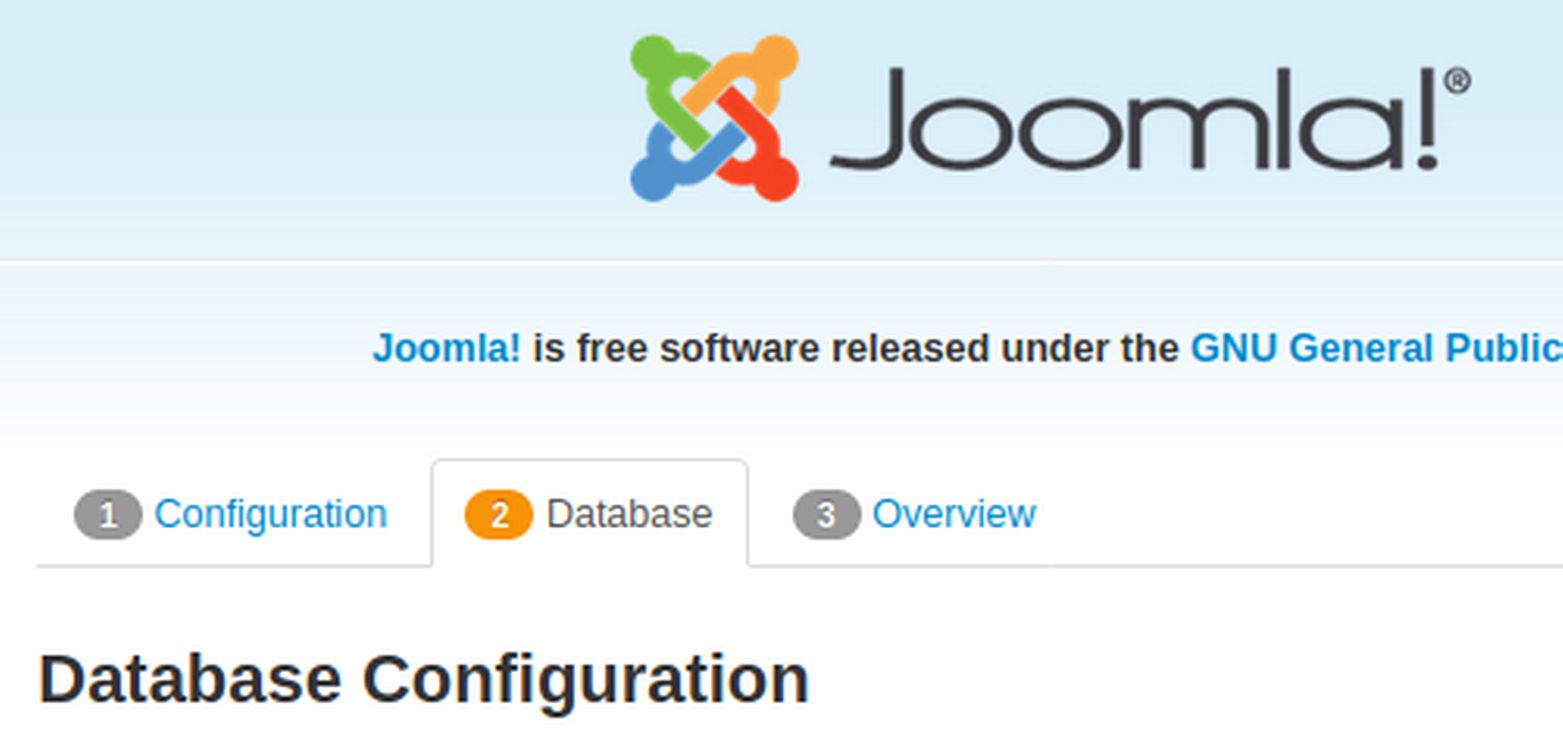
Scroll down and enter an email address to see what the email credentials looks like. Then click save and go back to browser and fill in the form. Then click Next.
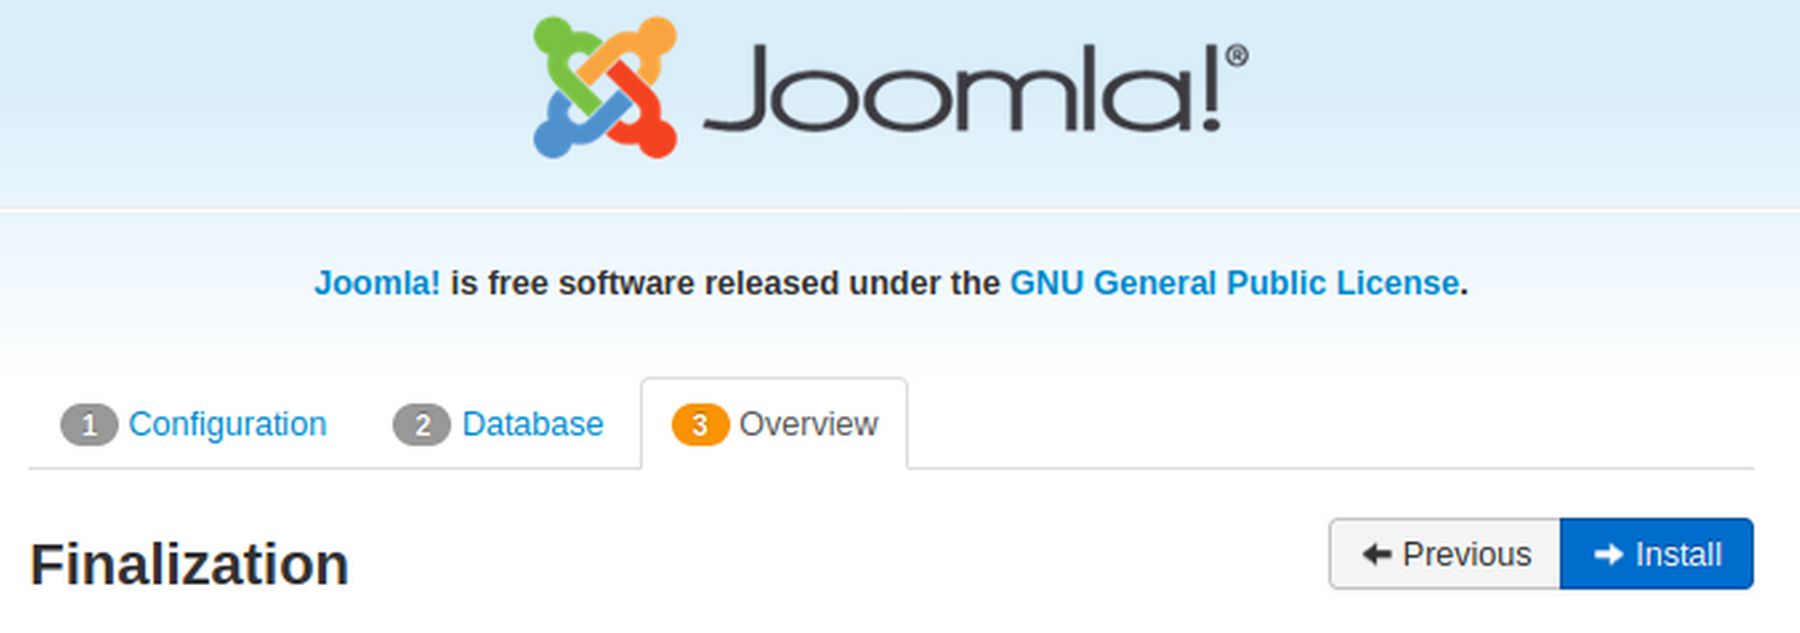
Leave Install Sample Data at None. Scroll down the next screen to make sure everything looks OK. Then click Install.
Scroll down the page and click on the orange button to delete the installation folder. It will reply "Installation folder removed." Then click on the blue Administrator button to go to the log in page:

Log in with your administrator username and password.

Click Never for the data mining.
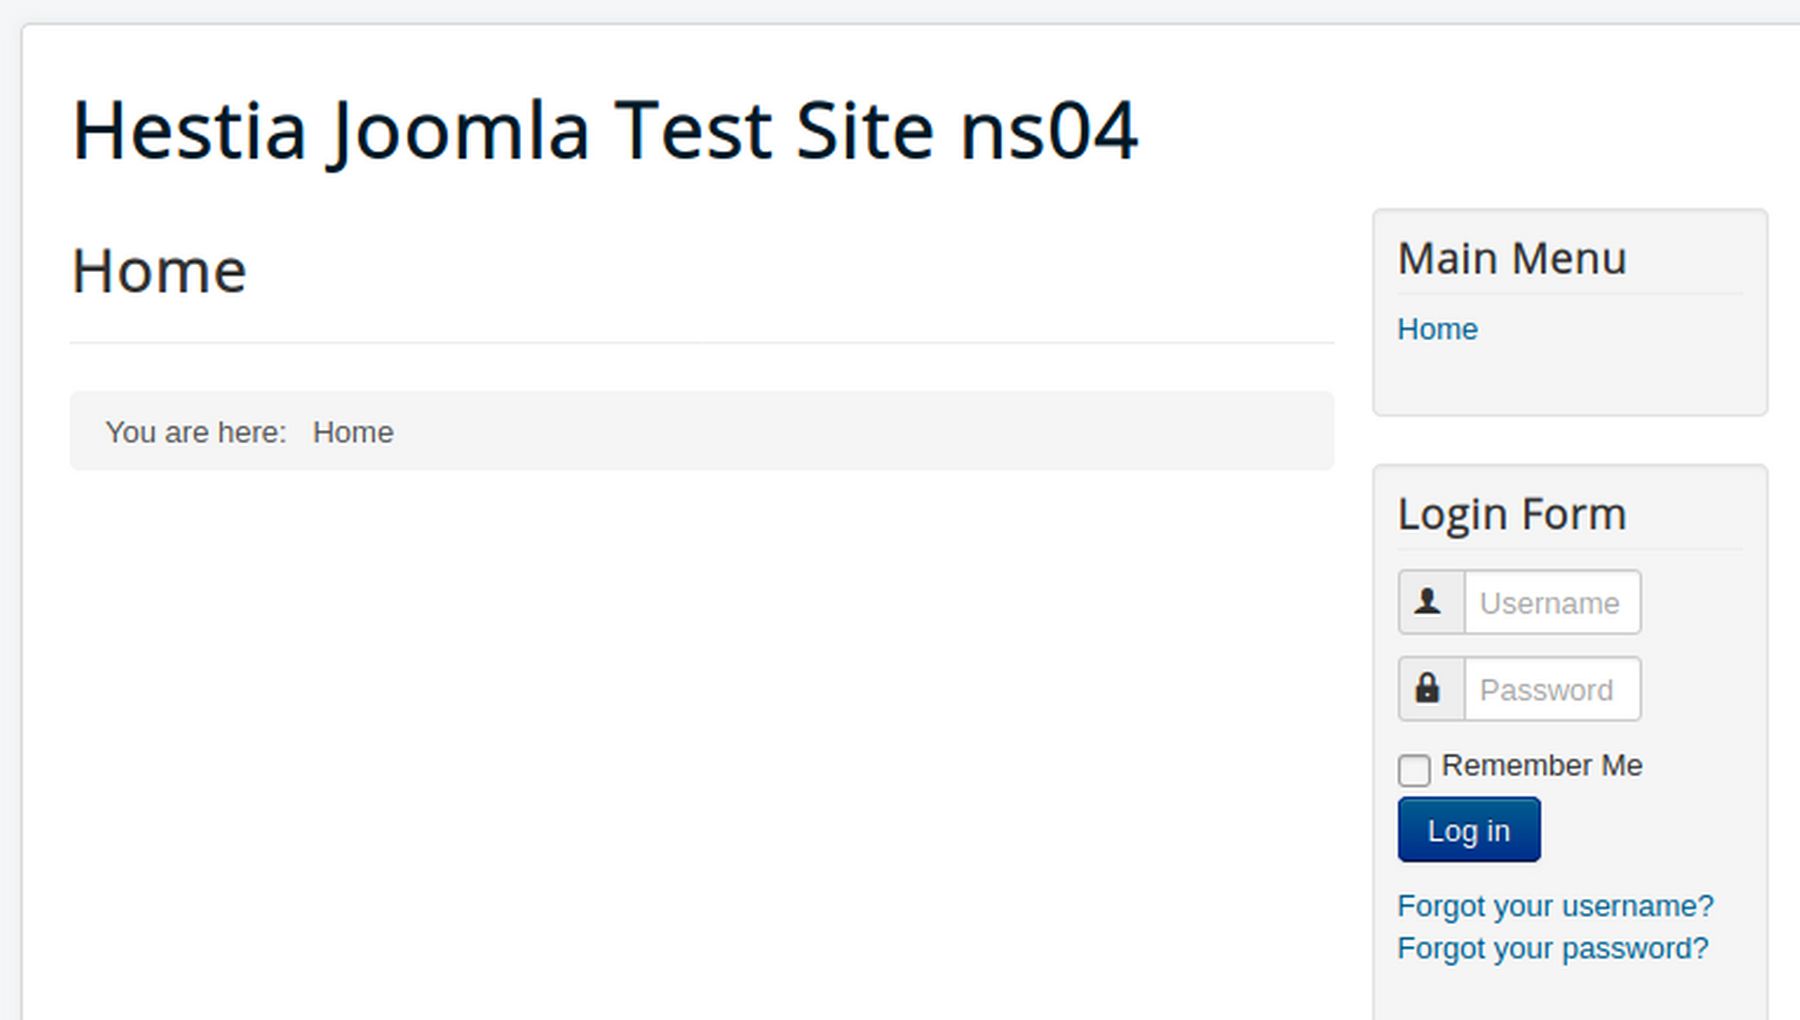
Then click on the site name in the upper right corner to go to the front end of your website:
The hide the Hestia default web page, go back to your Hestia File manager and rename index.html to old-index.html. Then reload the website page.
Close the browser tab and log out of your Joomla control panel. Then log out of Hestia and close your VPS. Then close VMM.
What's Next?
Now that you know how to use Hestia to create a Joomla website, in the next chapter, we will review steps to improve the security of your Hestia Control Pane, your VPS and your Joomla website.